27 May 2021
Making my guitaring sound even choppier (intentionally this time)
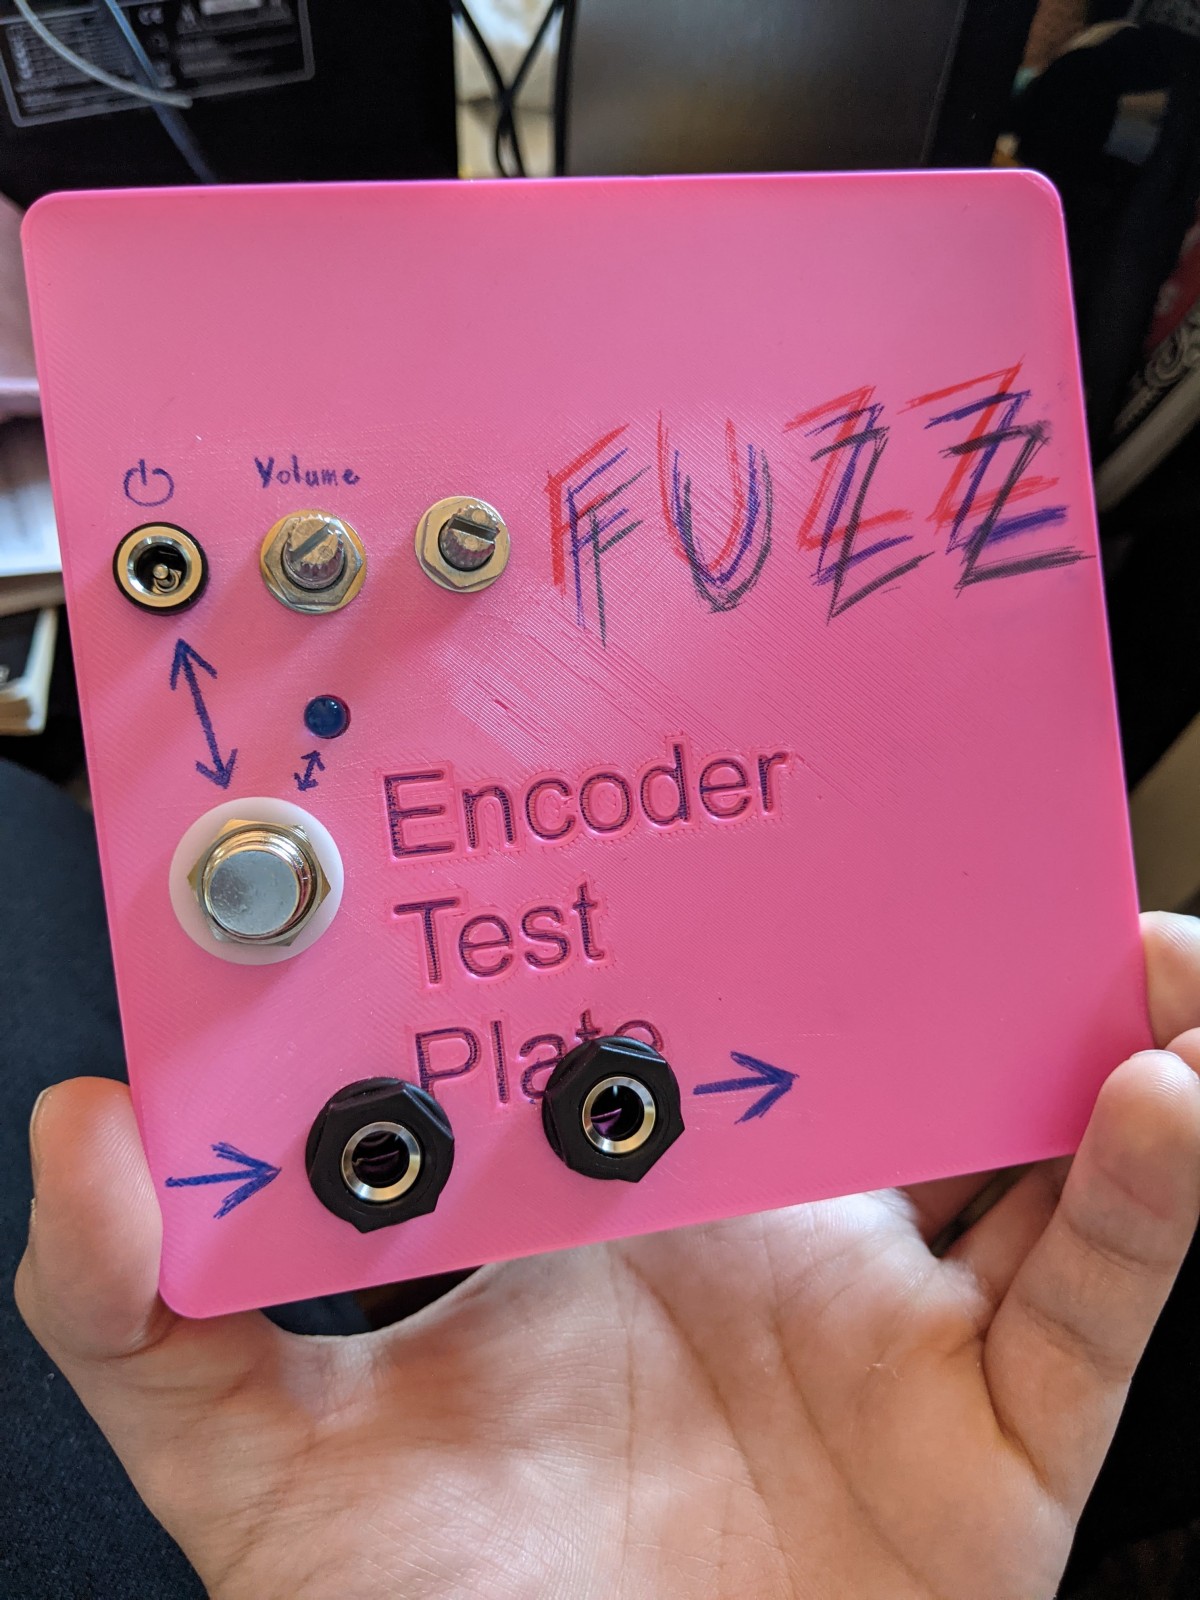
I've begun my foray into electrical tinkering and guitar pedal building by trying to make some fuzz pedals. One finally works! The housing is a box my friend Mischa 3D printed for testing encoders on the synth I'm building. The work I'm doing wouldn't be possible without his help (and his tools, at some points in history) so, as always, thanks Misch for being a real one.
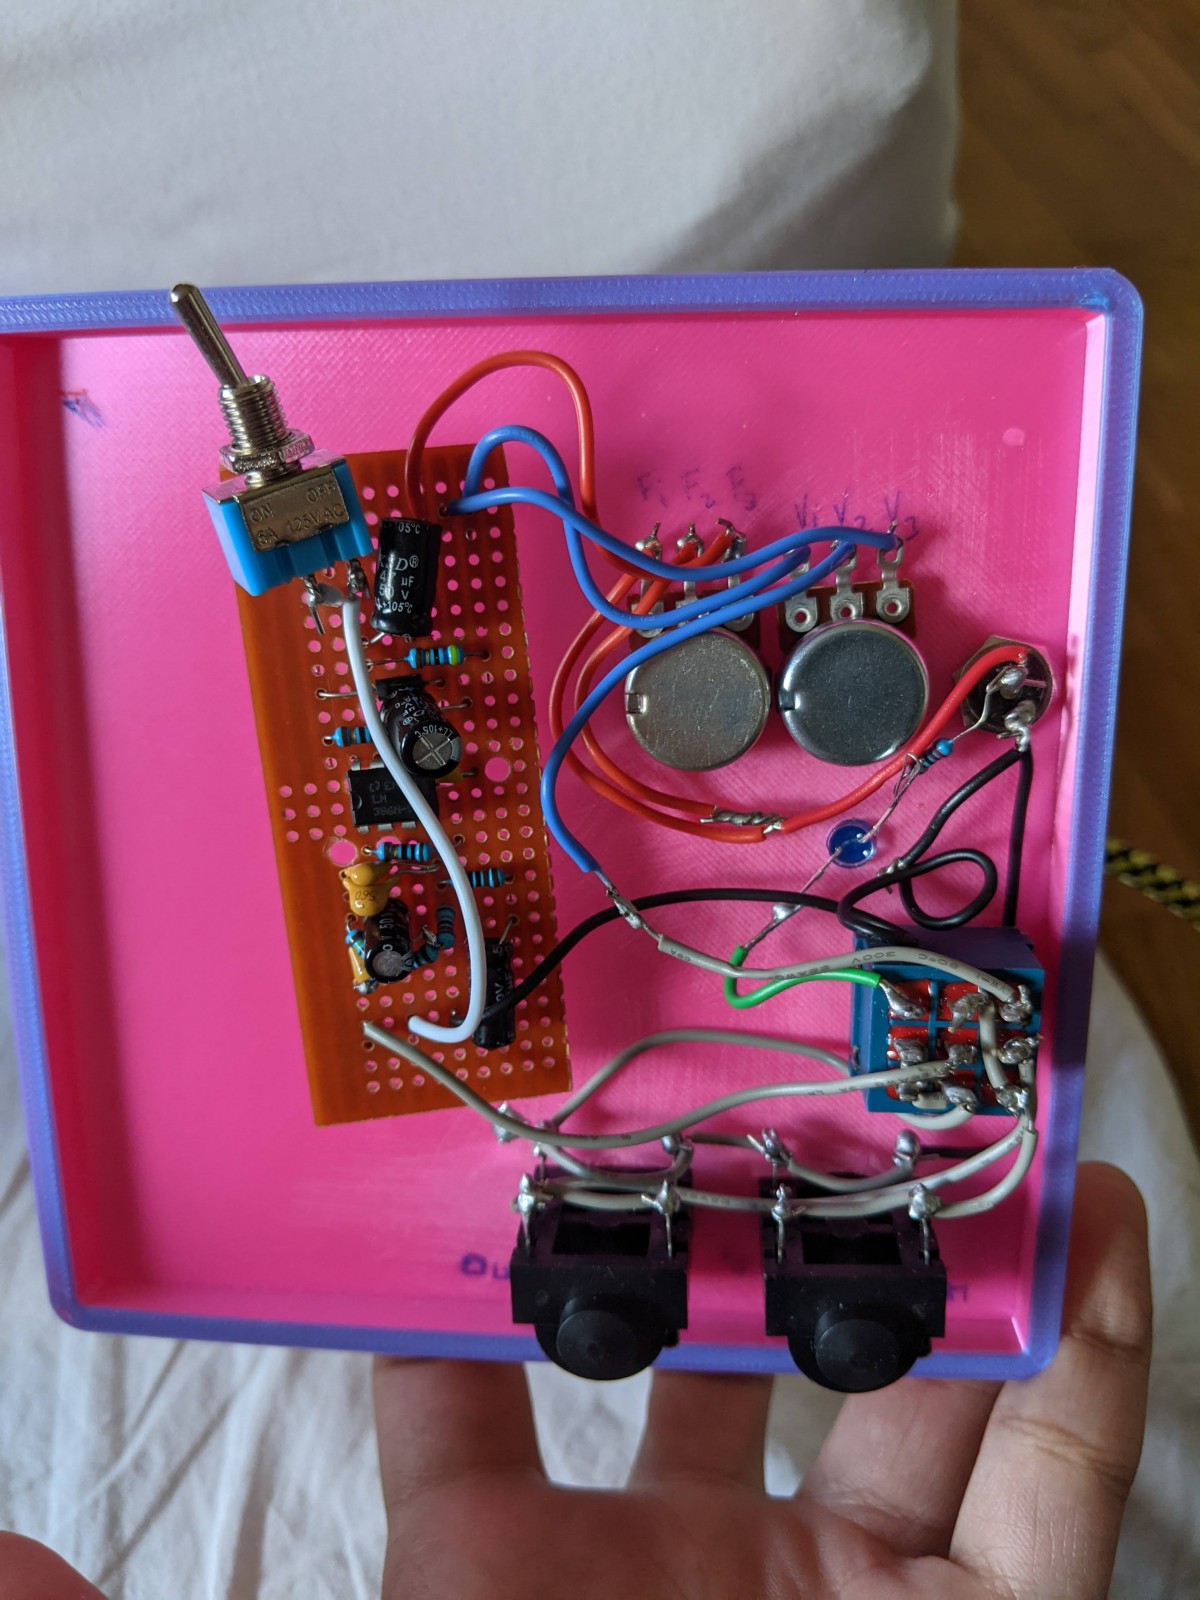
This is what it looks like on the back
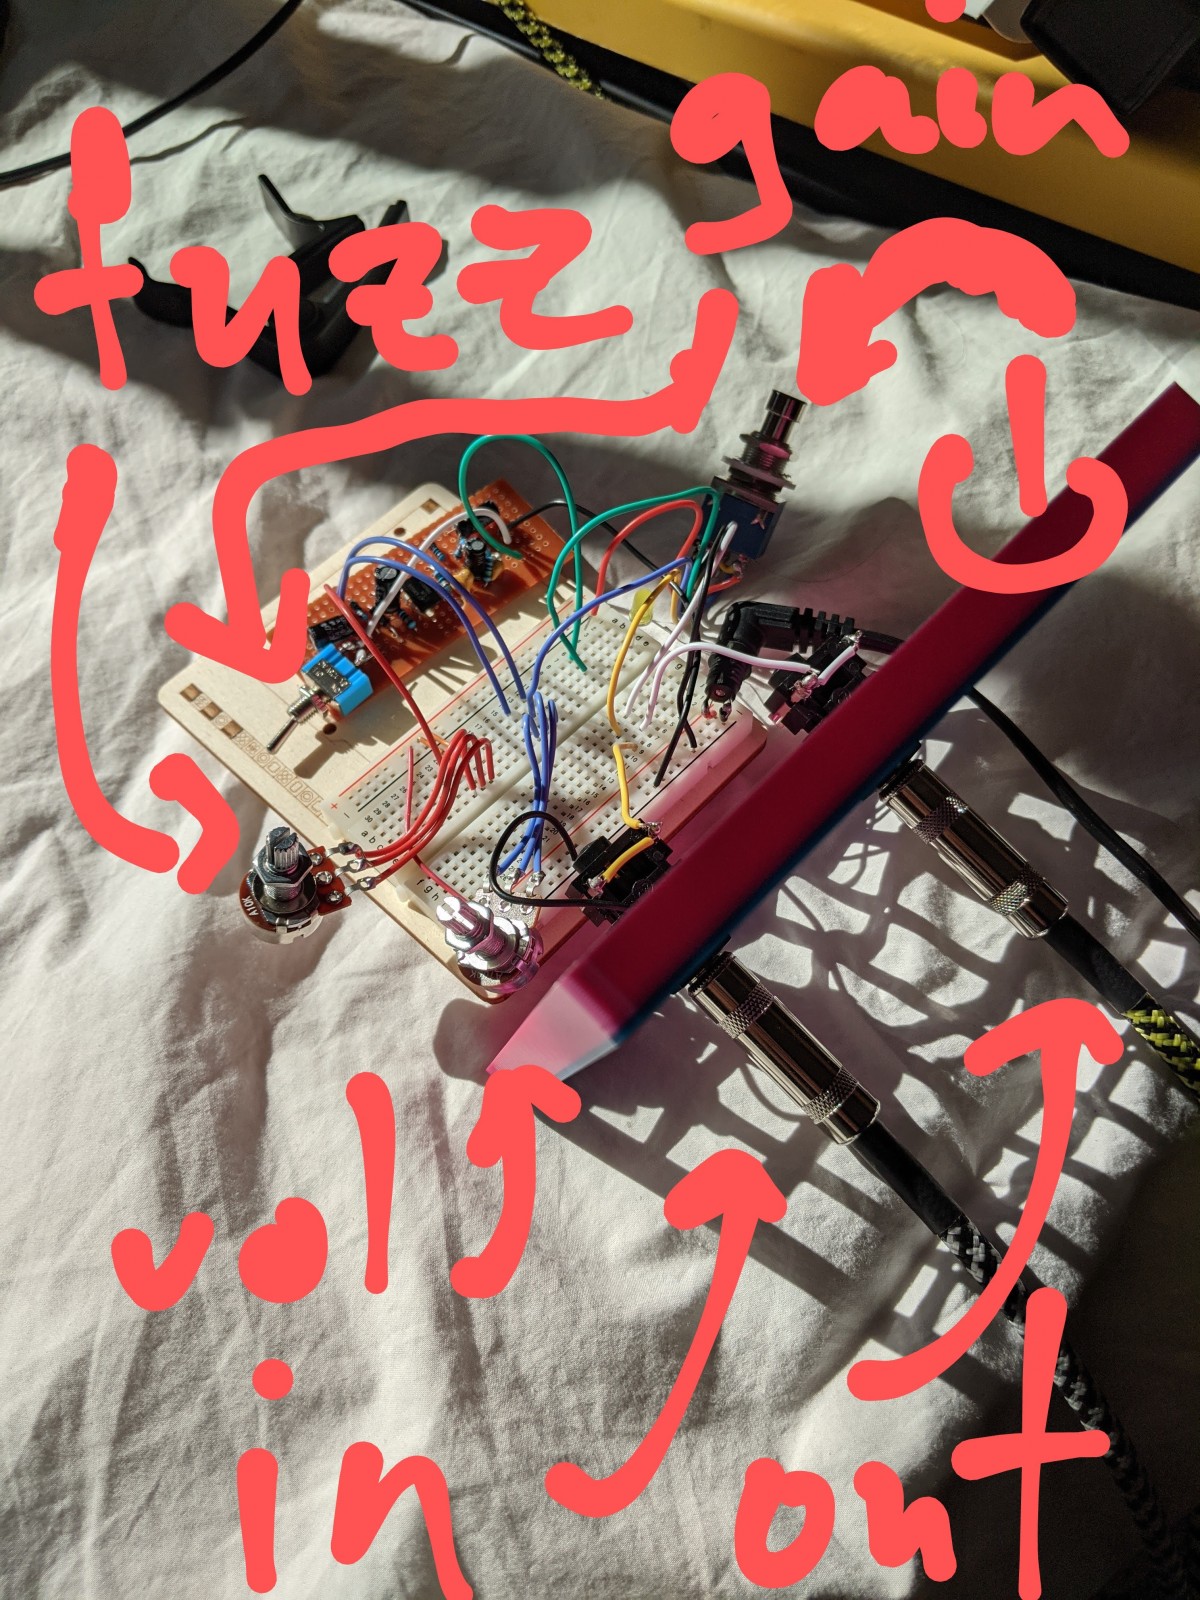
and here's a crude draw up of what things did during the breadboard phase.
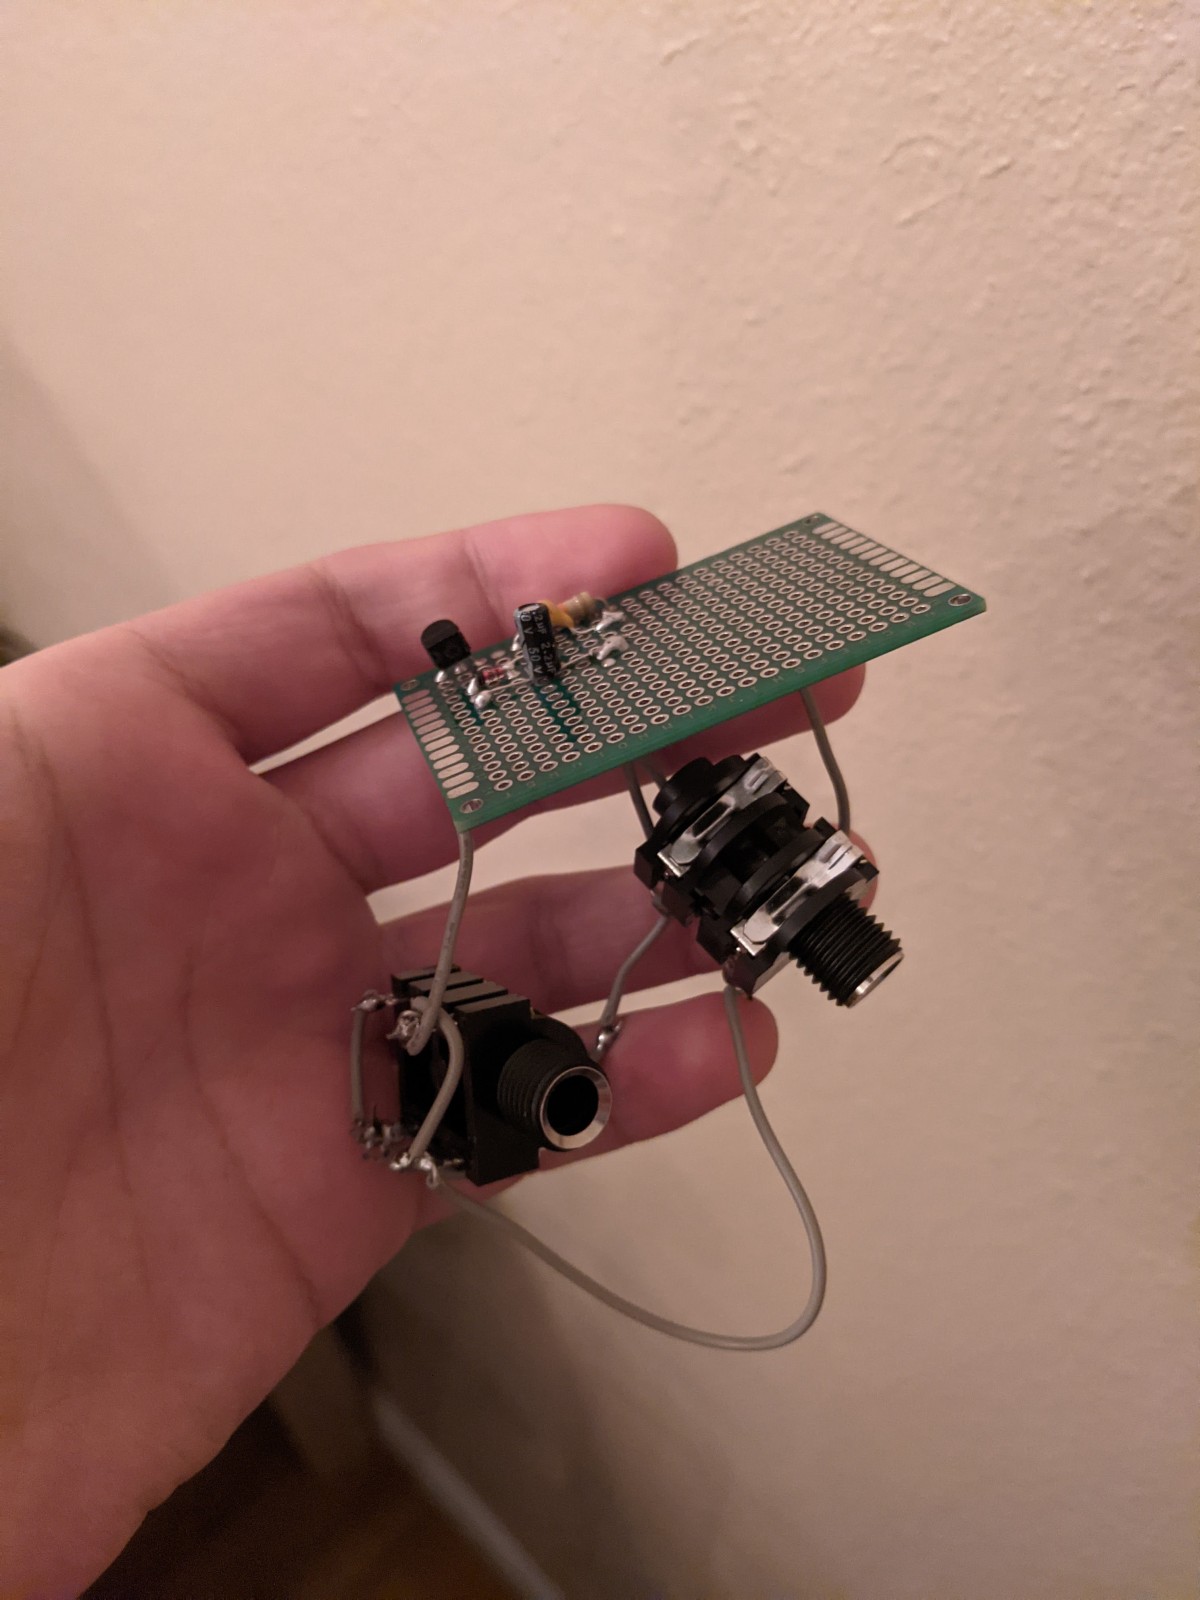
Along the way, I tried some very simple (yet unsuccessful) pedals
and some very difficult (also unsuccessful) pedals
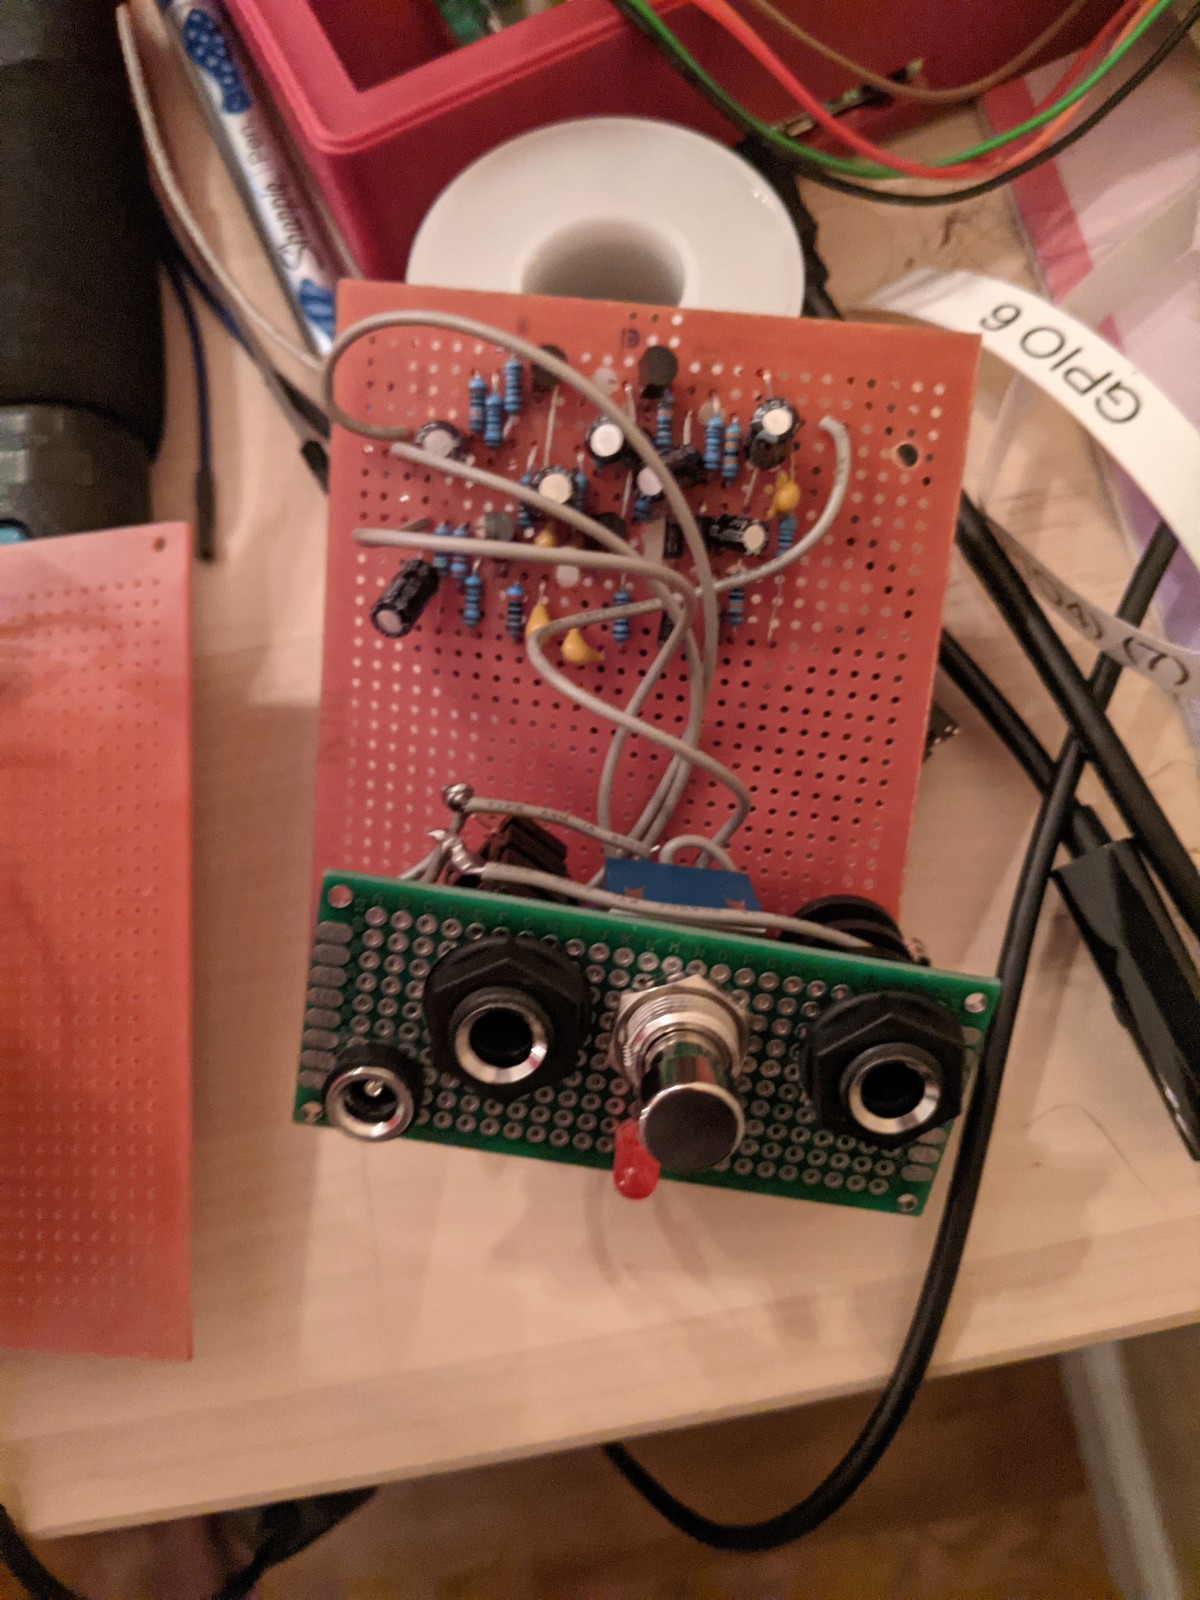
to the point where I had to debug a regular ol extend-o true bypass pedal
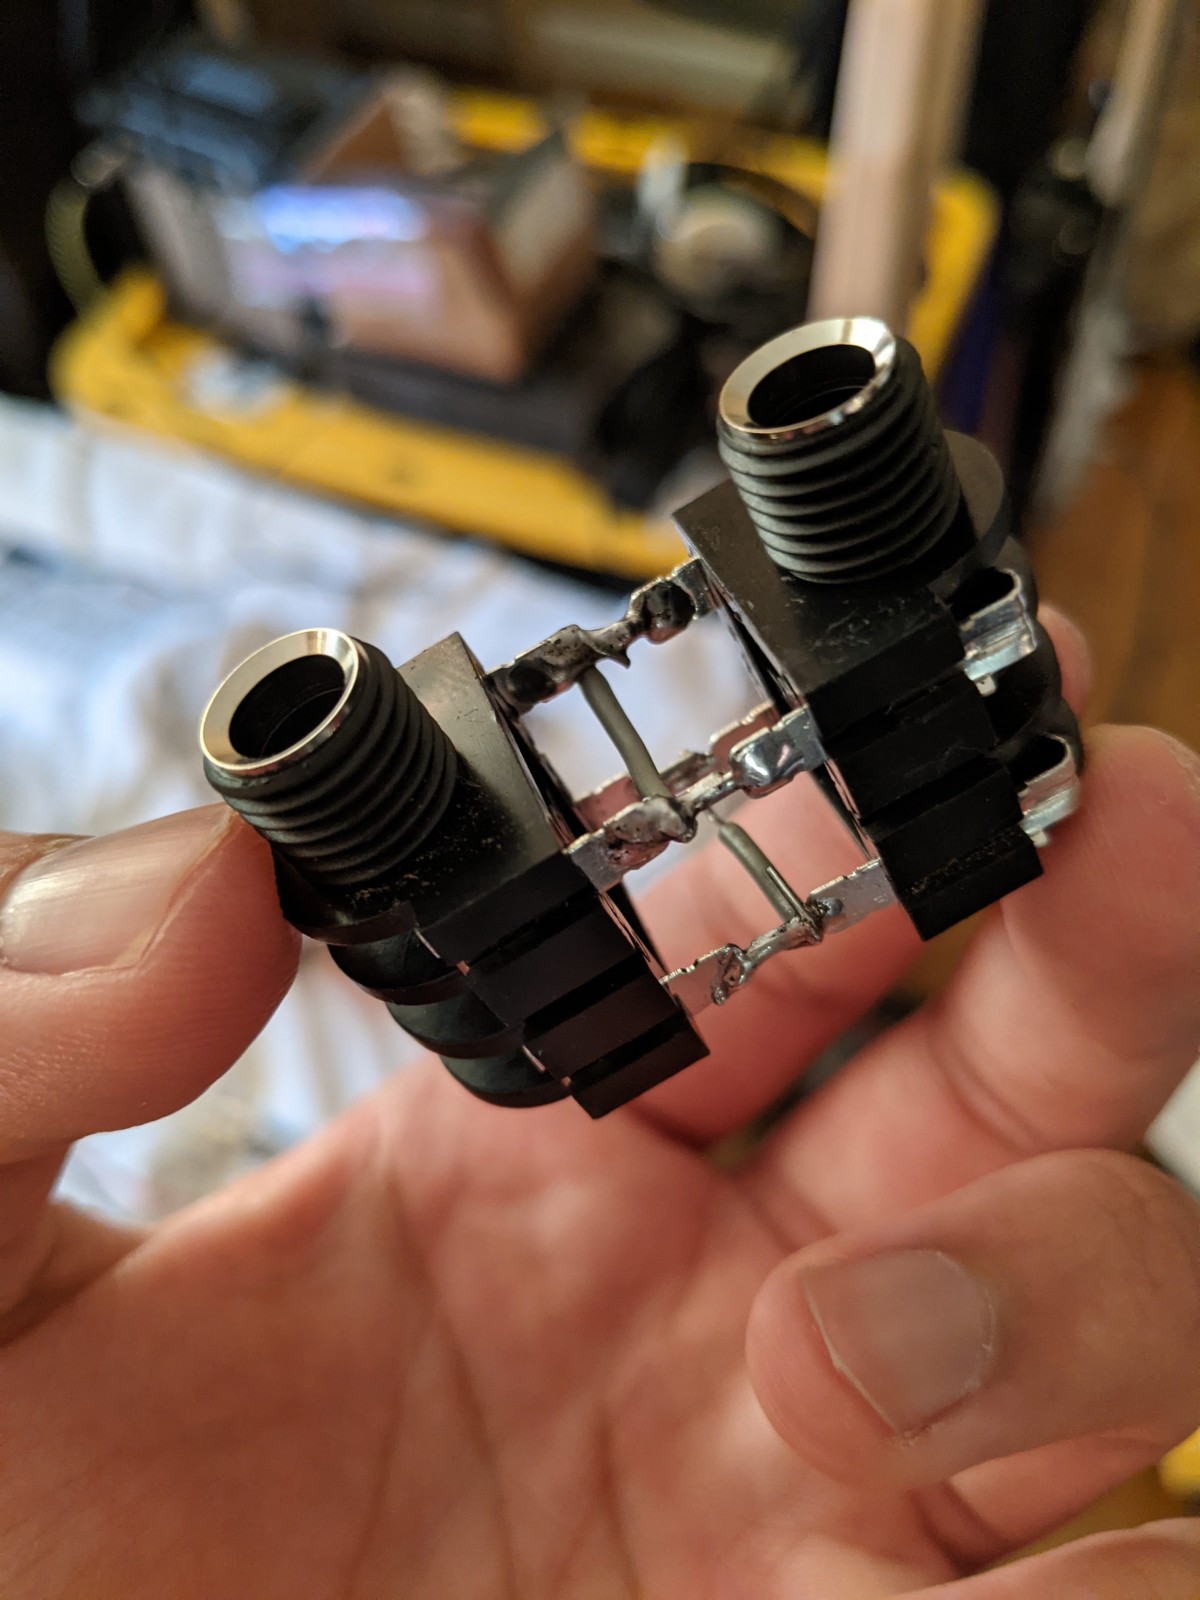
which took longer than I care to admit! (because a quote unquote bypass pedal is literally just two mono jacks soldered together; signal to signal, ground to ground. it should be one of the easiest things to debug in this type of project but so it goes)
There were some middle points of success, however, first getting the LED to light up and then getting the true bypass to work through the 3PDT footswitch correctly
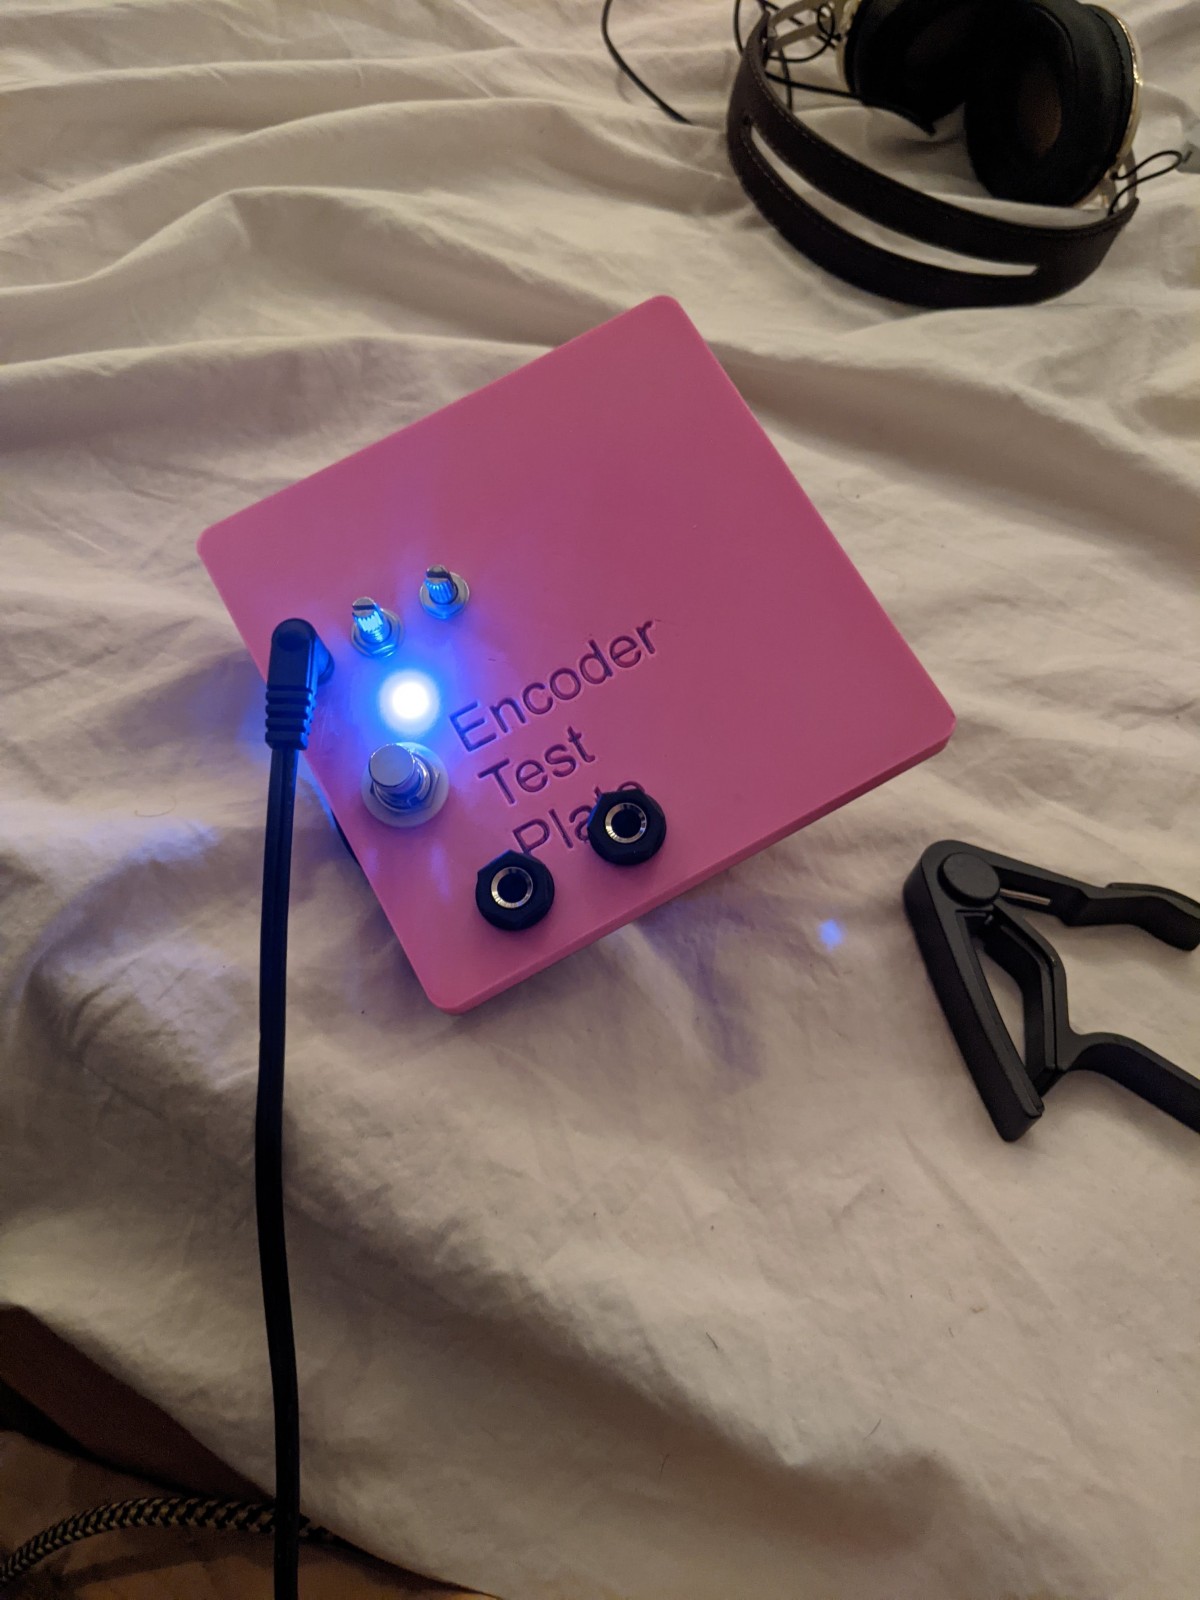
Trying to build pedals has been fun, and it's been great learning experience going into synth and other instrument/electronics work. I've gotten a lot better at soldering and a tiny bit better at debugging hardware, both of which I'm fairly proud of! I'm hoping to get to a tremolo/vibrato sort of pedal or module soon, let's see if I figure out a way to do that in the nearish future
24 May 2021
Time for the May monthly update of the Aarav Syngth Experience! I'm writing this one, technically, right as I wrap up June and enter July (that's when I set up this site, so I'm backlogging a couple months). So what did the idea look like back in May of 2021? Well, in material reality, the idea looked something like this a couple days before May started:
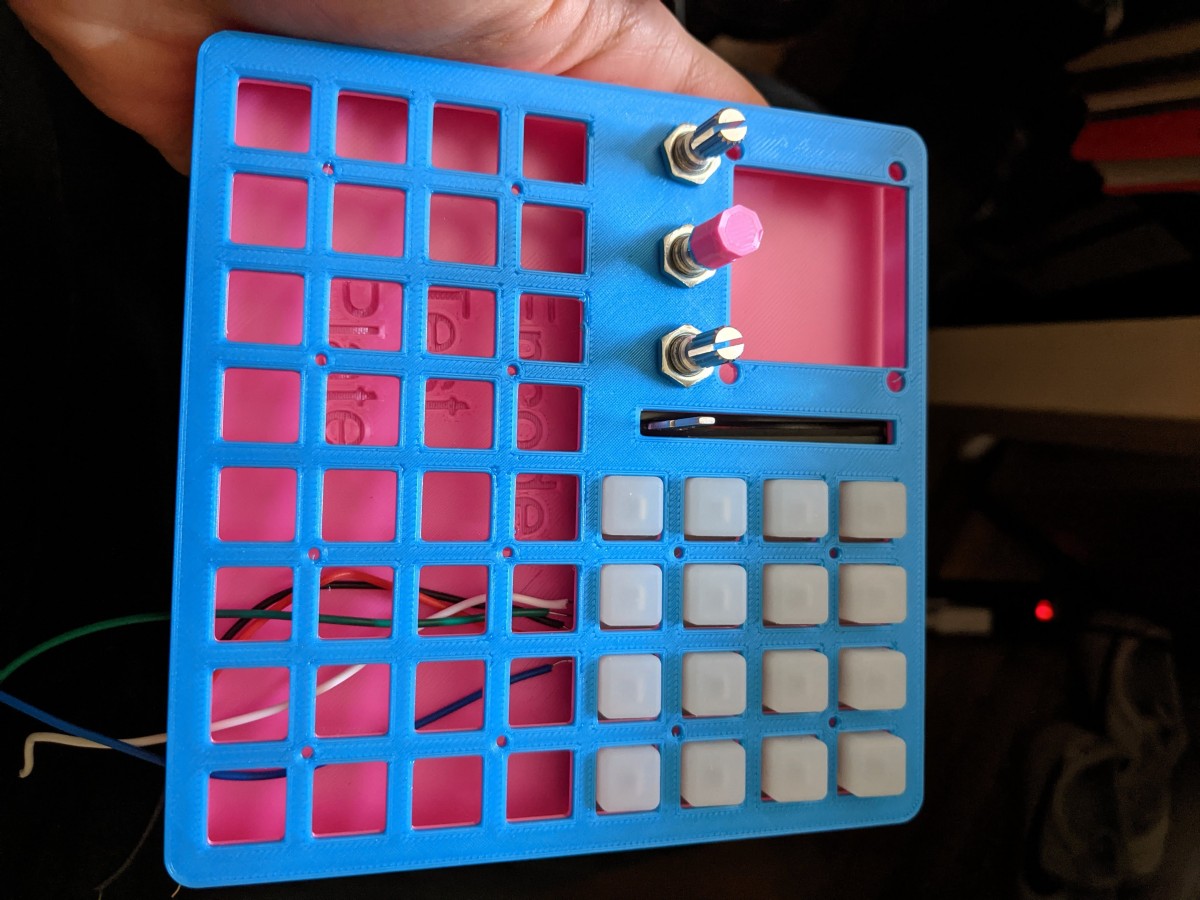
The title of today's blog post, Synthy, has been the working title for this project for a while. I've also called it The Aarav Syngth Experience and ASE v0 in the same vein.
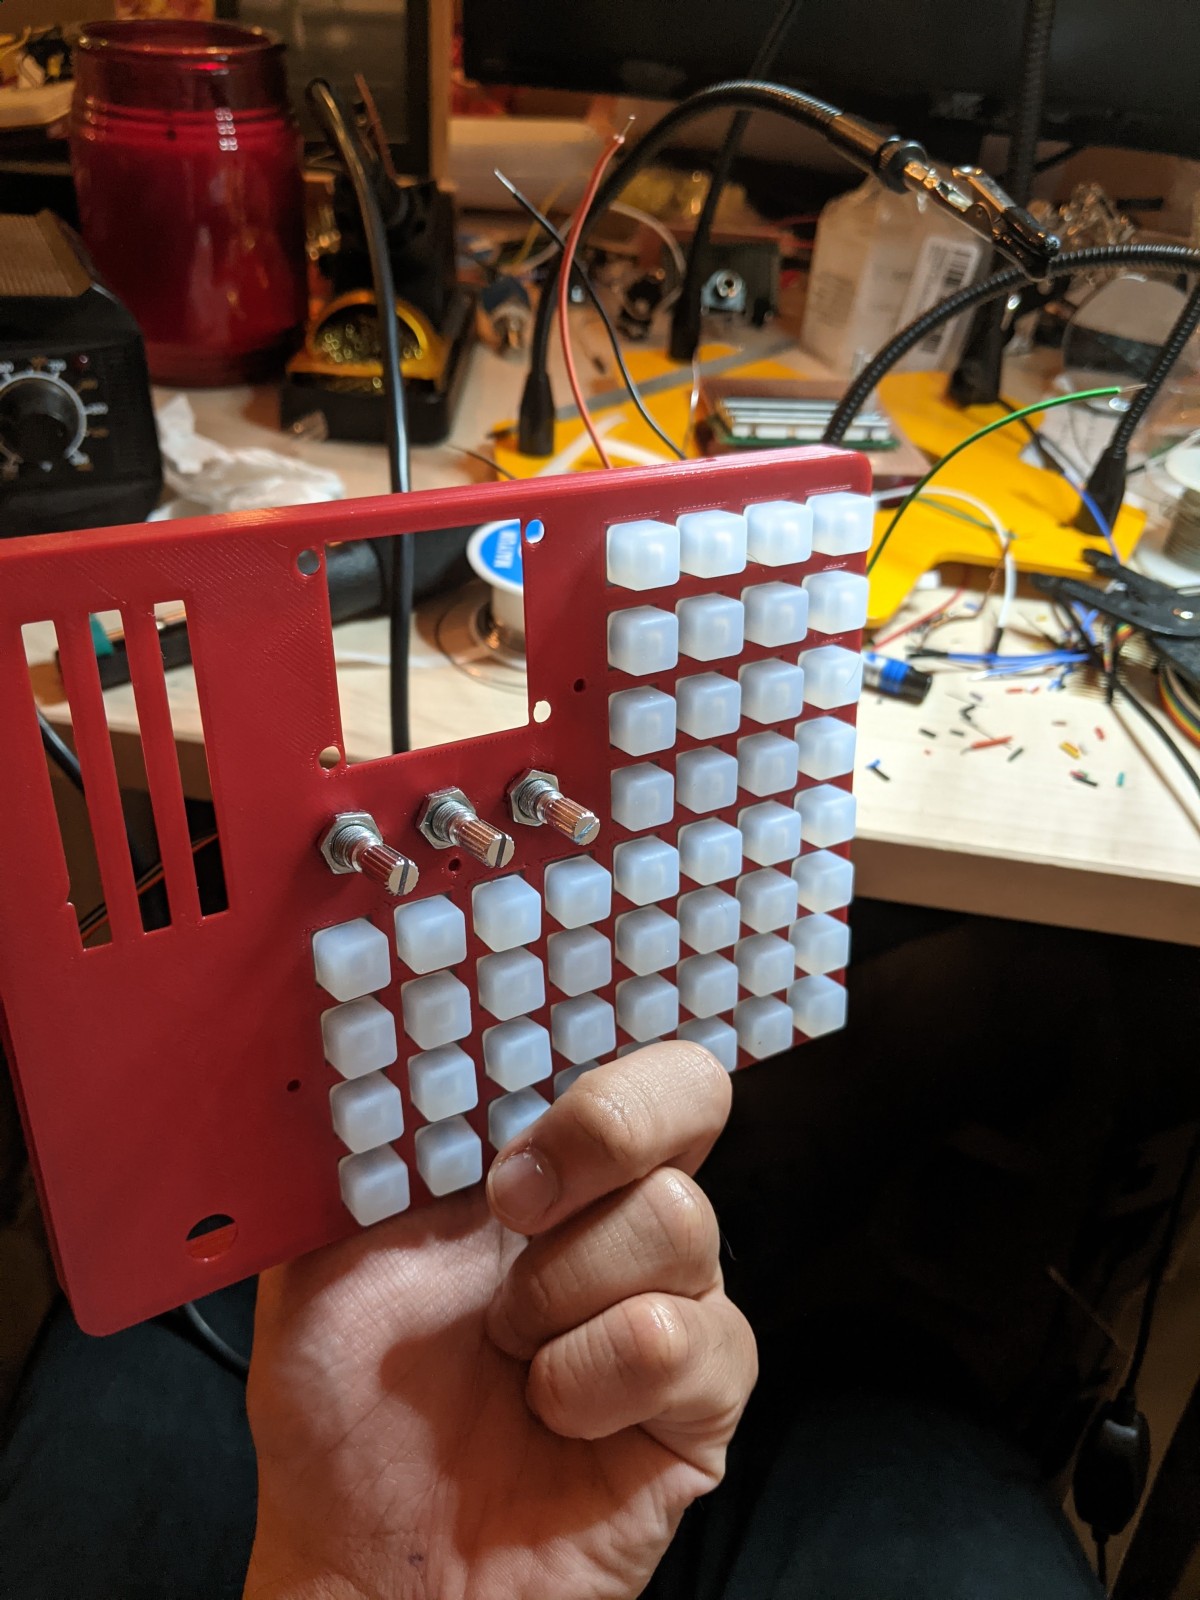
Anyway, at this point there are no brains inside that baby, it's just the outer shell of what a music box could possibly be. May was also about the time that I figured I'd get an OP-1, which you can see side by side next to this iteration of Synthy and an Arturia MiniLab.
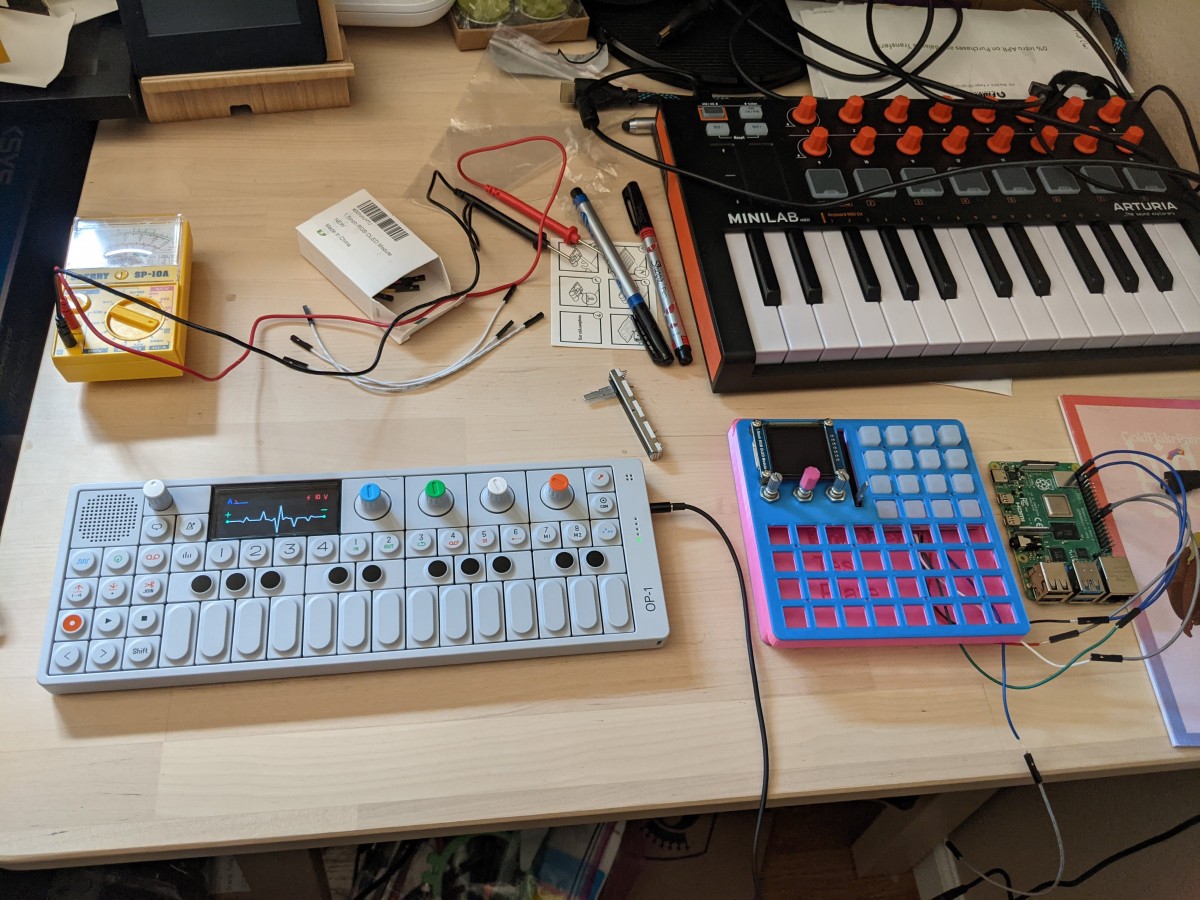
Full disclosure on my music setup, for the few of y'all who may be curious, I also have a Roland F-90 and three guitars (a partially broken Yamaha FG800 which I fashioned into a kalimbatar, an Orangewood Rey Mahogany I picked up on sale after I first broke the Yamaha, and a noname ebay stratocaster I got to see what all this "electric guitar" hubbub is about). It's good gear that serves me well, despite its relative affordability. I've accrued it over the course of almost 20 years (thanks, in huge part, to my parents and favorable circumstances) and I hope to keep it from growing too much more than it has already. I don't think what gear I own is all too important, but it does give some insight into what sorts of instruments I've grown up playing and how my musical perspective has developed.
Getting into Synthy progress for this month, we can start by looking at the baby steps I started with while building out the first motherboard (I refer to the main pcb of Synthy as a "mobo" or "motherboard" but I'm not sure if those terms are truly applicable if we're using a raspi or other single-board computer in conjunction with the main pcb. lmk if you think I should call it something else)
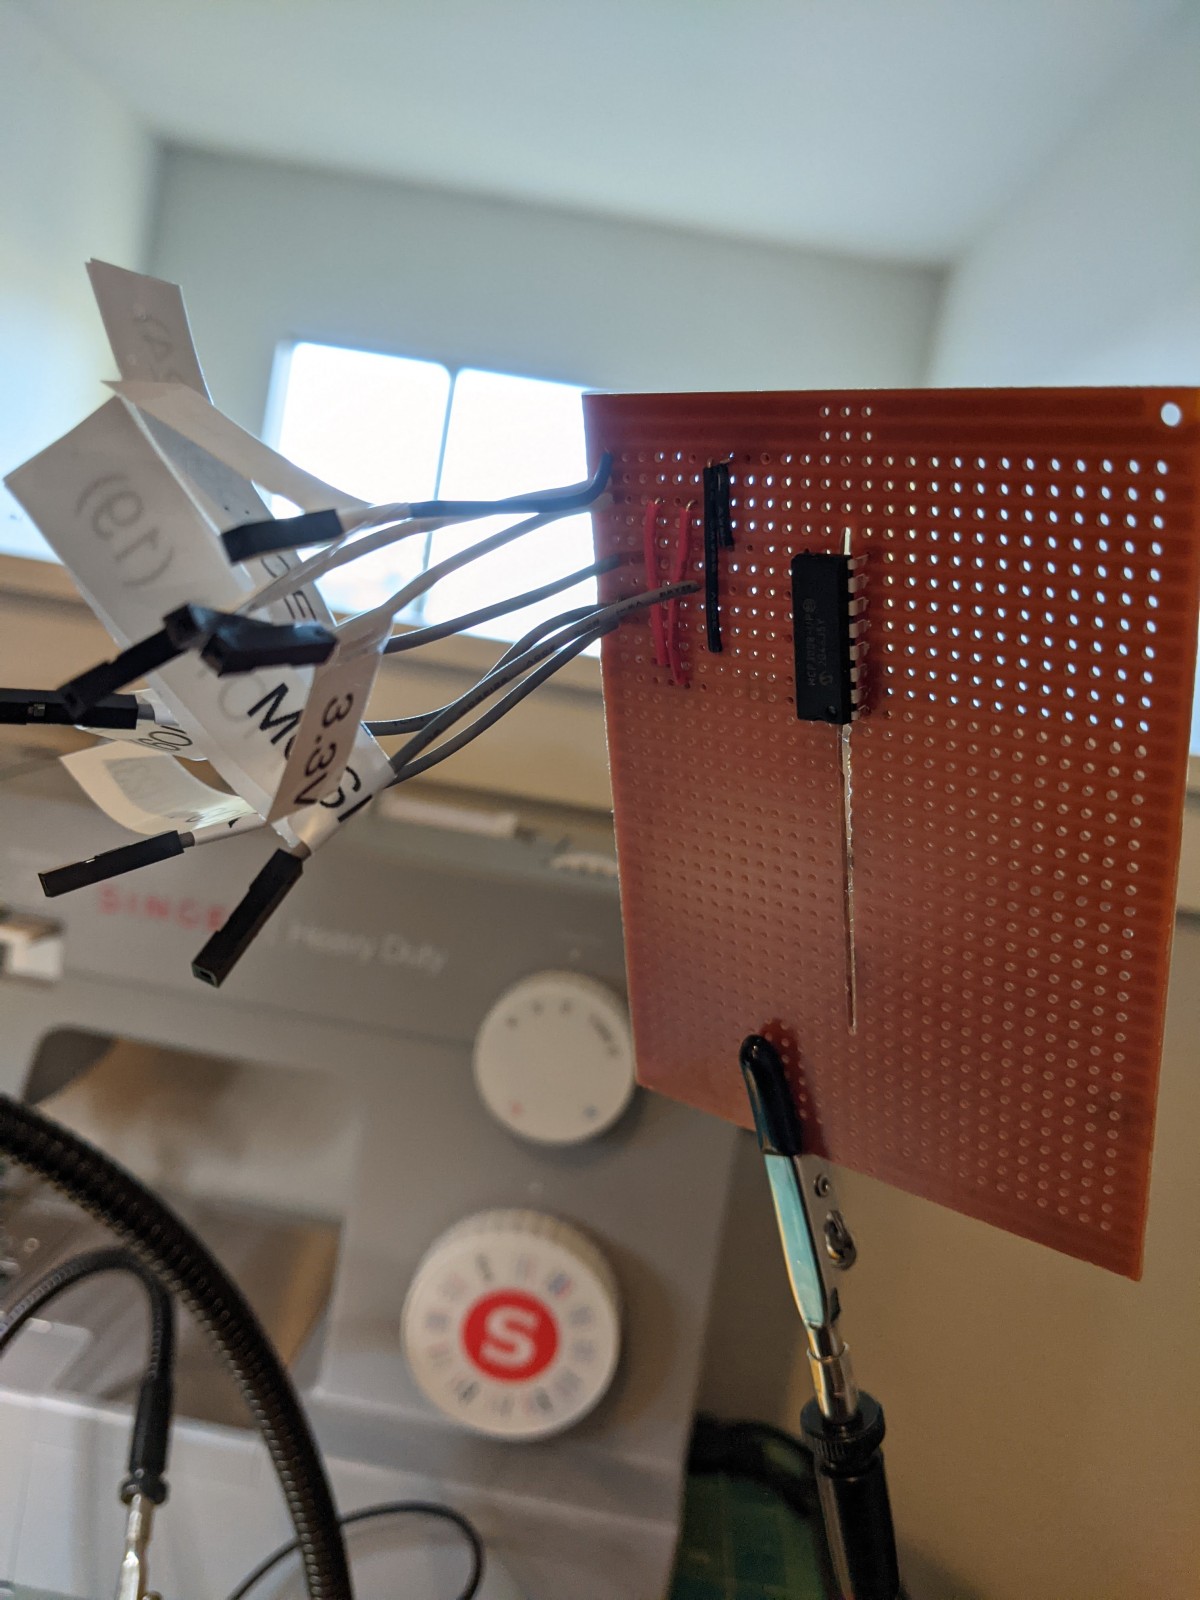
My soldering skills continue to improve with every iteration, and the amount of times I've had to solder these button PCBs has in and of itself contributed to that improvement significantly

On the other hand, I've only soldered the sliders together one time. Like a dream come true honestly
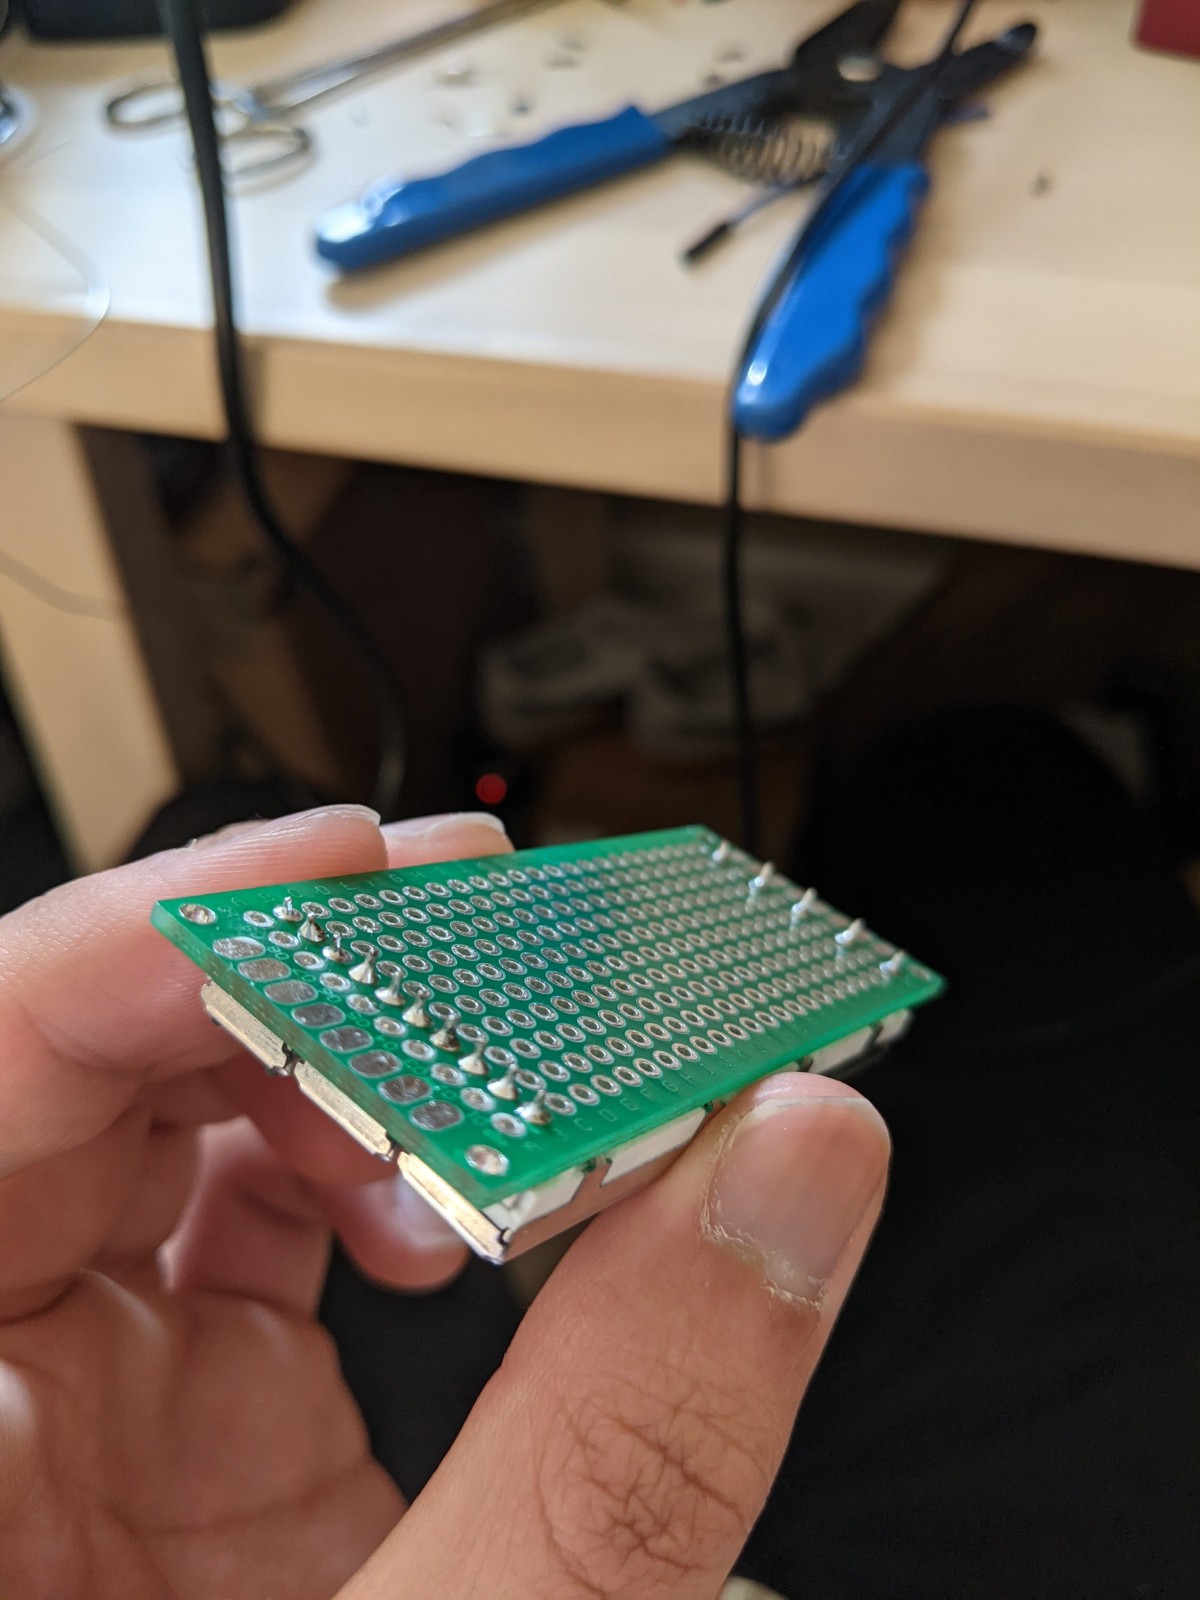
but my buddy Mischa did absolutely destroy at least one slider in a goop of hot solder, no parts have remained completely unharmed during this production process.
After completing a bit of the motherboard, we got the pi, first gen mobo, faceplate, and encoders all fitting inside the box properly
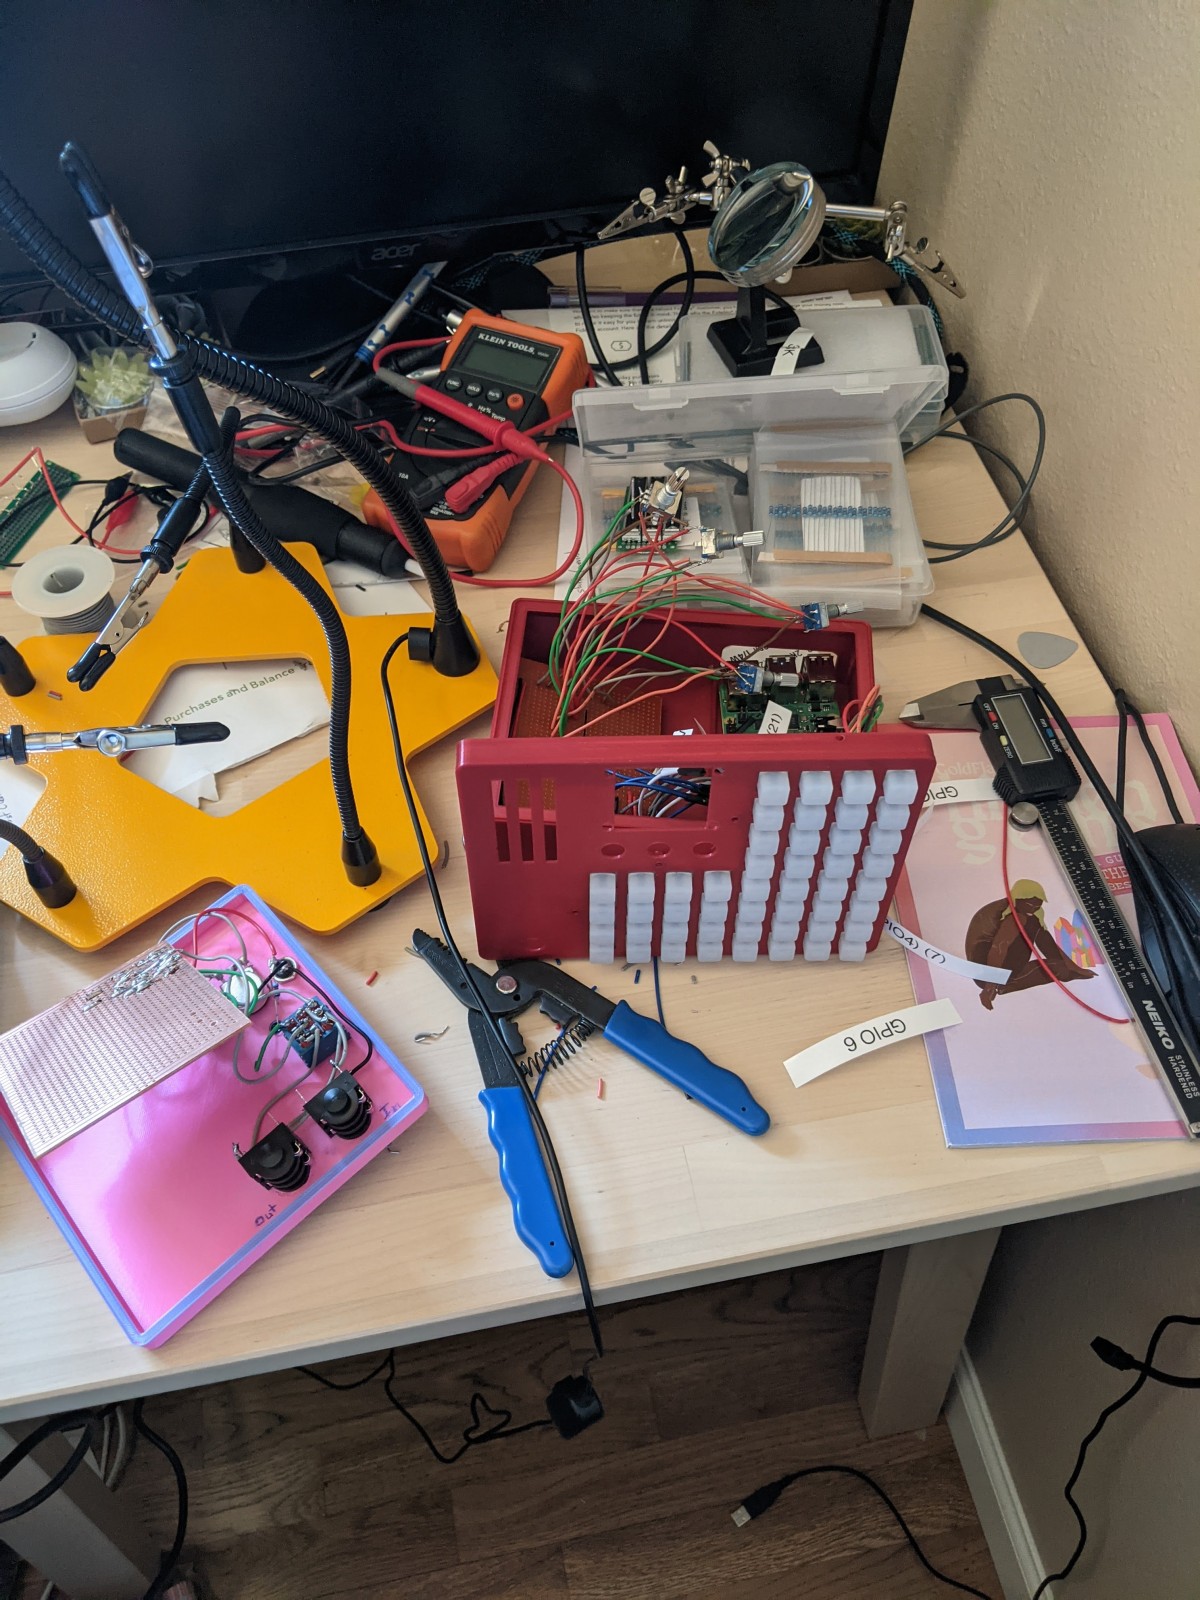
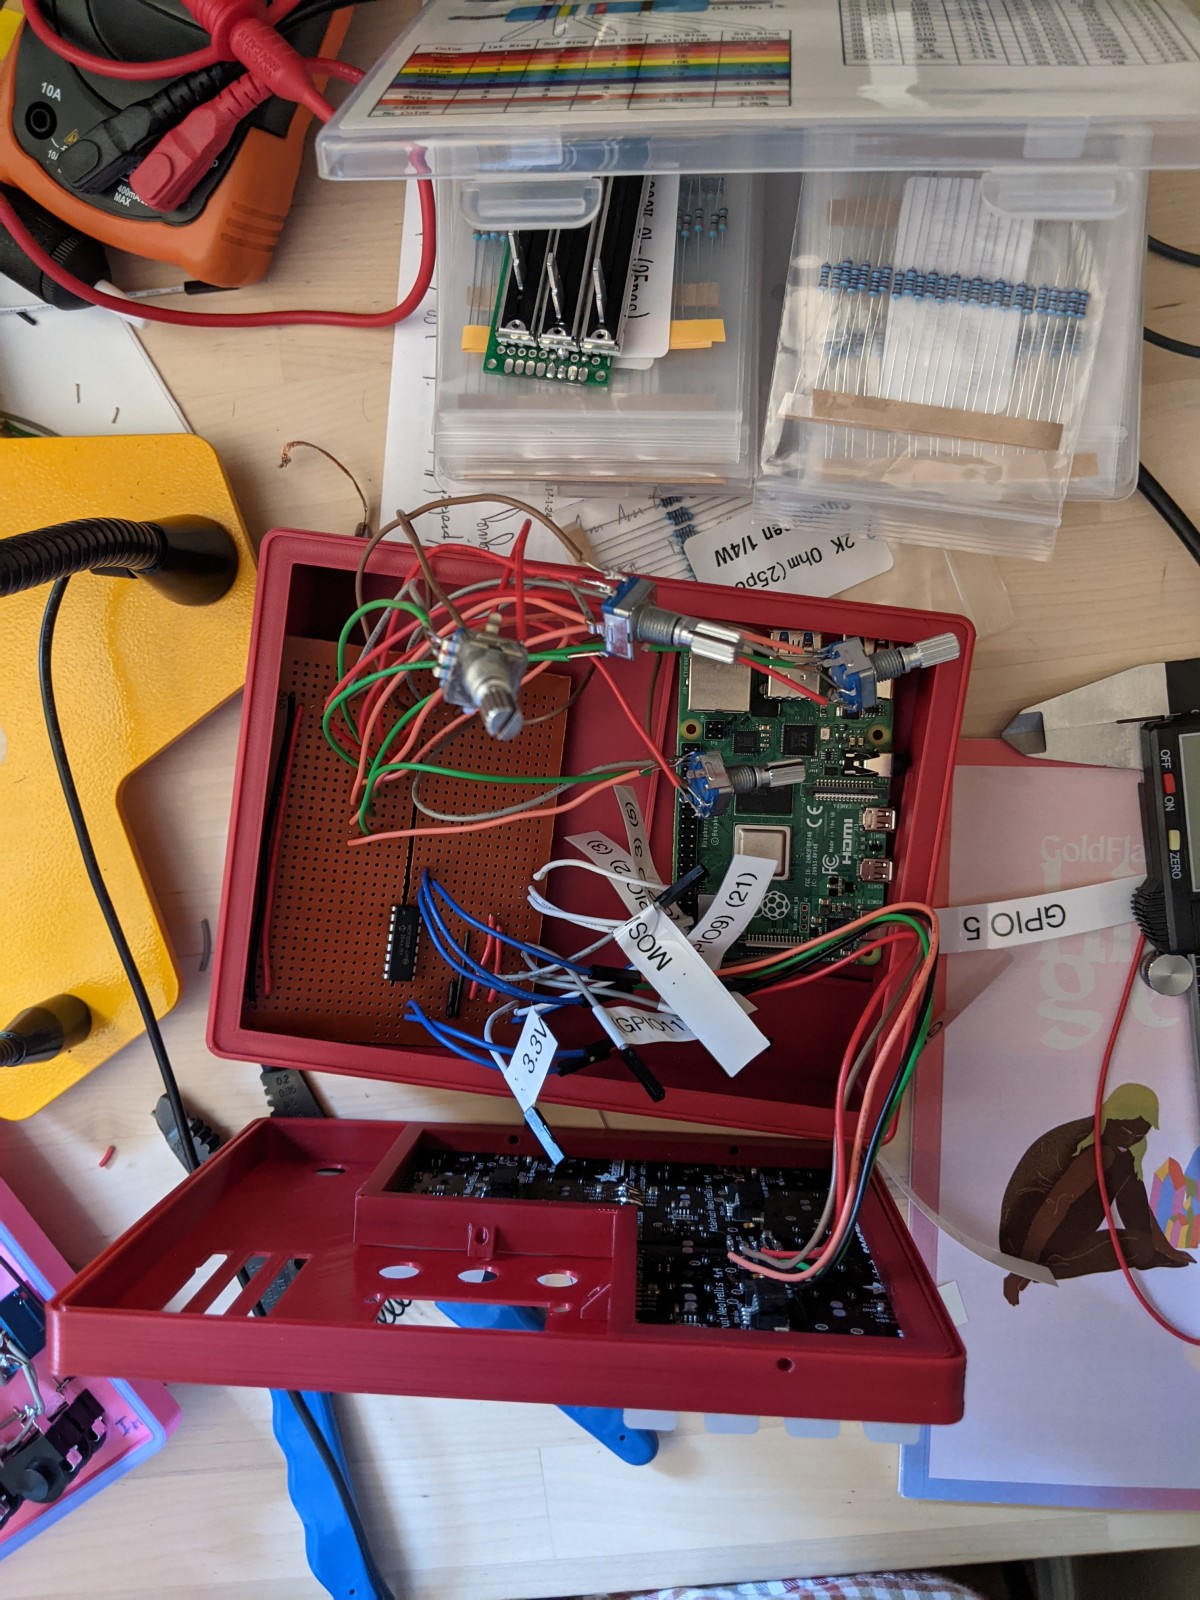
Although that setup works, the testing cycle time was atrocious because of how many plugs everything has. Plugging in/out 10 wires on the pi, 5 wires on the buttons, 10 wires for the encoders, etc, etc. That meant that a major priority for prototyping became cycle efficiency, which led me to ribbon cable! That way, every component (or group of components, ideally) only requires one connection point to the mobo. Here's what the encoders and buttons look like partially ribbonified
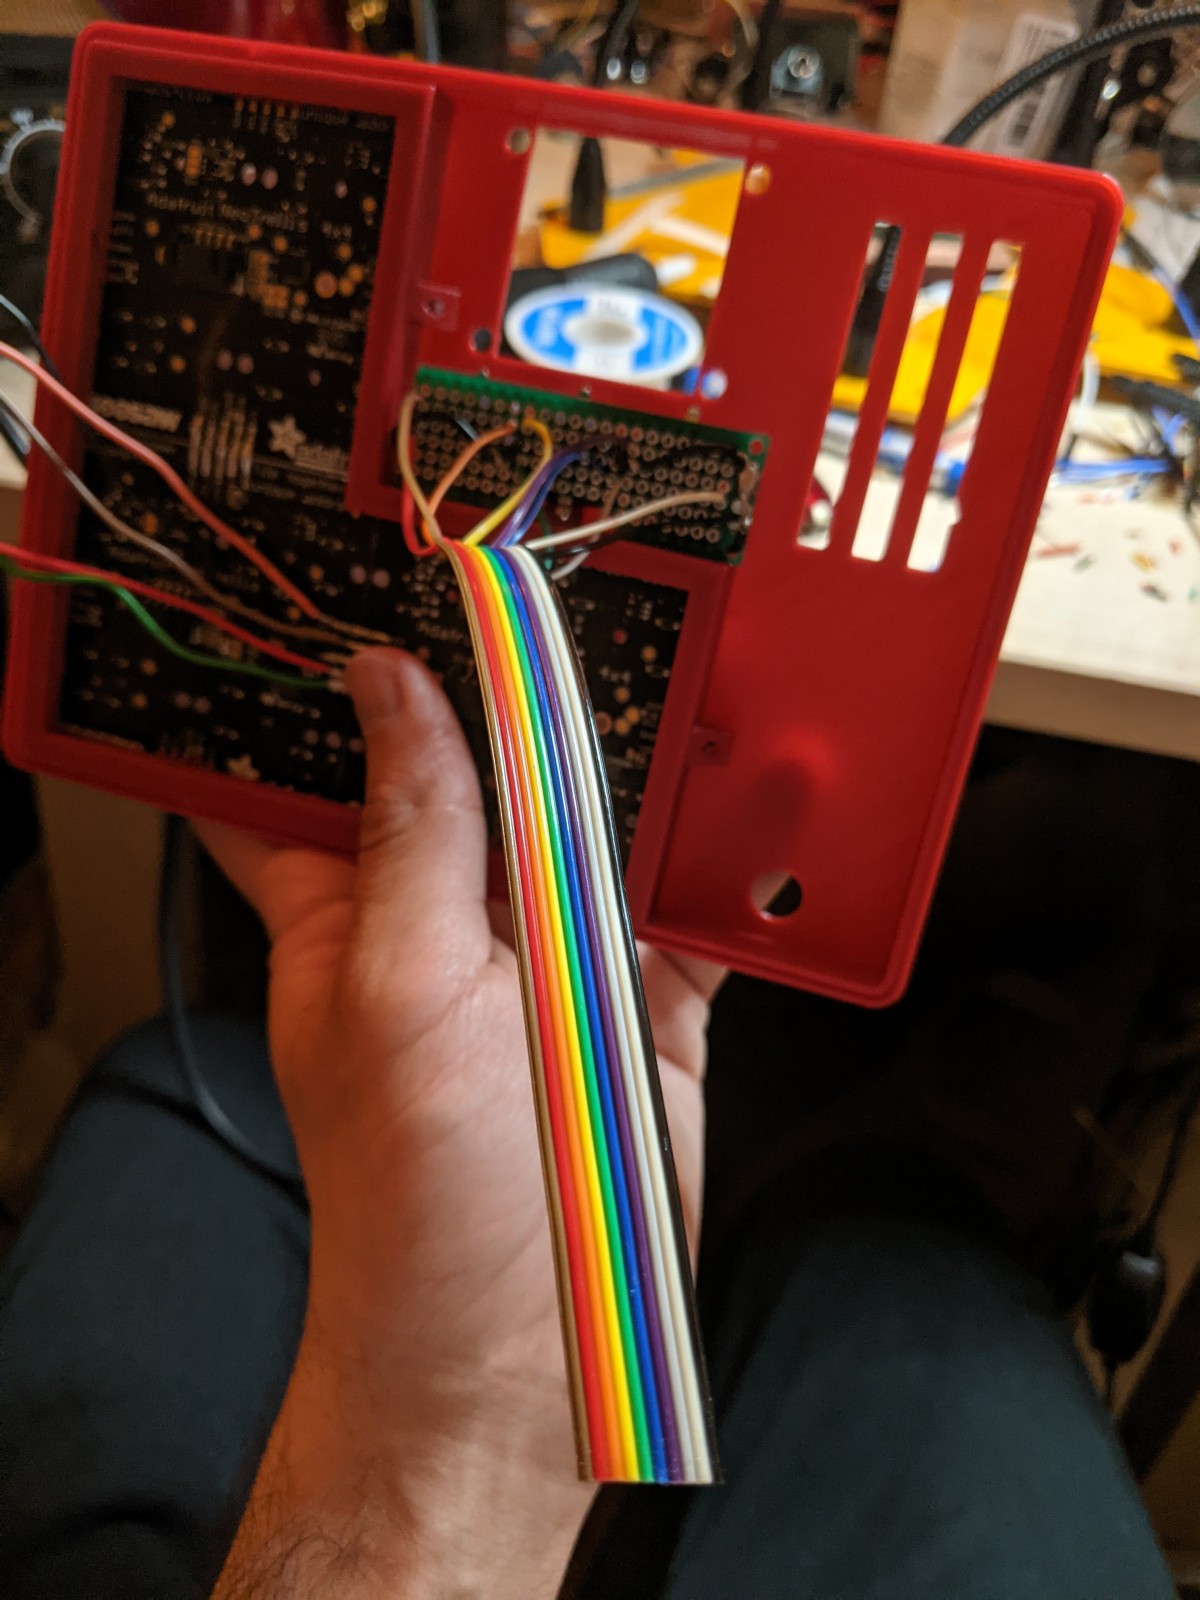
I've saved the next image for last because it's one of the coolest moments I've experienced working on this project. Presumably that's because none of this work was my own, this is a shot of Mischa's apartment with a bunch of (just slightly incorrect) Synthy prints.
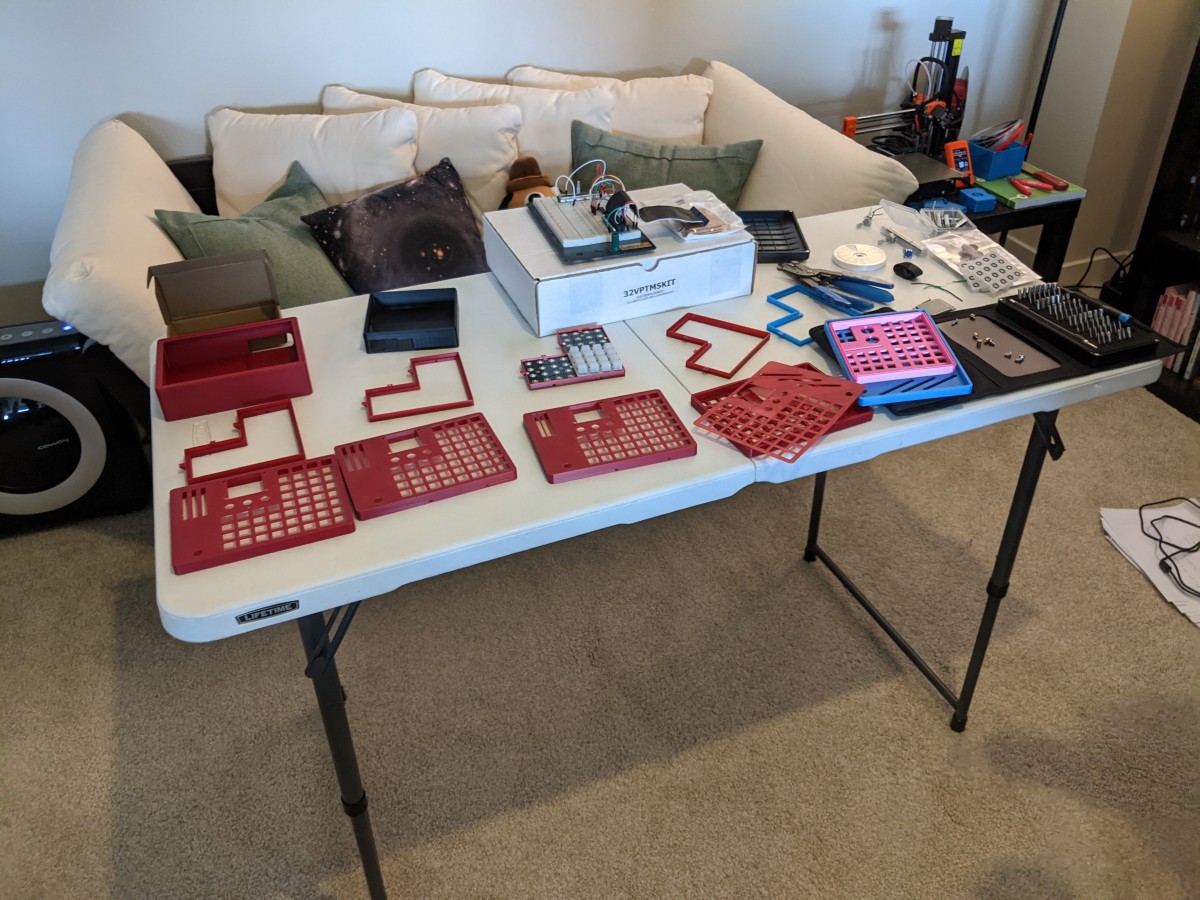
I didn't expect to see about 10 versions of my initial design printed, tested, and iterated on. Walking into that room was a special feeling, and it reminded me of a few things that I'll end with:
- seeing others take one of your ideas and run with it is cool. I want to be able to see people take the instruments I build and run with them, either musically (by playing em) or otherwise (by modding, DIYing their own, creating their own variants of some of the ideas, etc).
- modern DIY technology is incredibly powerful. Despite the fact that I'm fairly limited by resources (compared to big tech companies, if not to individuals), I'm able to take relative control of a complete end-to-end product and make it a reality. I can procure most necessary fabrication/assembly materials myself and outsource specialized production (eg. PCB printing) at relatively affordable cost.
- I'm in a unique situation right now, being able to leverage my experience, passion, and time towards a project I care about. Few people can quit their jobs to pursue passion projects. I'm lucky to be able to sacrifice income and stability for a temporary dream; lucky to have the safety nets necessary to make such a drastic life change. For however long I do get to pursue this, and however far the project gets, I don't intend on taking it for granted. Thanks a bunch (to Mischa especially, for the tireless work and dedication. but also to you, dear reader, for following along for the ride) - this project will, soon enough, come to an end. Here's to hoping that the impact lasts just a bit longer than I do.
29 Apr 2021
Like carpentry but less structurally secure
Woodworking has long been a hobby of mine to varying degrees of success. Although lots of success is possible with great patience and careful thought, lots of success is also possible with very expensive tools that I don't have access to.
I've done my best over the past few months to make some furniture and instrument modifications while I've had access to a full-fledged garage, unbound by the earthly tether of a studio apartment. Here's a bit of what I've done
Bed
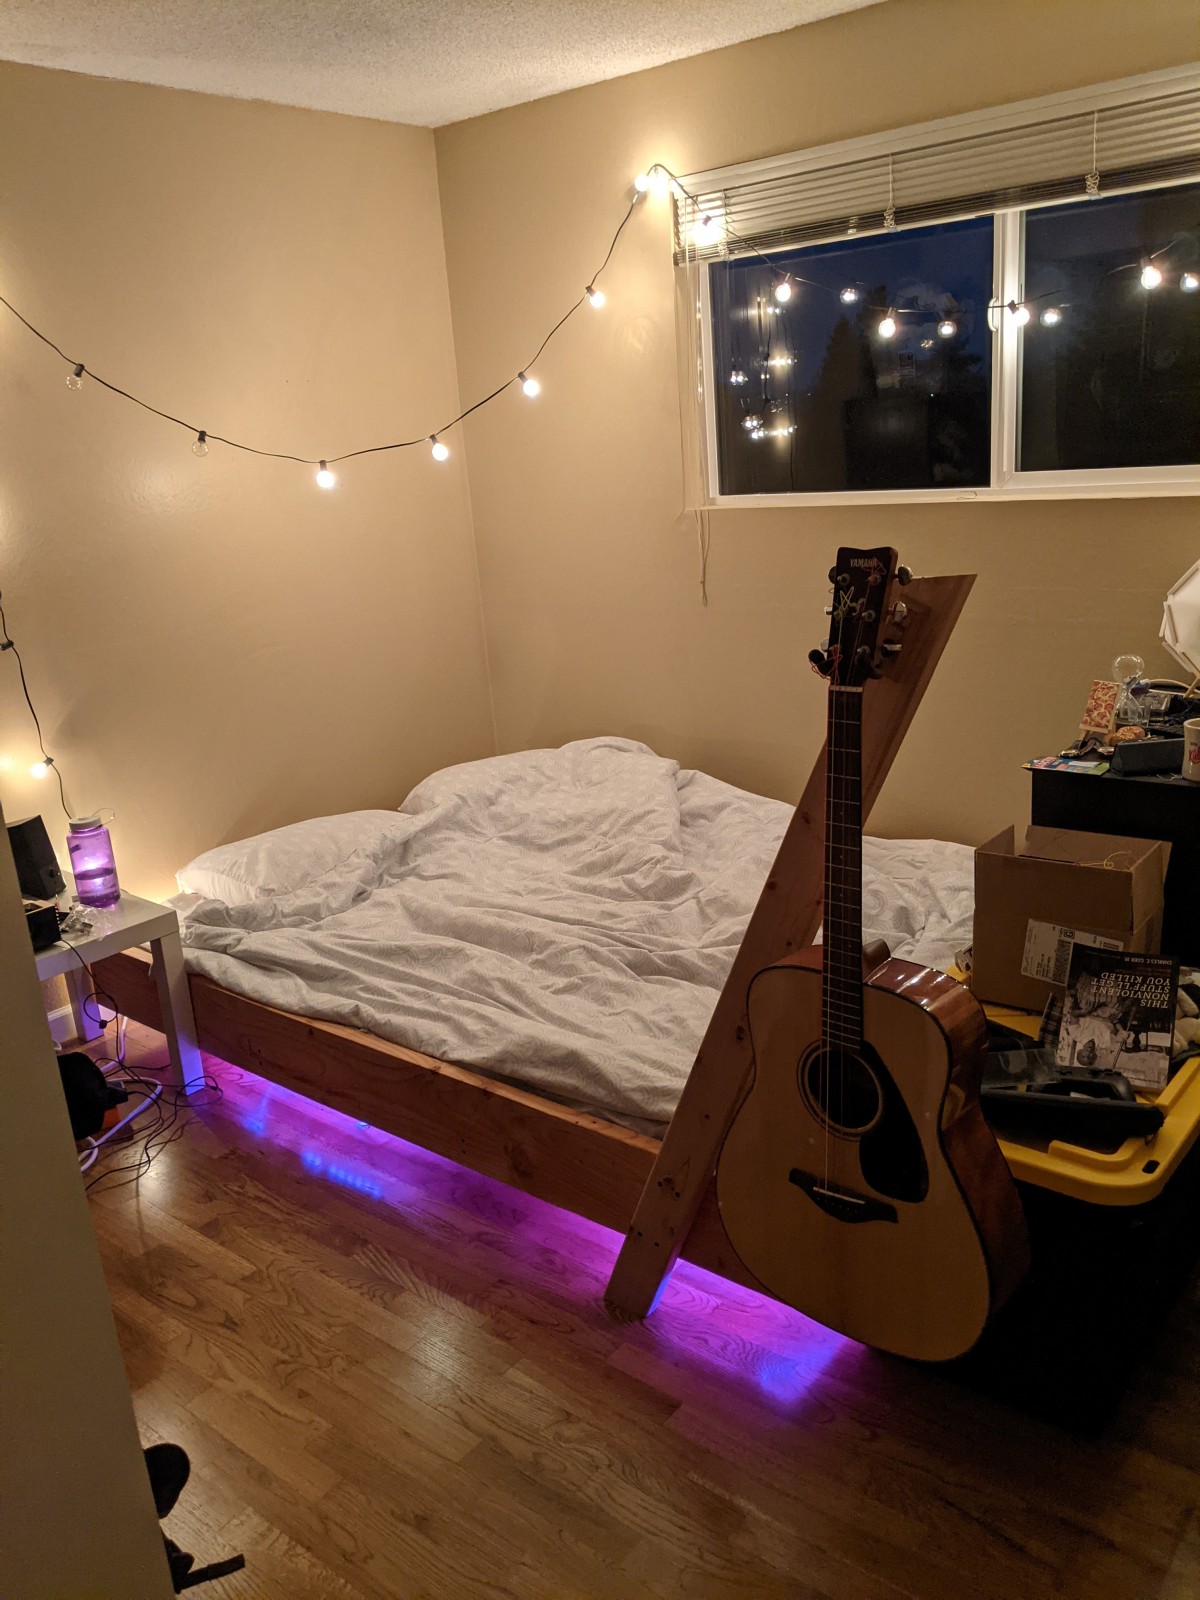
The coolest thing I've built is a floating bed!
I planned it out a bit before working on it.

I started out with one layer,
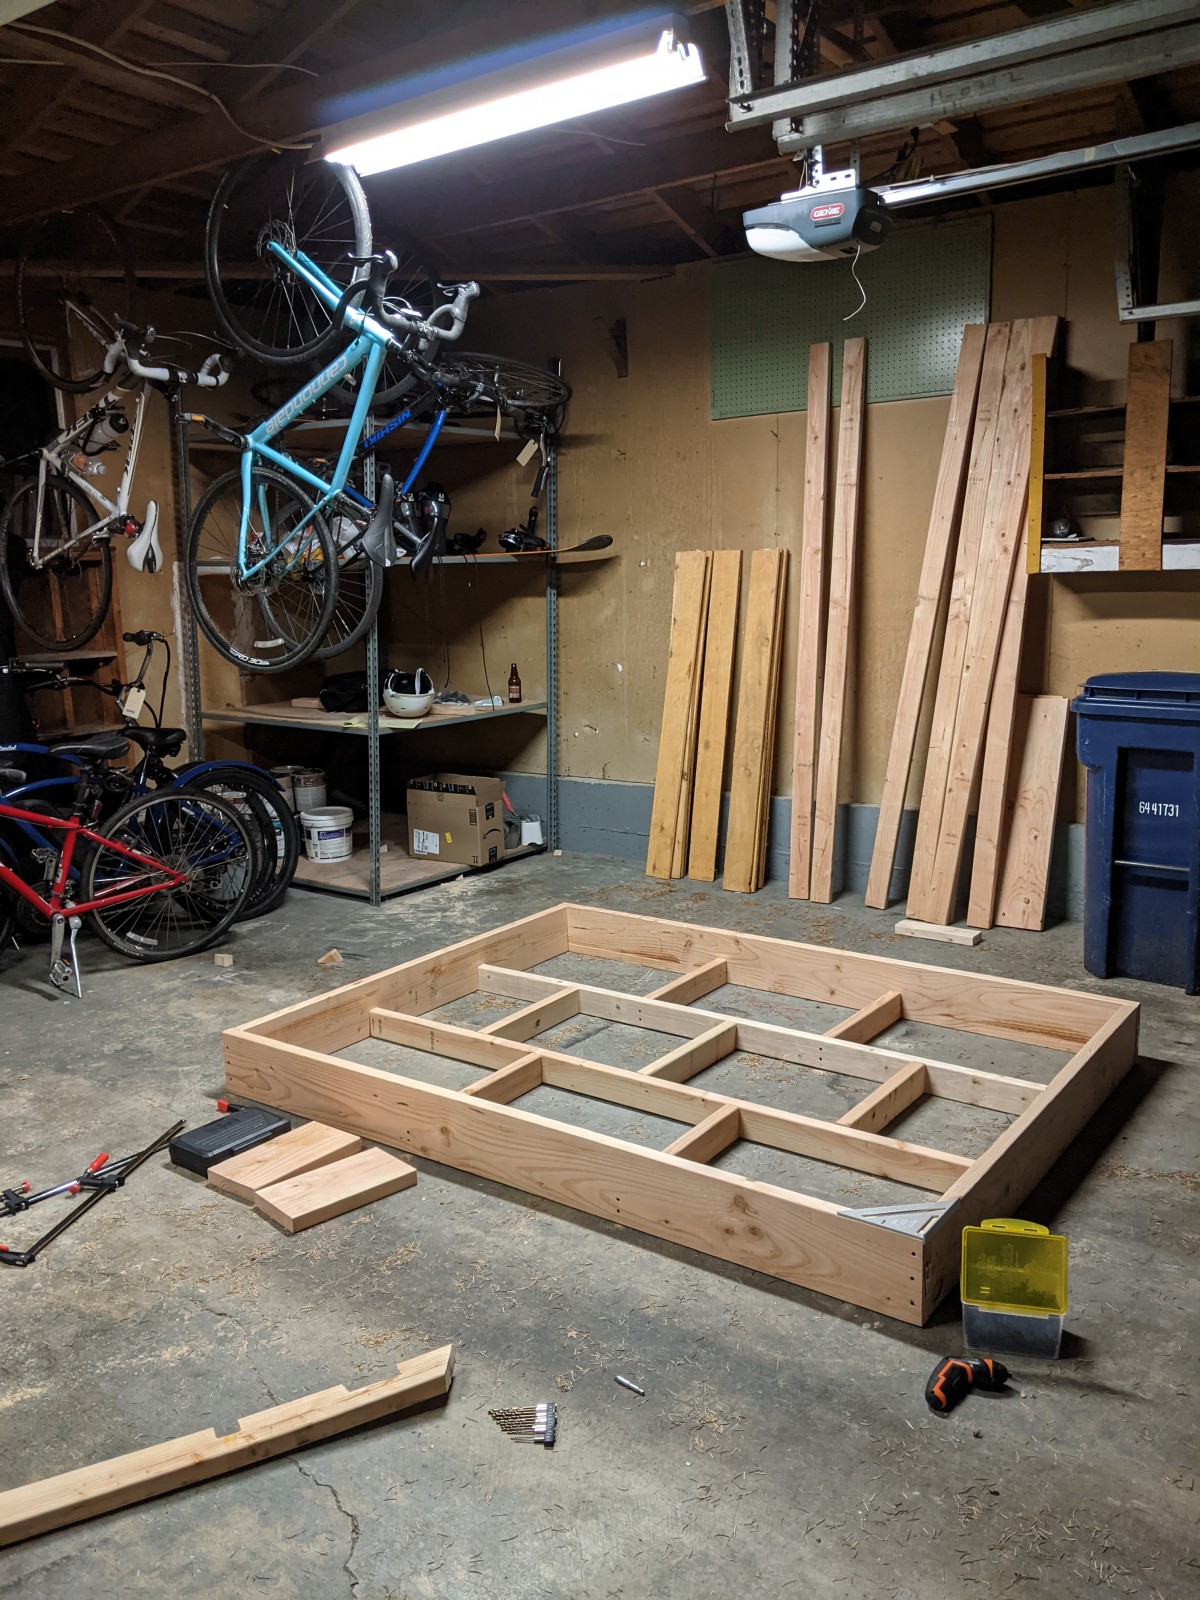
added on the bottom,
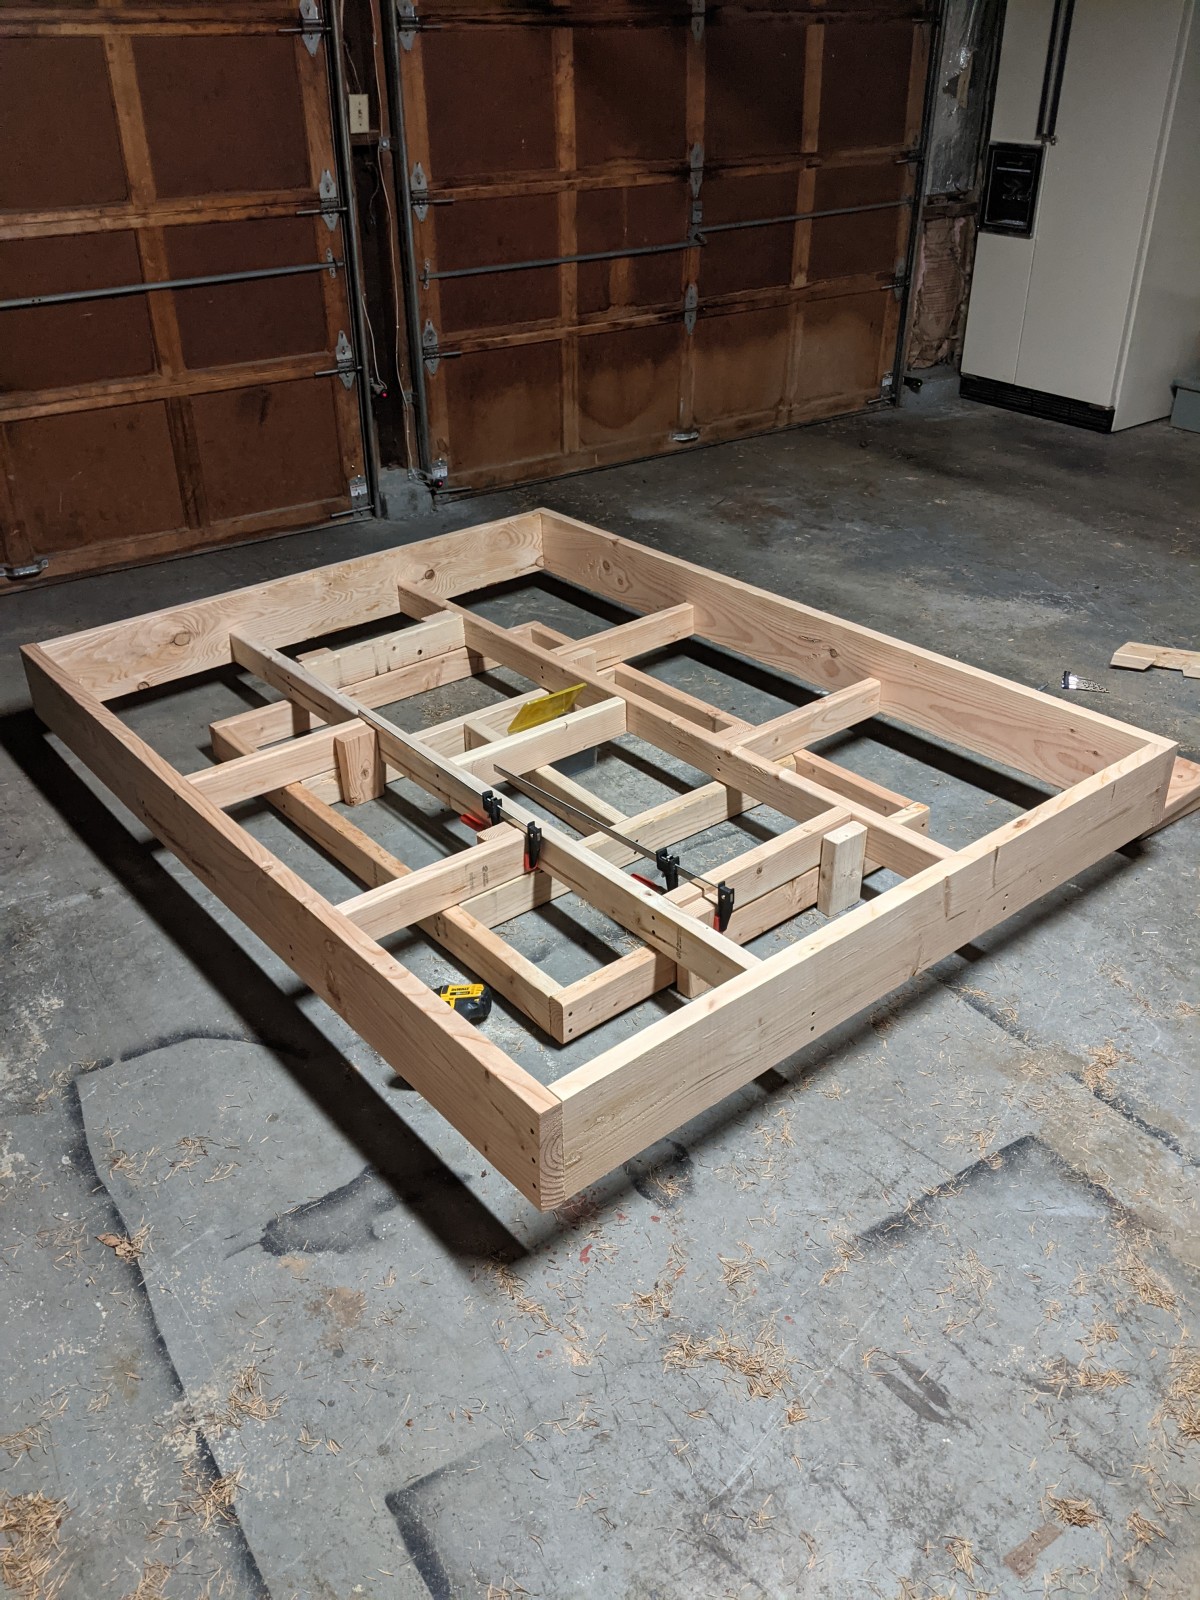
stained it,

added slats,
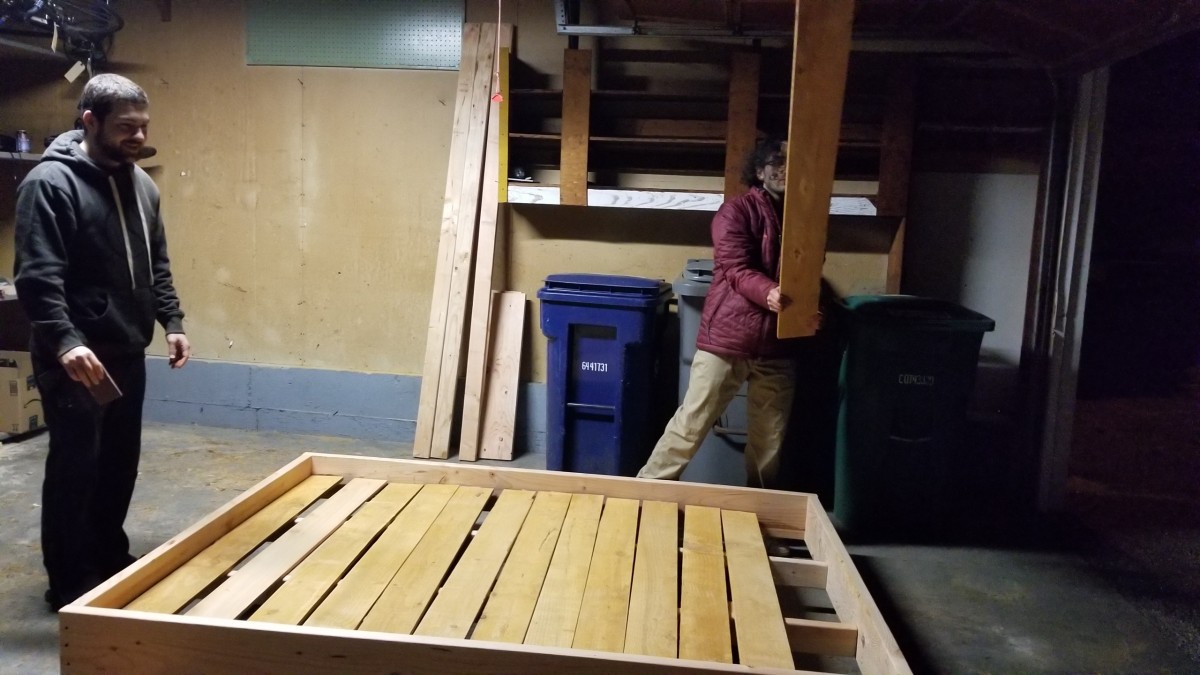
and then I was pretty much done!
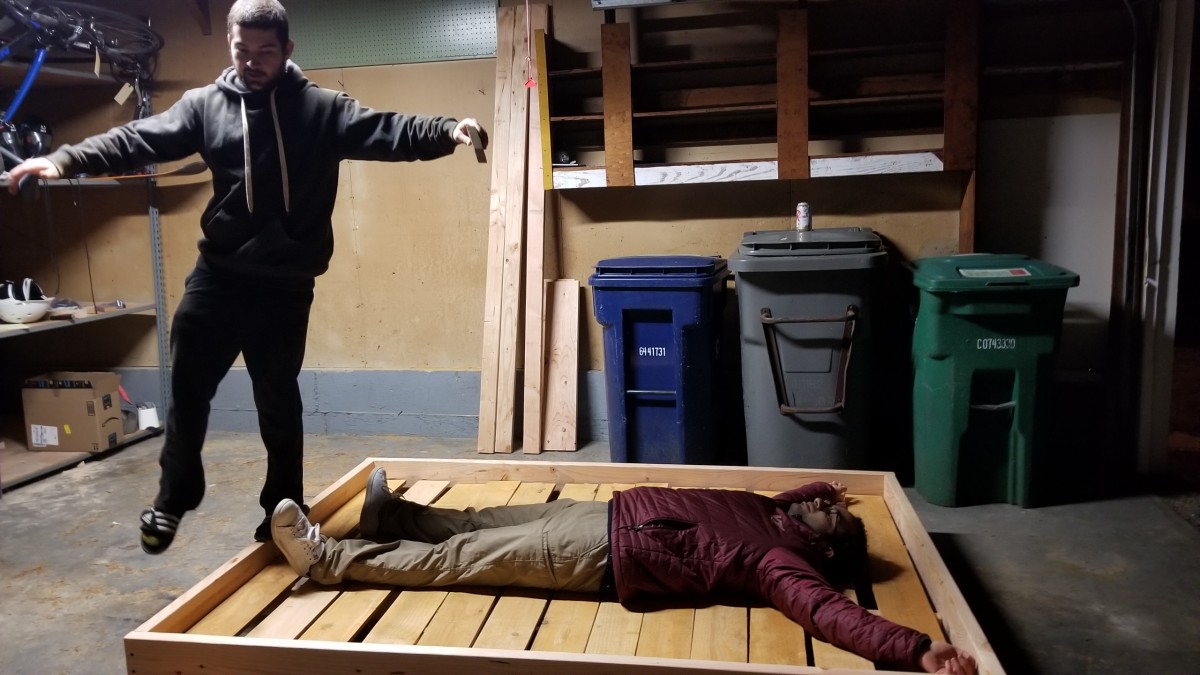
I just had to move it into my room,
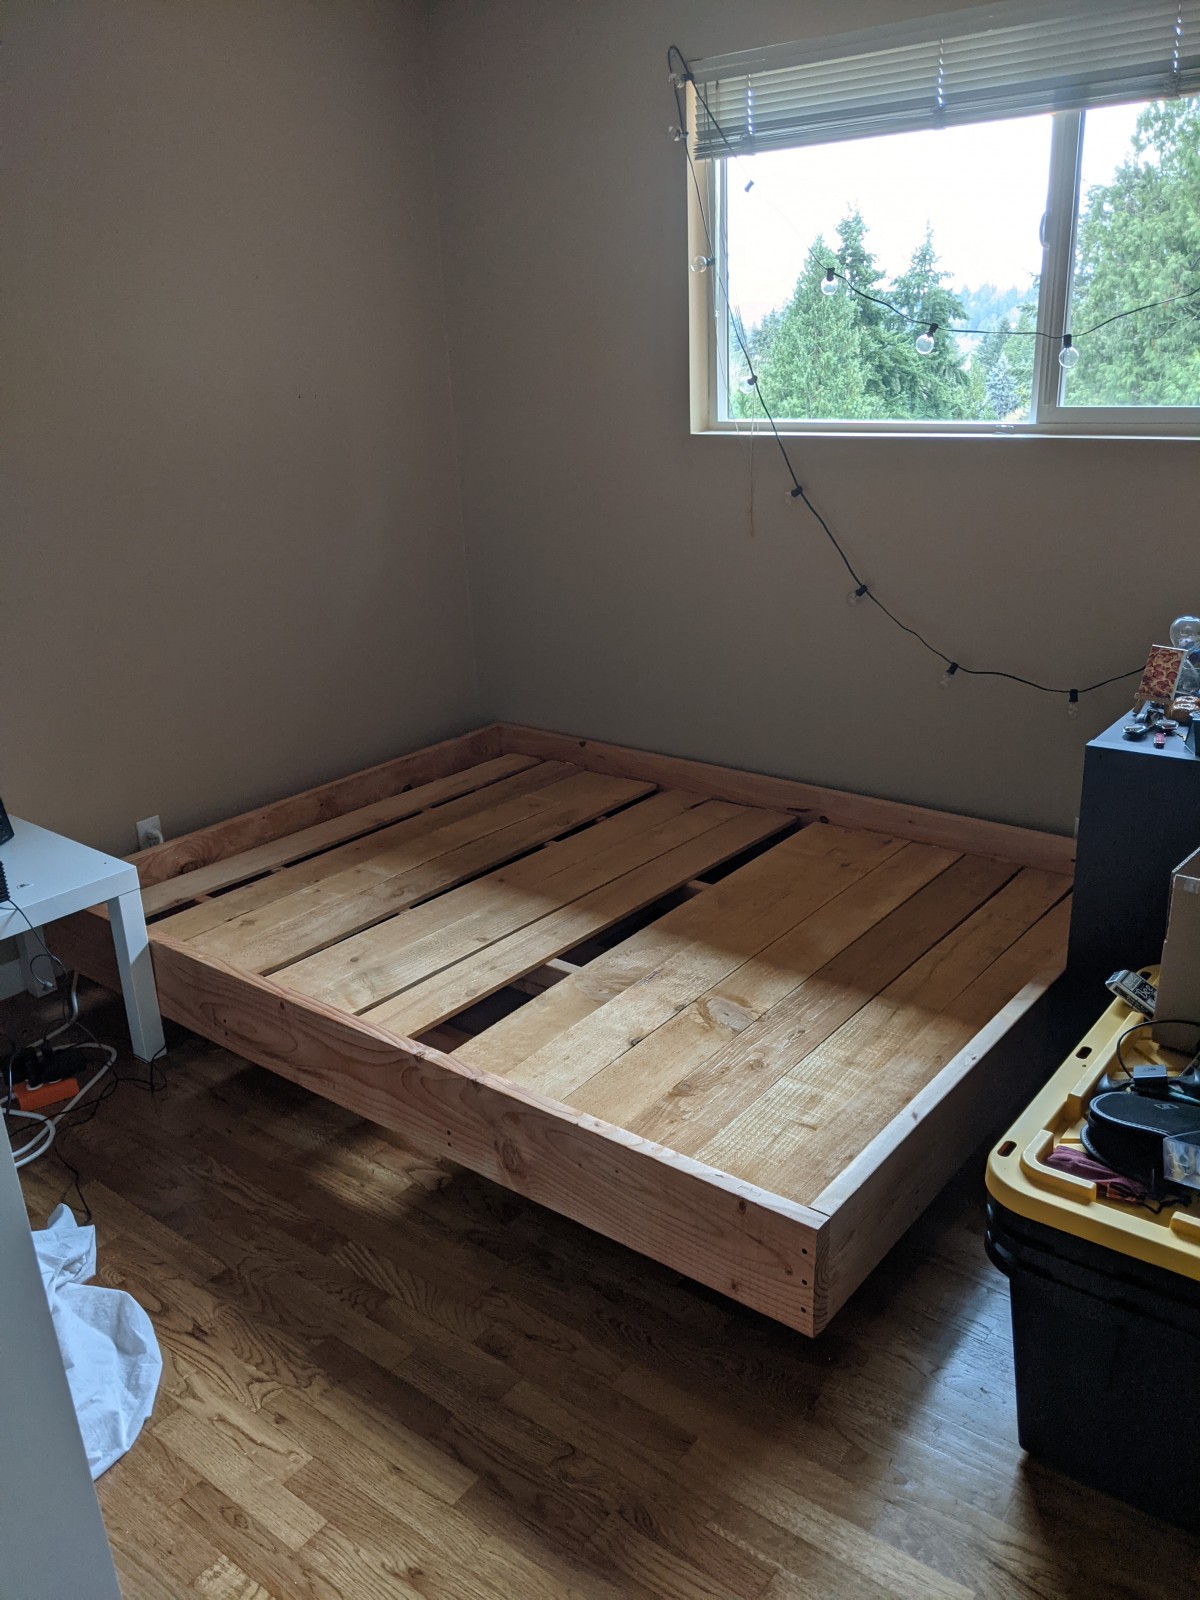
add lights,
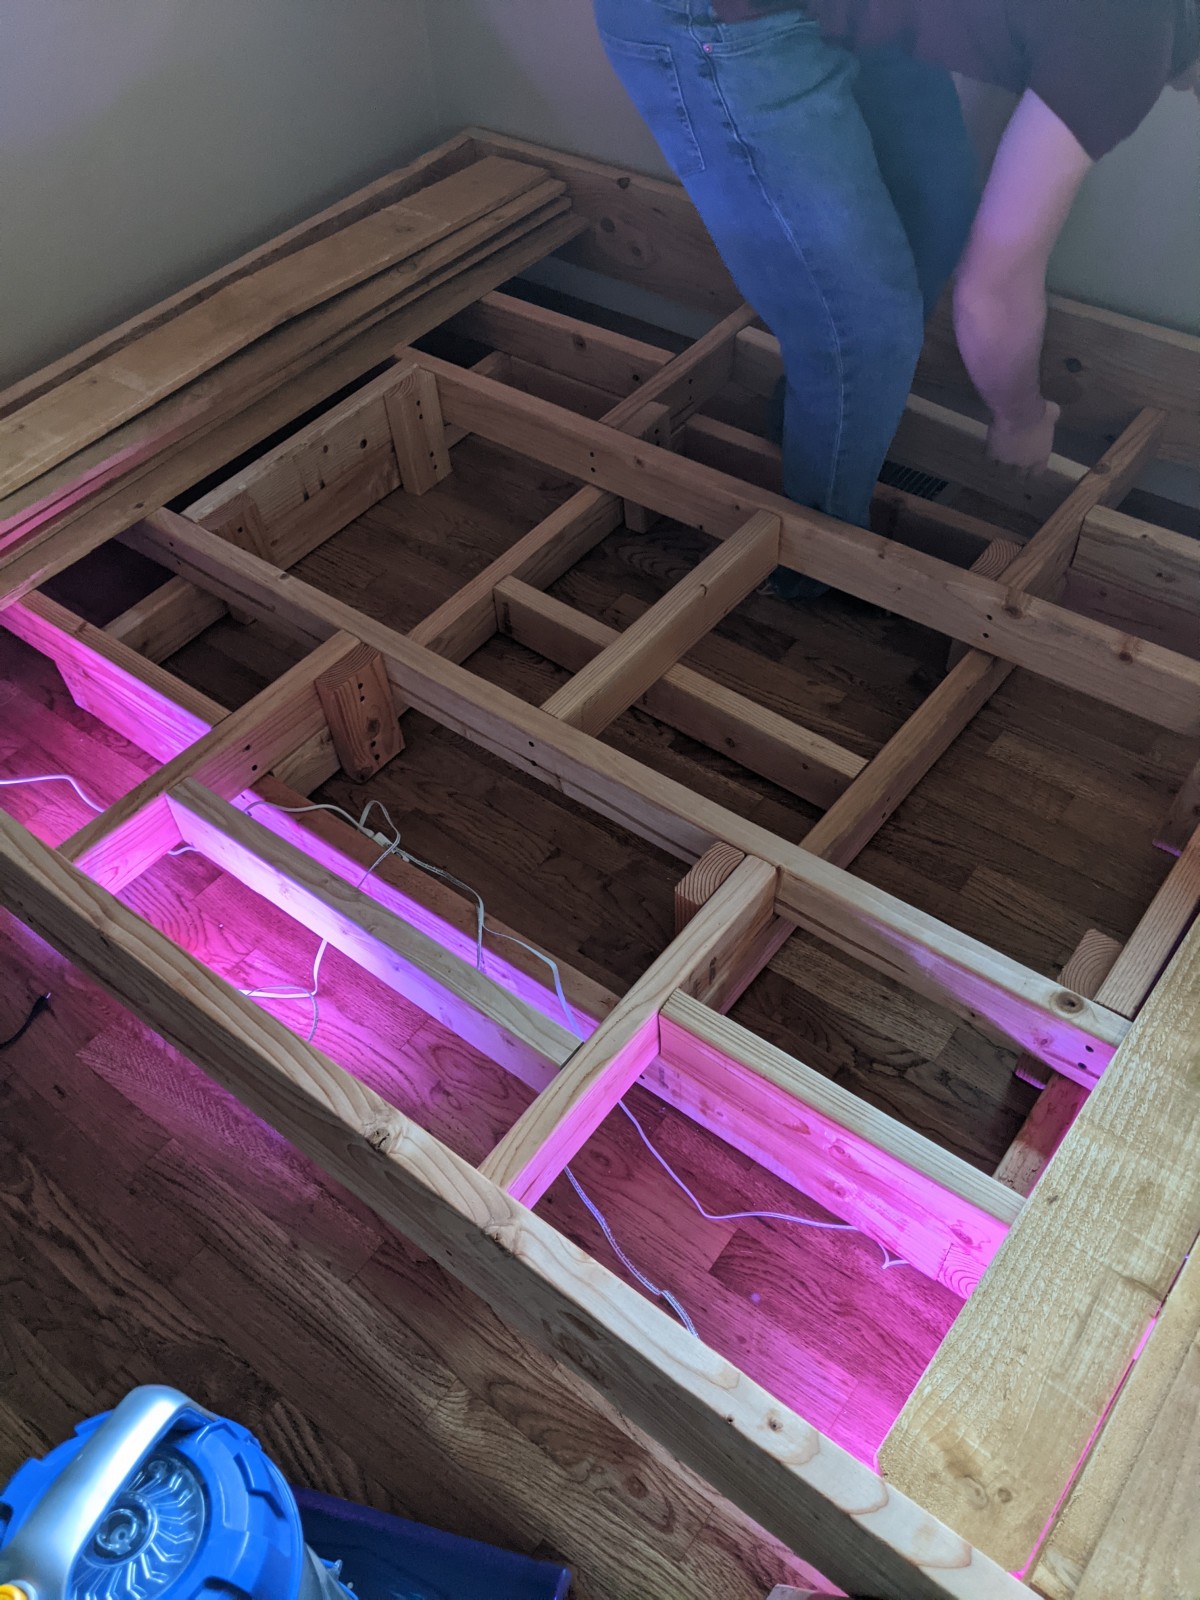
and eventually add a guitar stand.
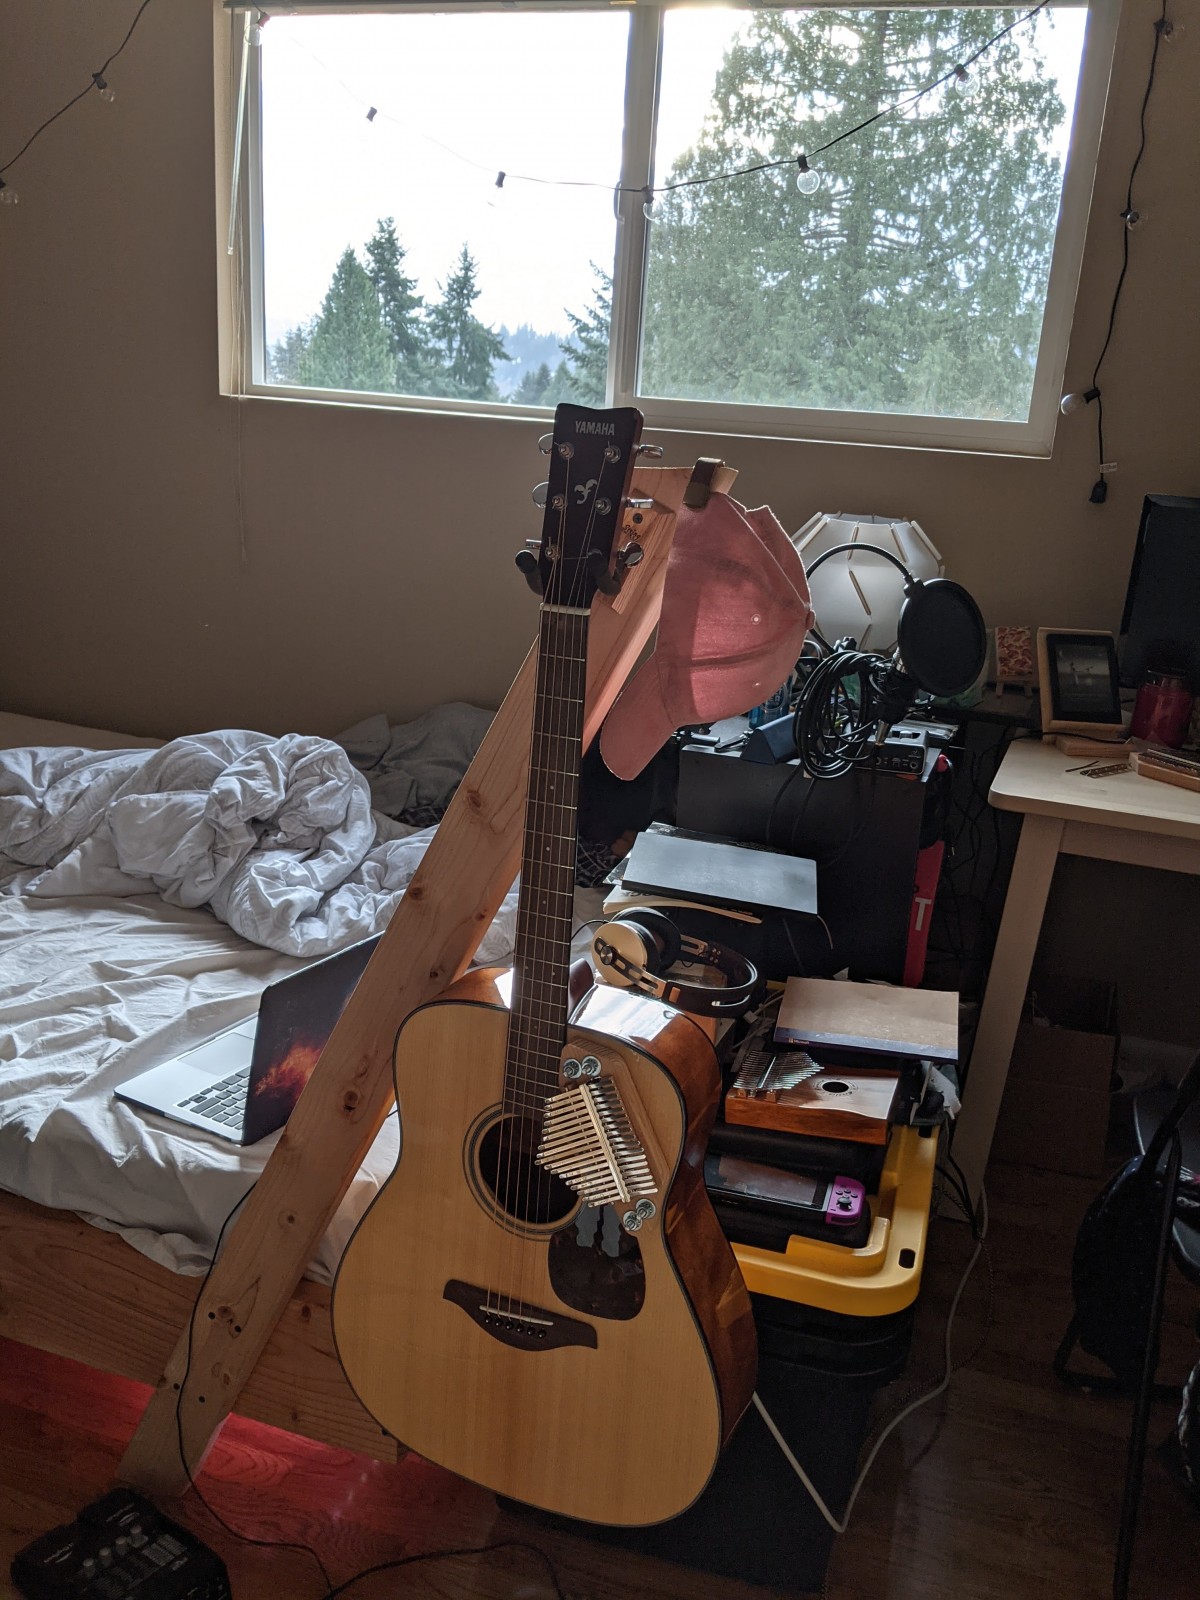
Which brings us to our next woodworking adventure:
The Kalimbatar
I tacked on a kalimba onto the face of my sorta broken Yamaha FG-800, as pictured above.
This project had some tight tolerances in some fun places, and was a difficult project to complete in a shop like the one I had. I luckily had access to some of my bud Peter's clamps that allowed me to glue the project together.
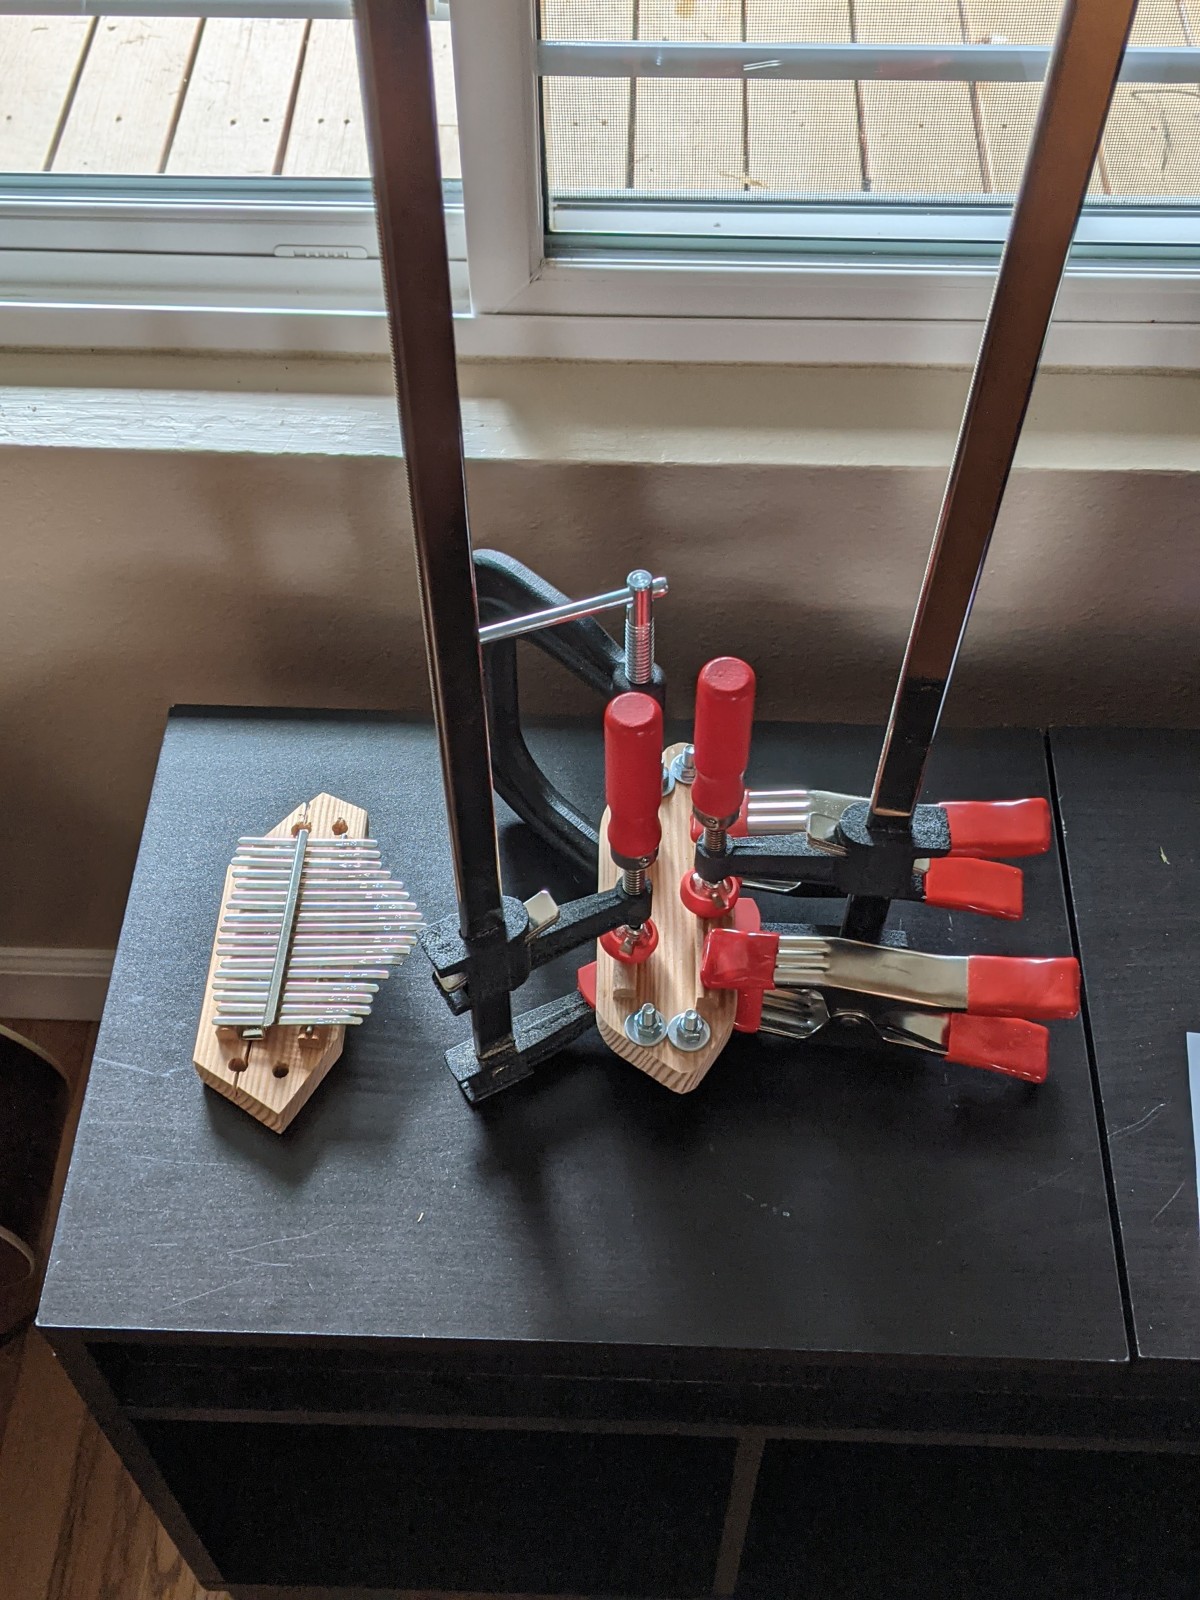
Unluckily, I also made lots of mistakes along the way. But on the bright side that means I have more broken kalimbas to photograph, and that's an opportunity I just wouldn't have if everything had worked out one of the first one or two times I tried to build this project.
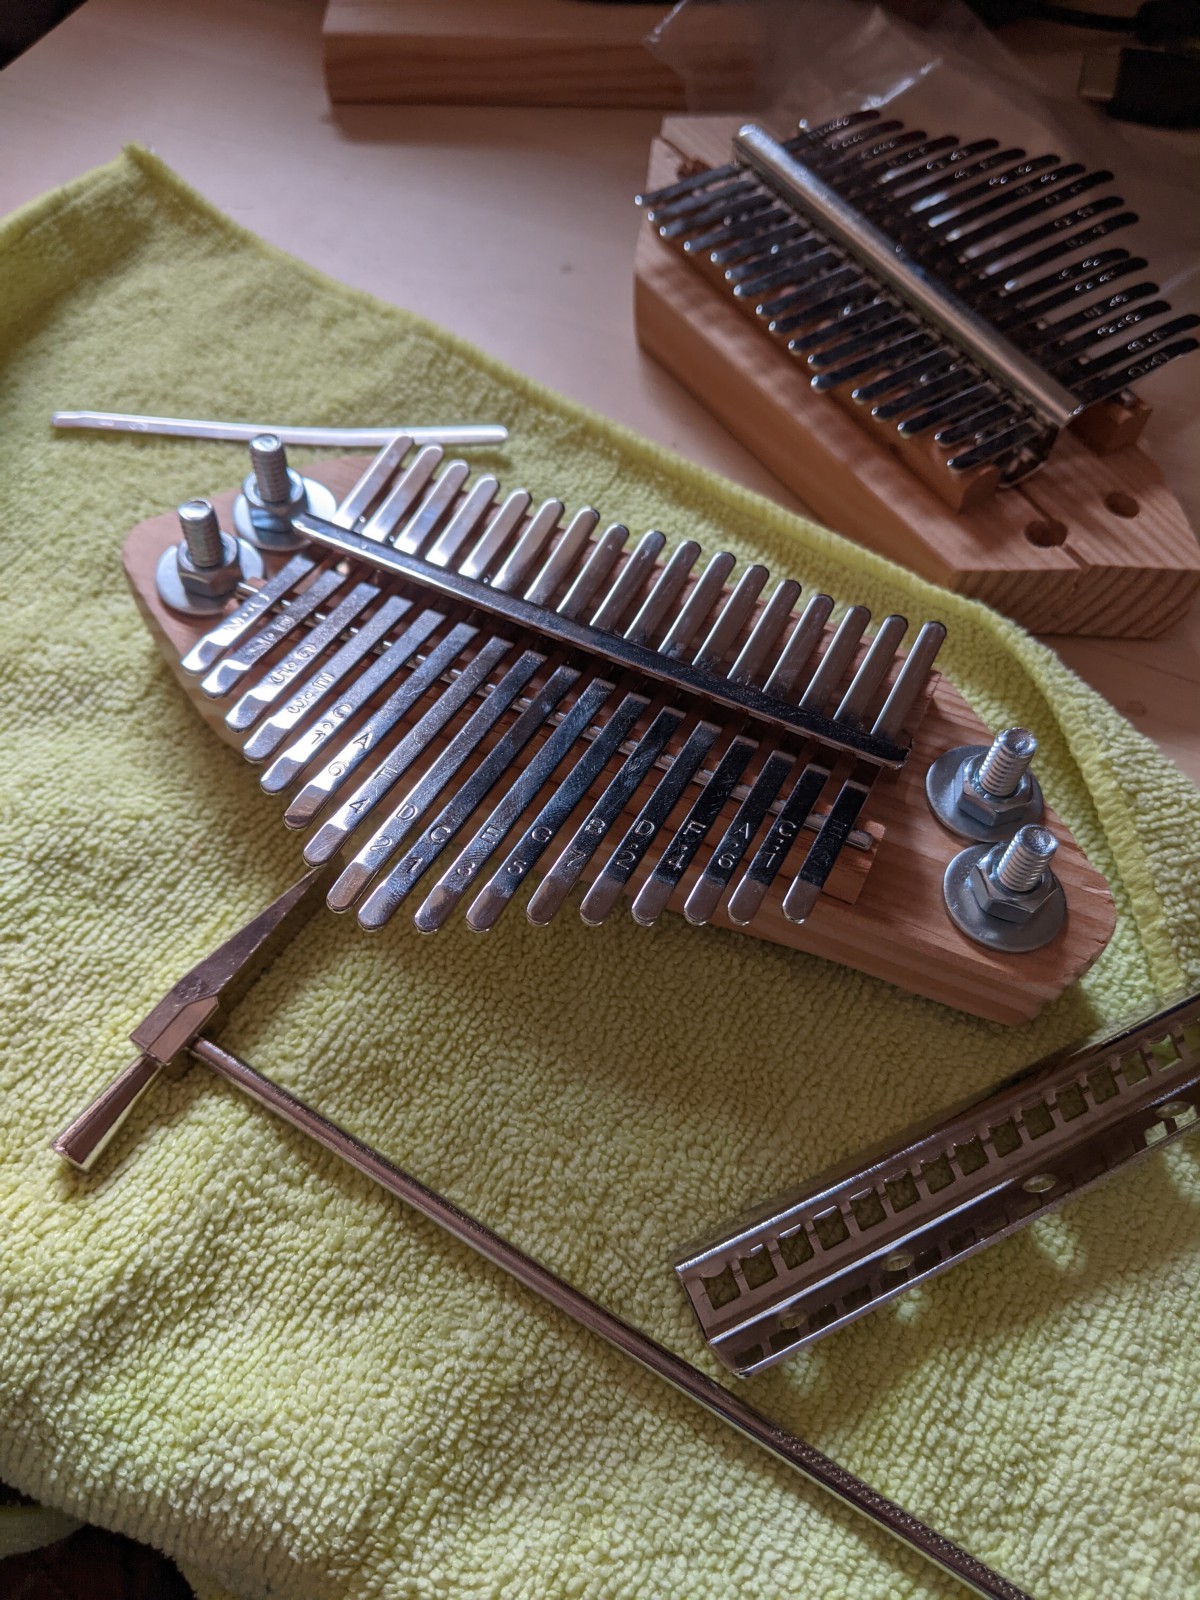
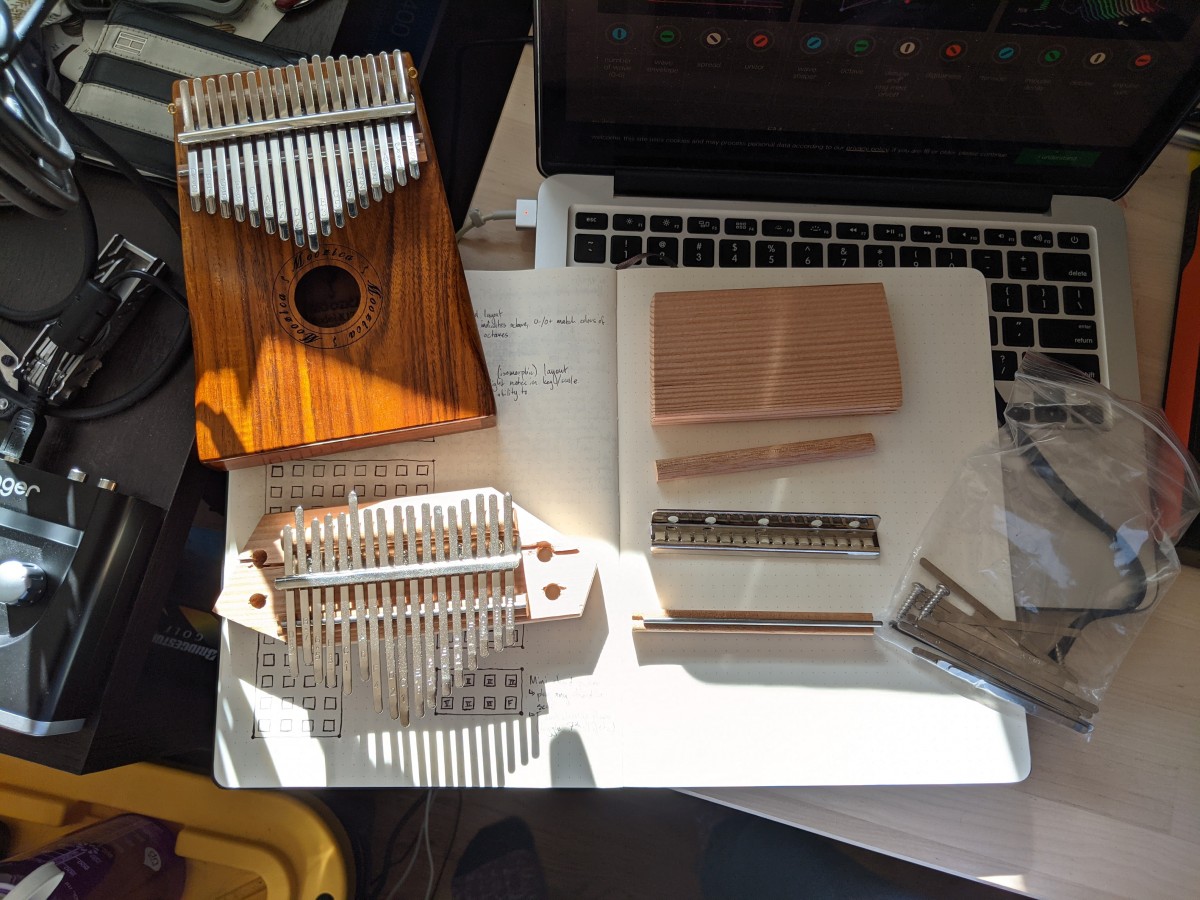
Here you can see a side-by-side of an unassembled kalimba I partially manufactured (on the right, somewhat in a ziploc), a kalimba I manufactured until the base plate cracked (bottom left), and my Moozica kalimba which helped inspire this project (top left).
Guitar stand (v0, RIP 2020-2020)
Now although the guitar modifications may seem a bit daunting, I felt alright messing with my yamaha because it was already partially broken. Why was that? Indeed a good question, and sadly another perfect segue into one of my woodworking projects. I've built a couple guitar stands. You've already seen one, partially attached to my old bed, as pictured above ^
Before it was on my bed, it was its own guitar stand!
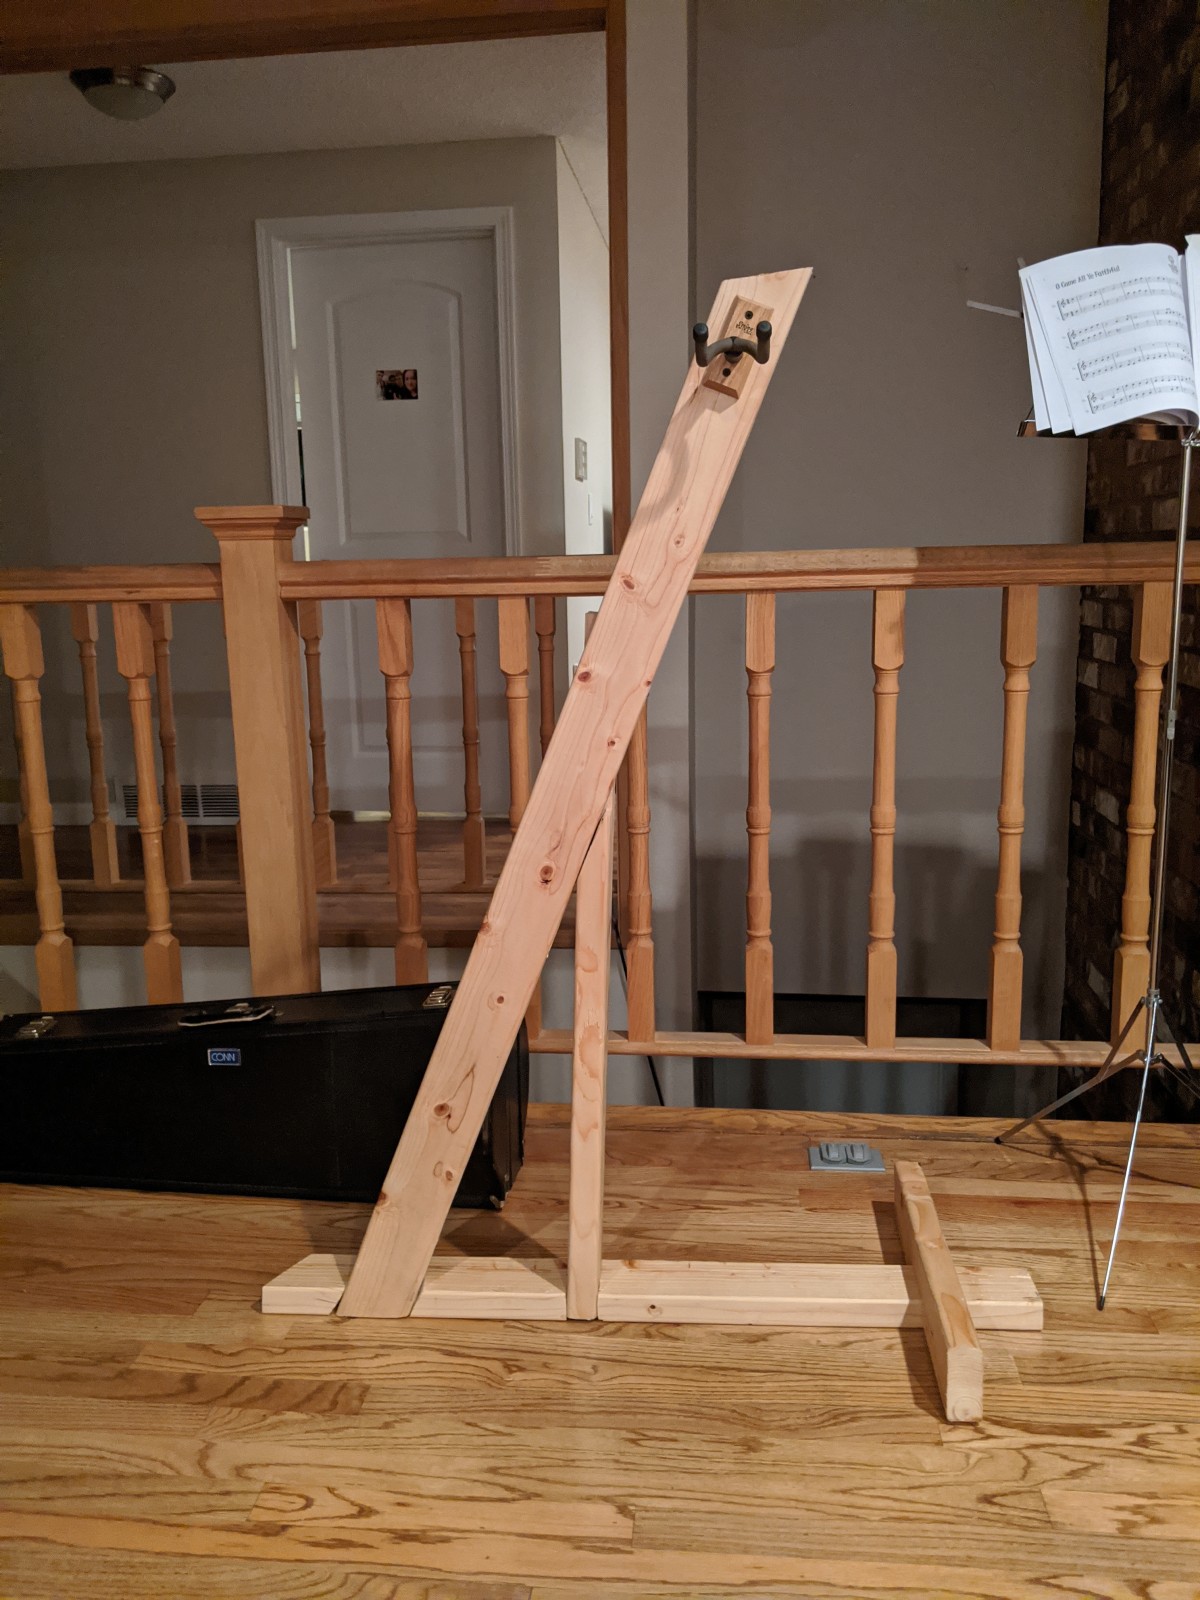
And it held up its own guitars!
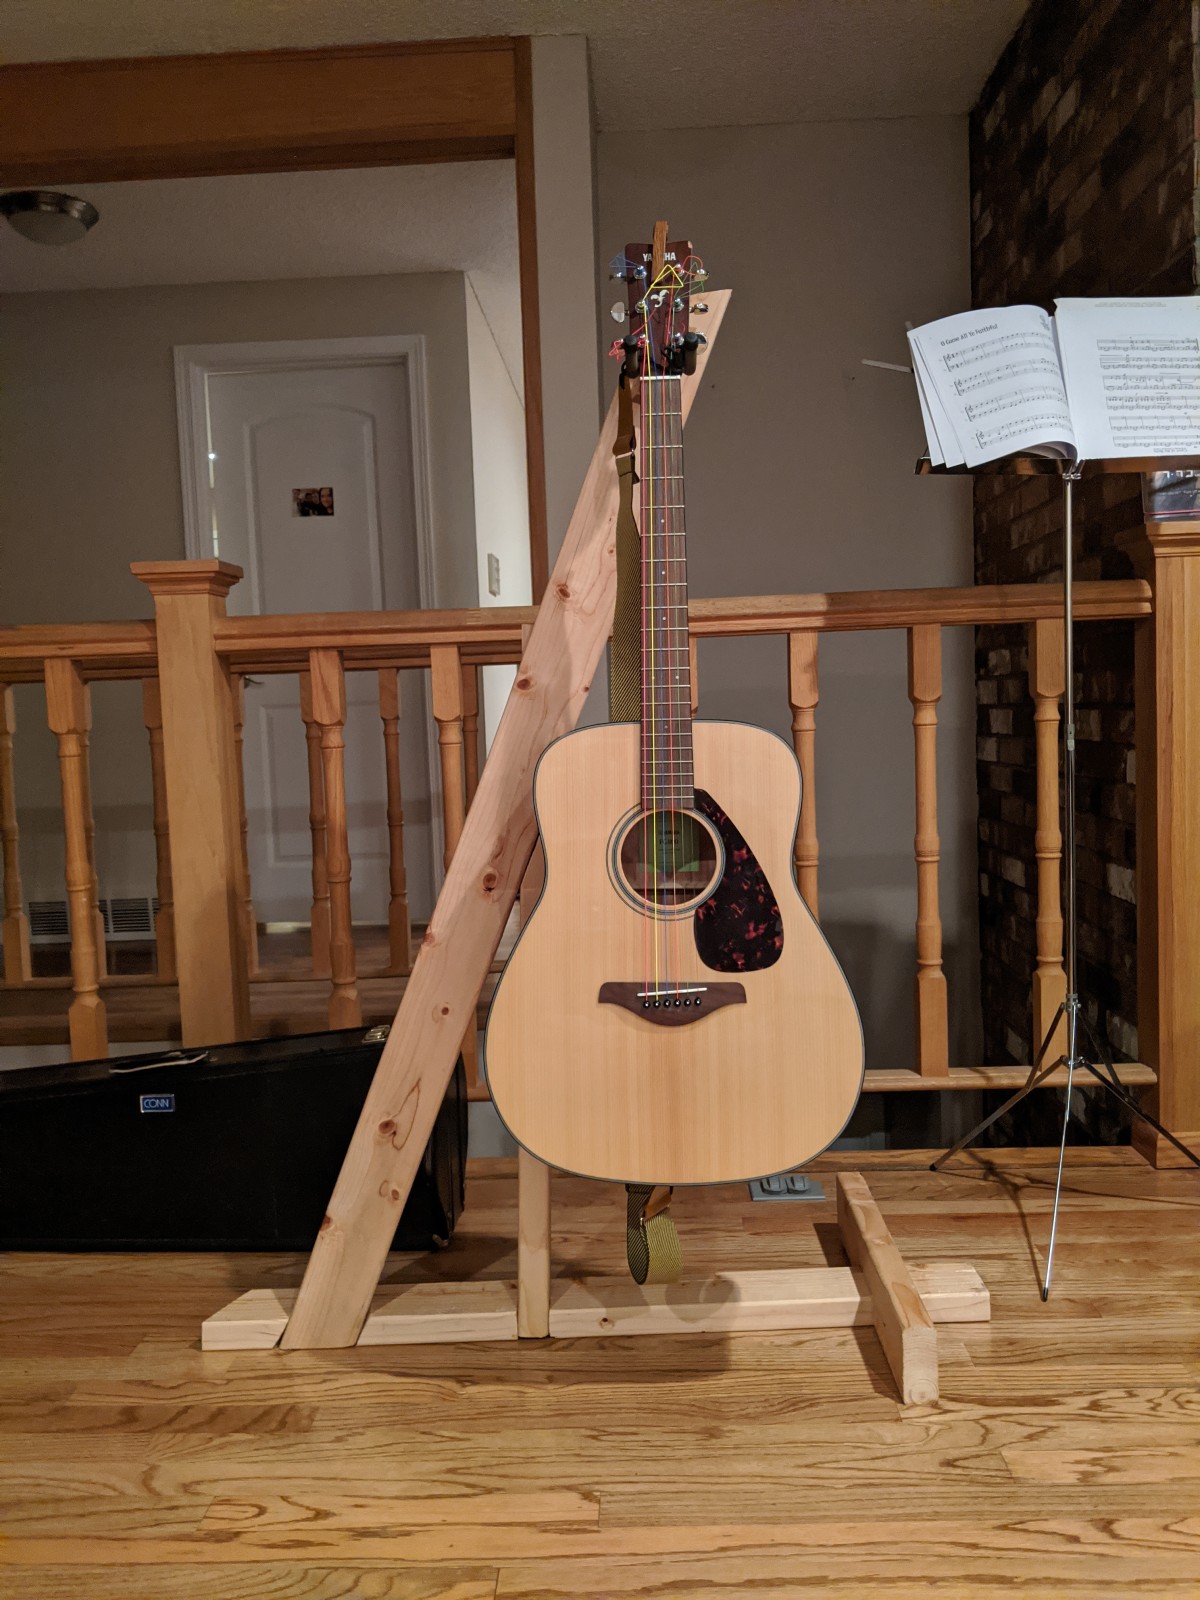
Sadly. That did not hold true forever and so good ol' kalimbatar has had a superglued neck since about december 2020, a couple weeks after the stand immediately fell over. It was a great 8 months of learning guitar without messing it up. A bit after that, in January 2021, was when I built the bed and went from owning one guitar to three. I finished the current iteration of the kalimbatar in late March 2021, but I'm still working on tweaks to improve its sound.
Hammock Stand
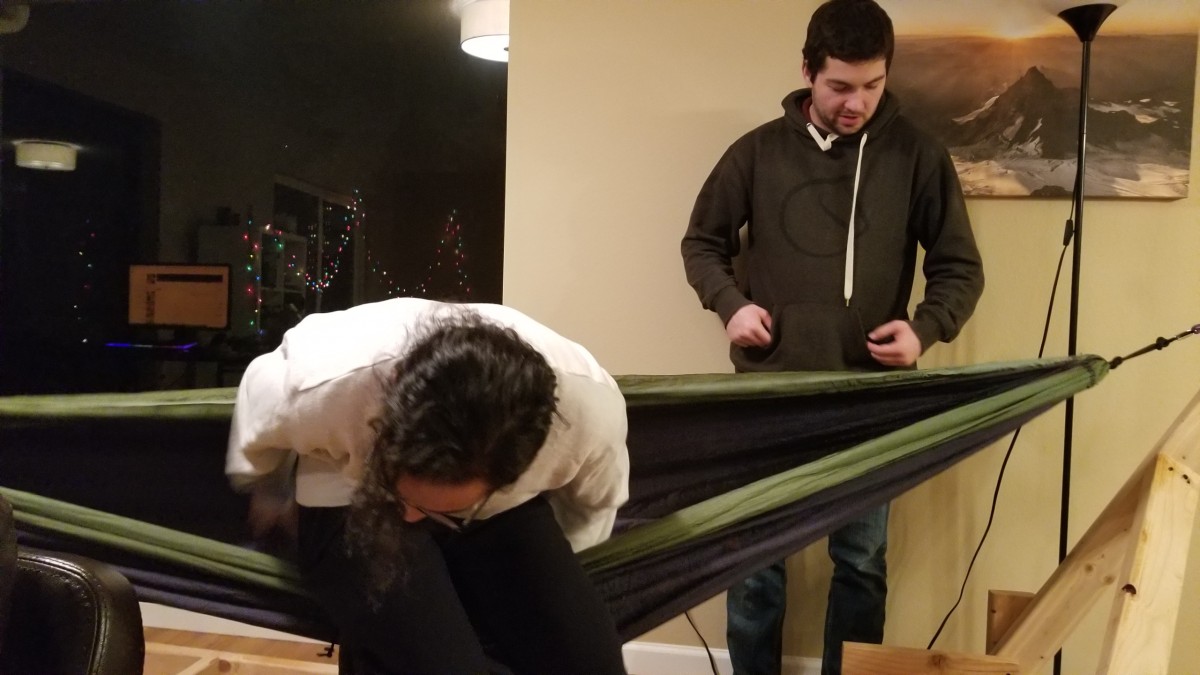
A bit later in the winter of 2021, around february, my (previously mentioned) roommate and good friend Peter got me to help him build a hammock stand.
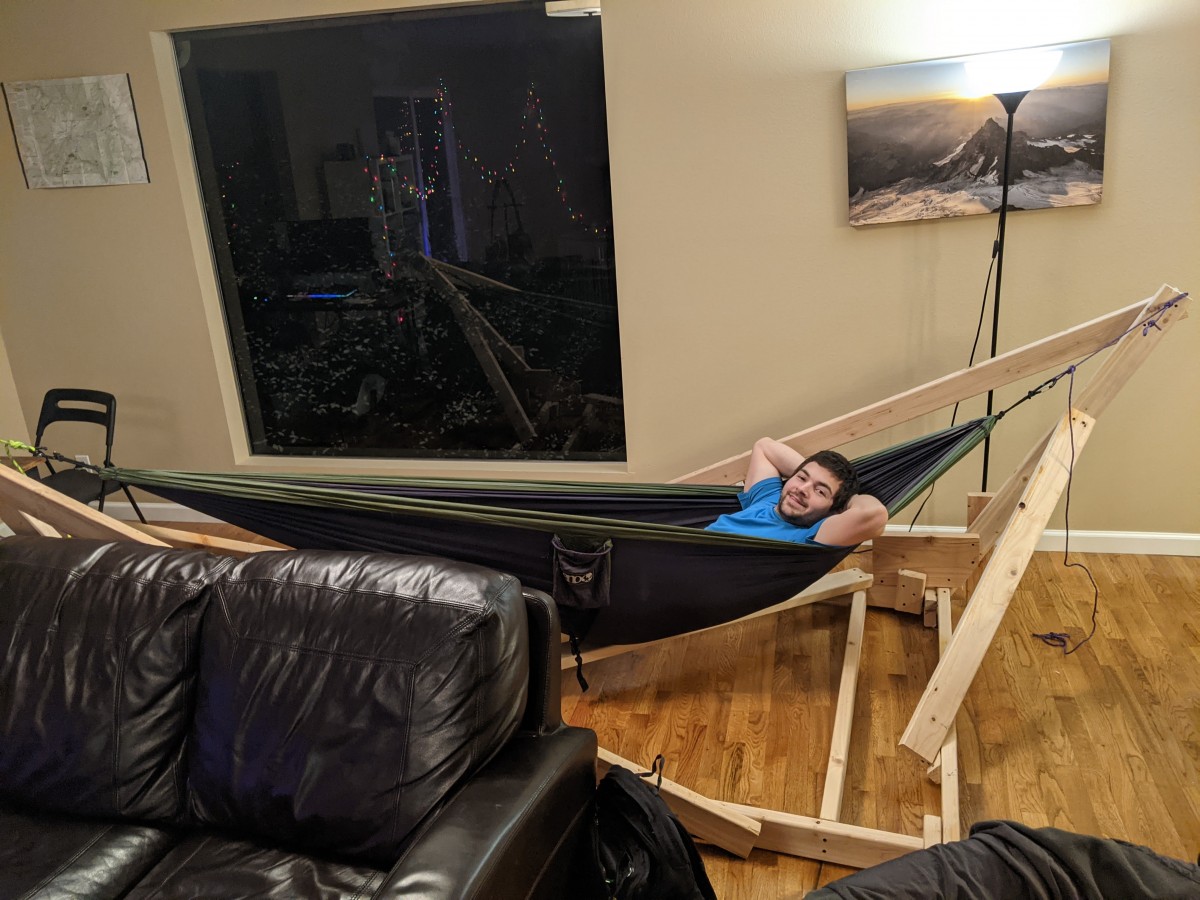
It kept breaking because, despite a combined 6 bachelors degrees (and boy am I not carrying my weight on that one), neither of us are real capital-E Engineers. We forgot some key physics about how hammocks work and kept trying to bug fix
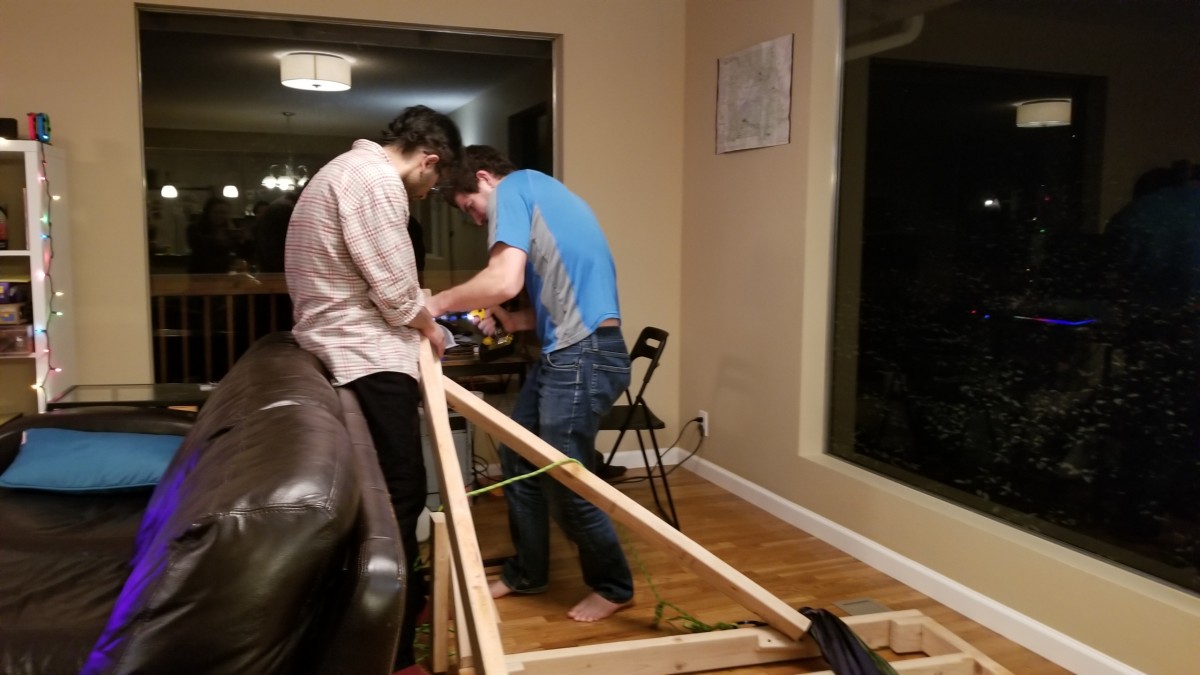
though none of the bug fixing worked until we consulted external help (s/o Peter's family)
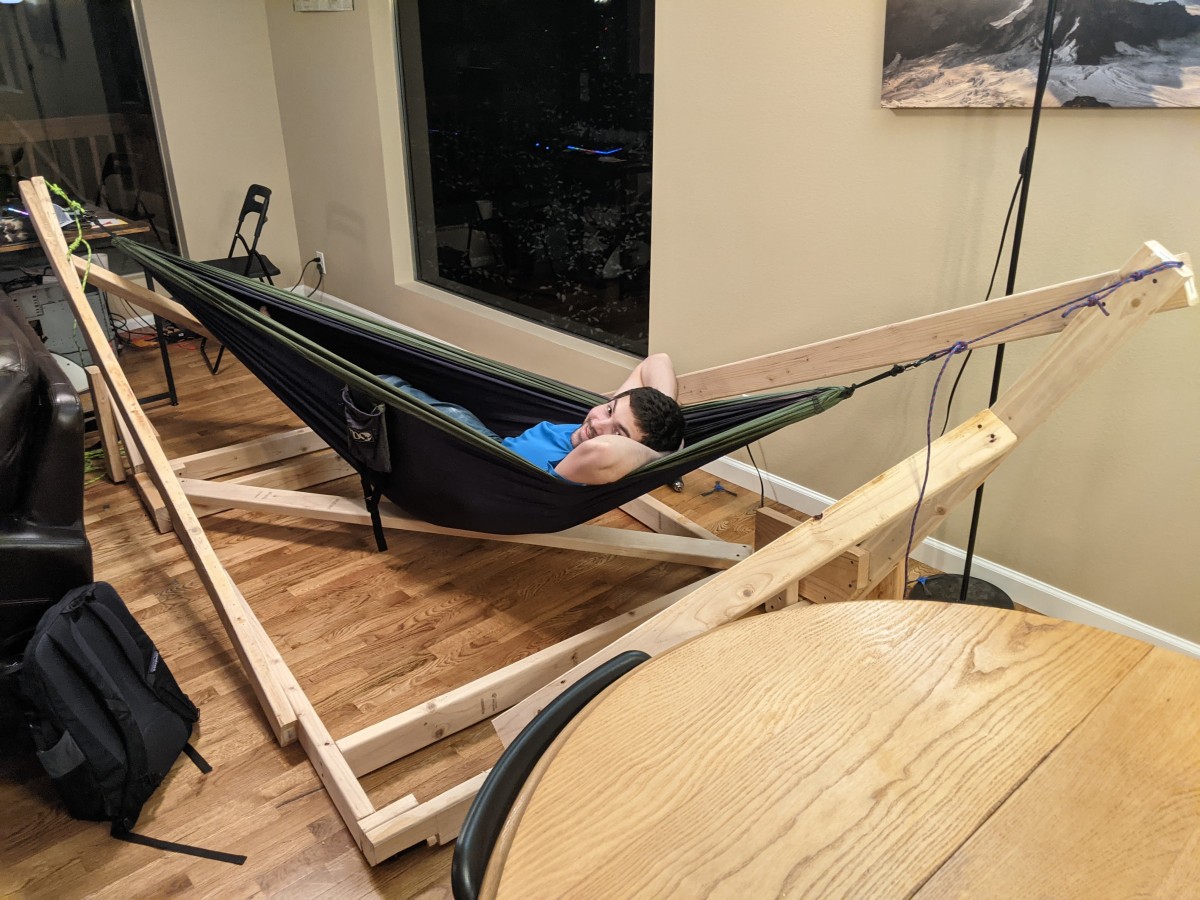
After a while in our living area, the stand found a home on our upstairs deck
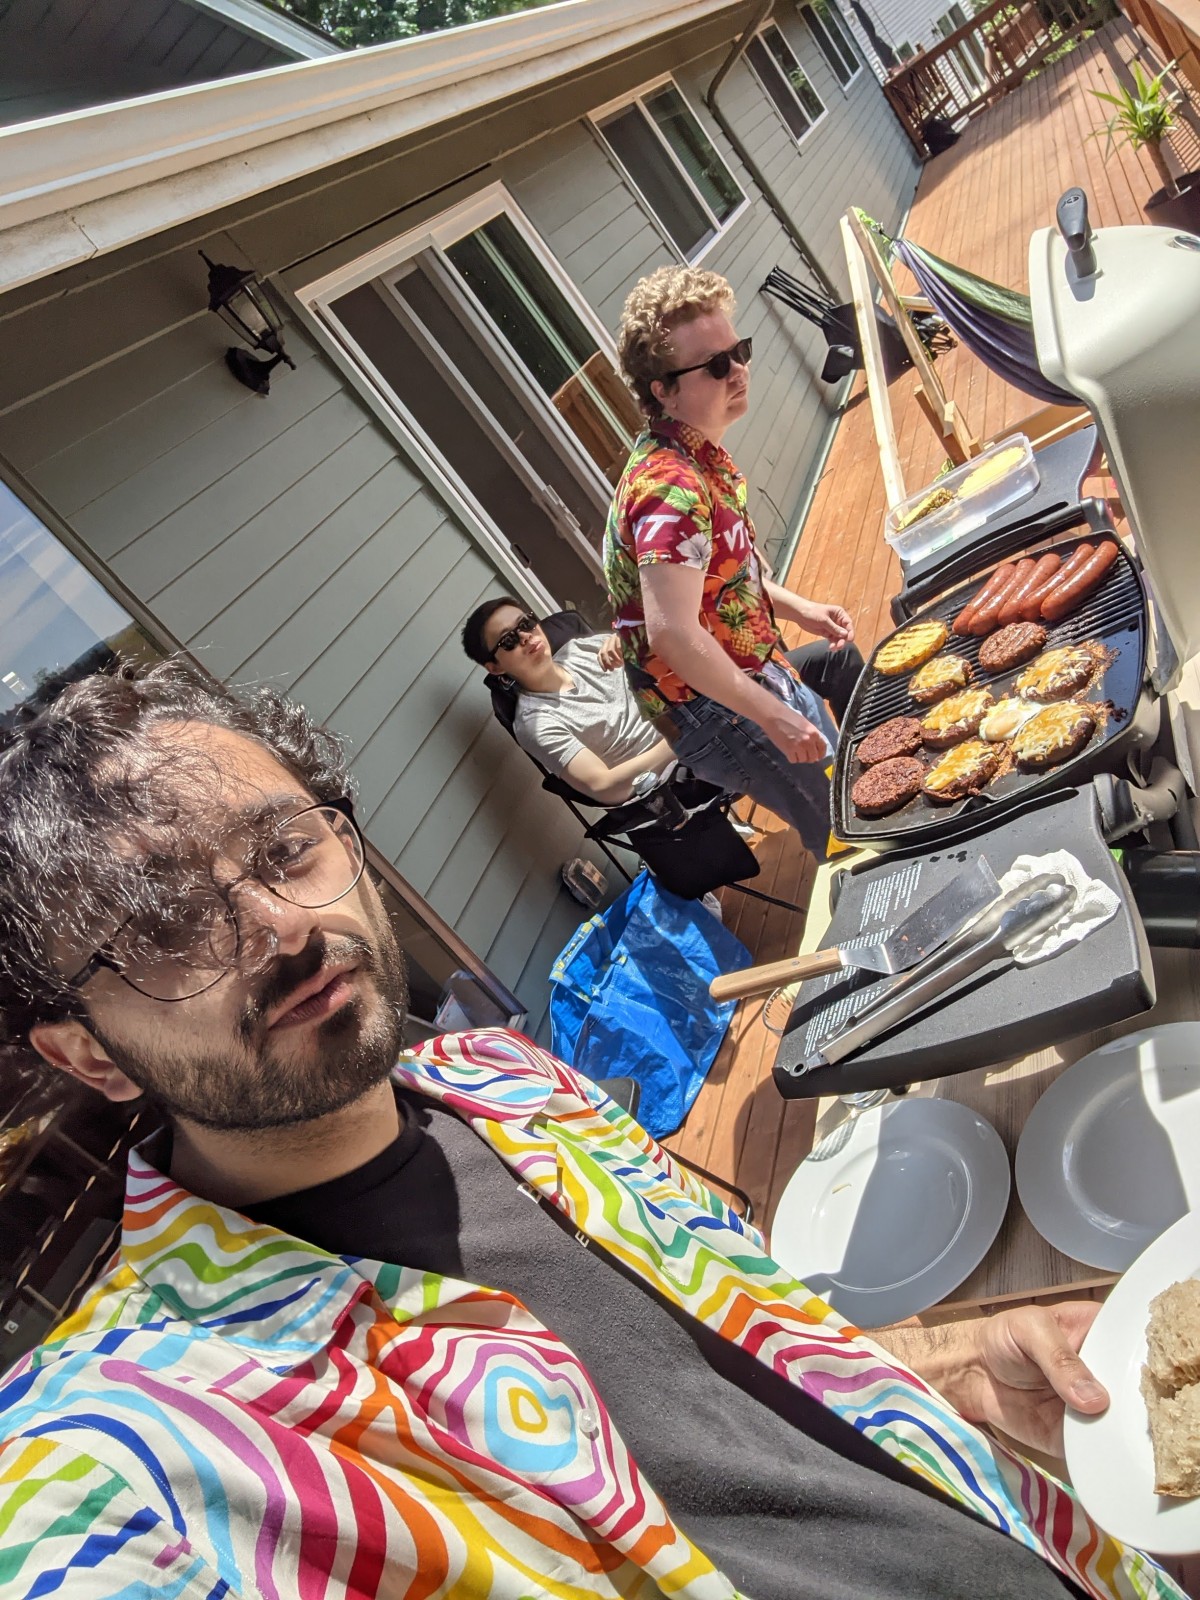
Here's me with it once it was warm enough to move some of the plants outside!
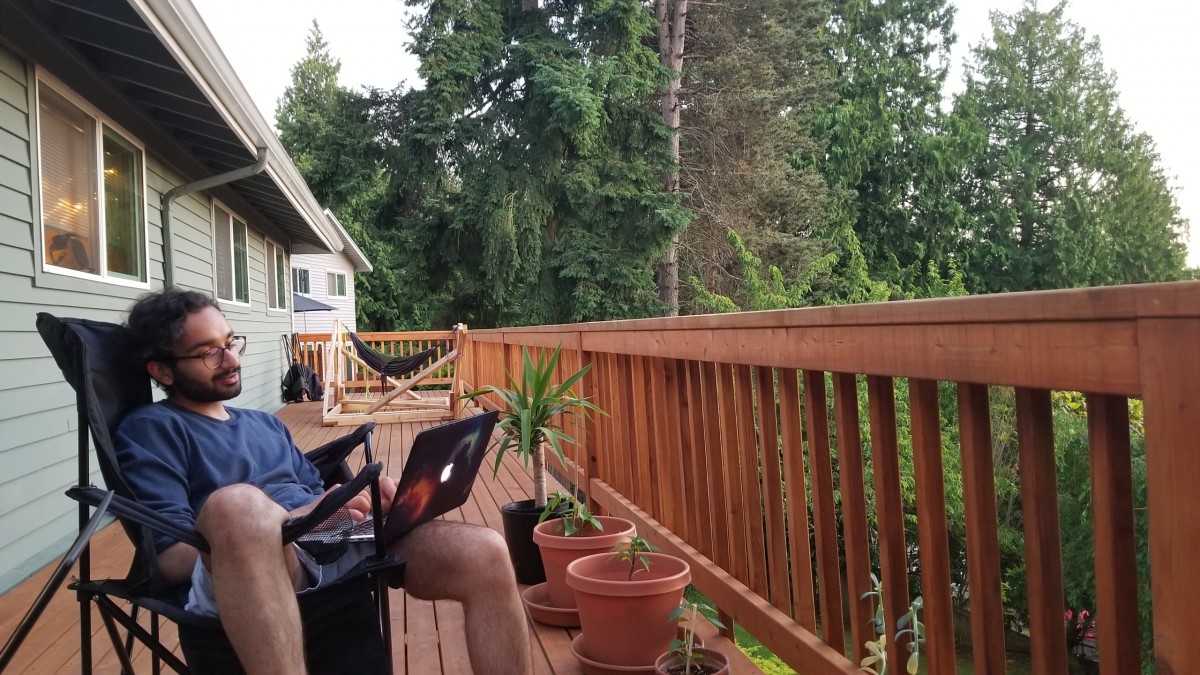
Guitar Stand (Lower Center of Mass)
With my newfound experience in how not to build guitar stands, in April 2021 I set out to build a guitar stand for a guitar I no longer had any monetary stake in (a gift, for my friend Christy)

The design on the side is a woodburning and mixed media (nail, guitar string) rendition of the major chord shapes on the neck of a guitar (the CAGED system, if that's more familiar terminology). Here's what it looks like with a guitar on it
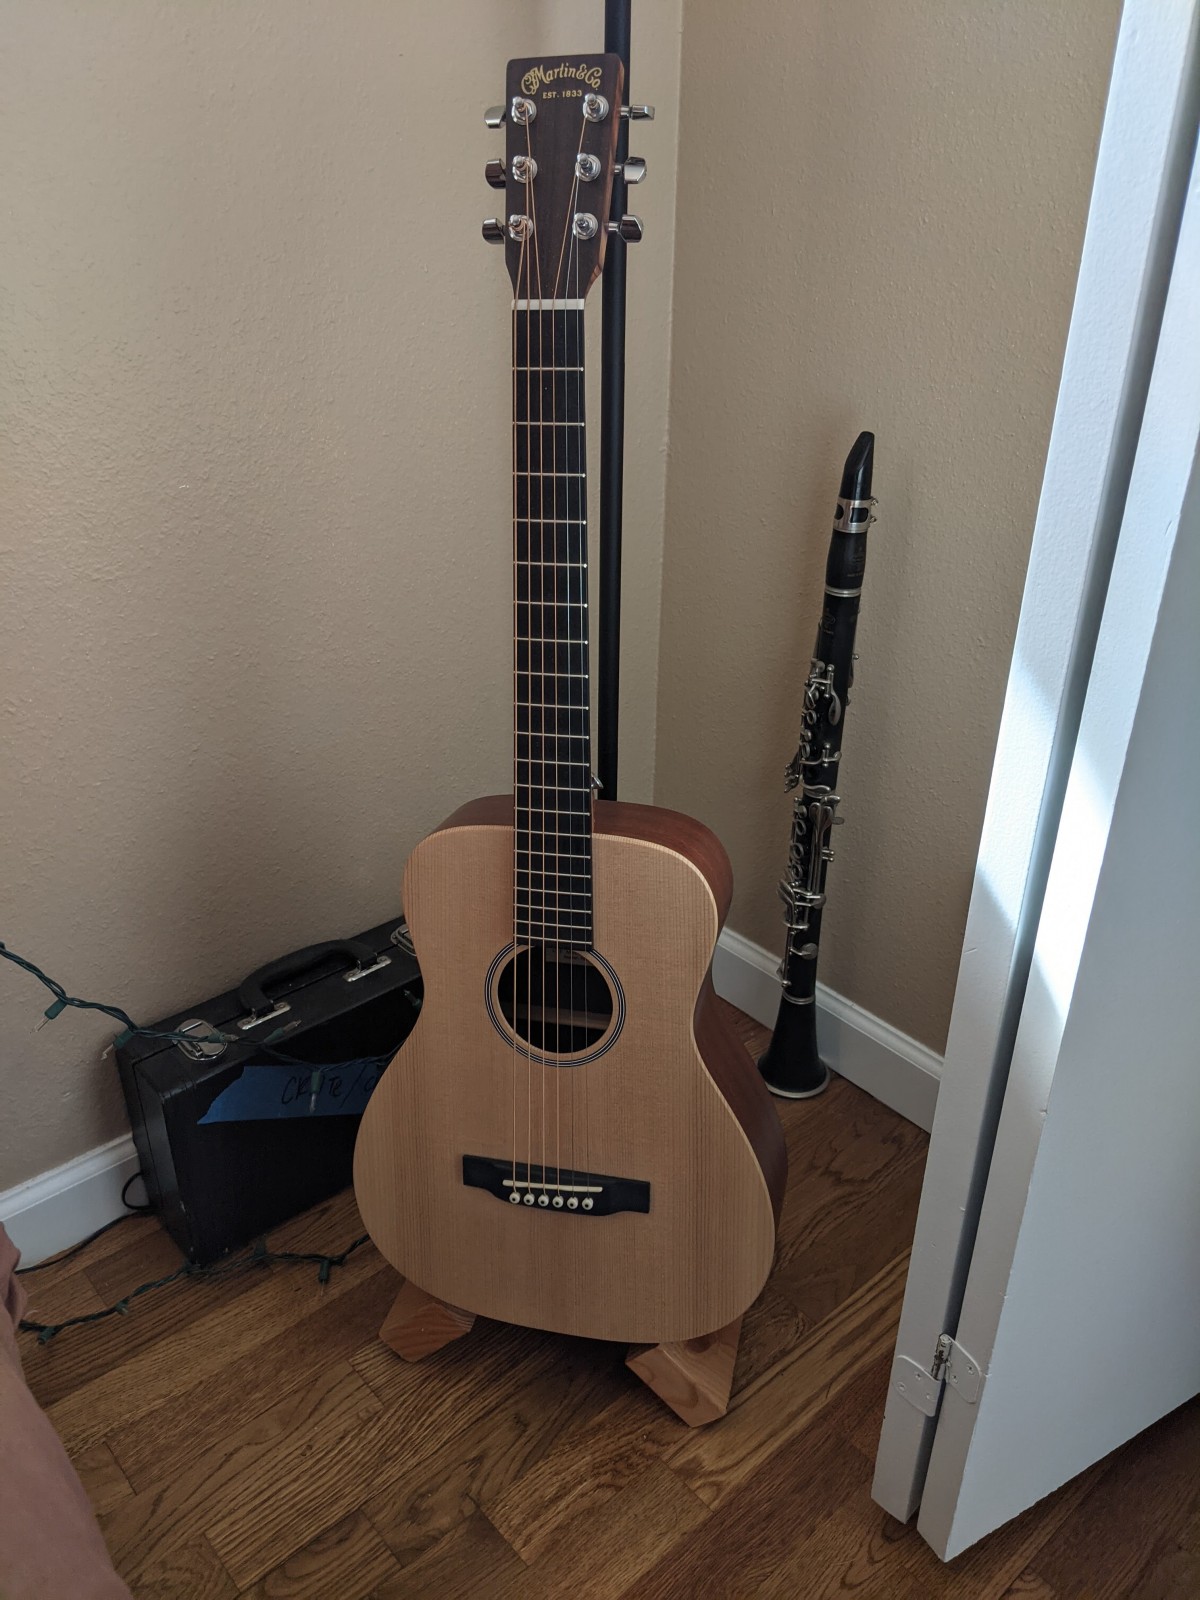
And I can state with near certainty that this guitar stand itself has never tipped over :4) which is really good and pretty indicative of a complete success on this one. Yay!
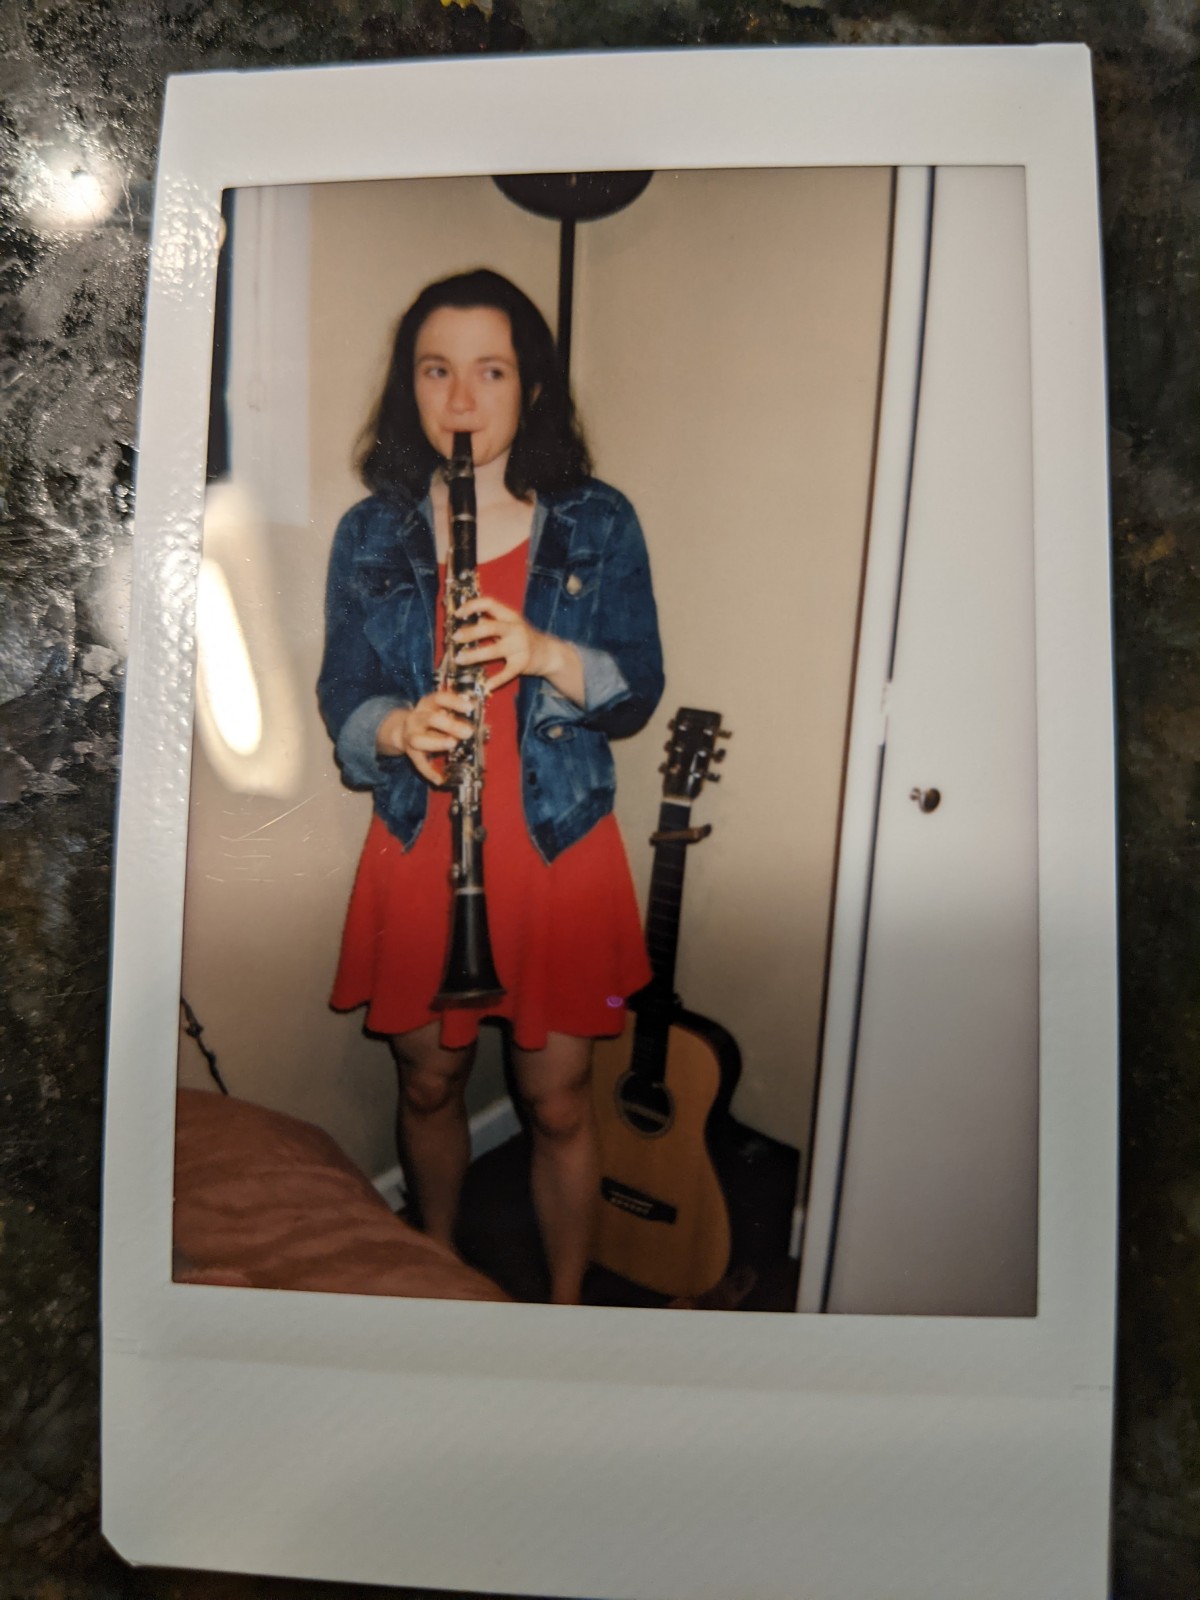
24 Apr 2021
So this project (The Aarav Syngth Experience) started out as less of a vision of a synthesizer or a particular type of musical instrument, and more as an avenue to spend some time with my bud Mischa. He's good at electronics and he doesn't let the trees blind him for the forest, which means he's a good partner to have around when I want to get stuff done. He's also got a bunch of tools that I borrowed liberally while I was in town with him, and that pile of resources combined to make starting this project a reality.
Since then (I'm writing this in June of 2021), the vision has shifted and morphed quite a few times. I expect that to happen quite a few more as I continue to learn about music theory, dsp, electronics, synth design, and the intersection of all of em inside the machine(s) I'm making. Here was one of the first sketches of the idea in an iteration that looks anything like it does today, drawn up on March 25th.
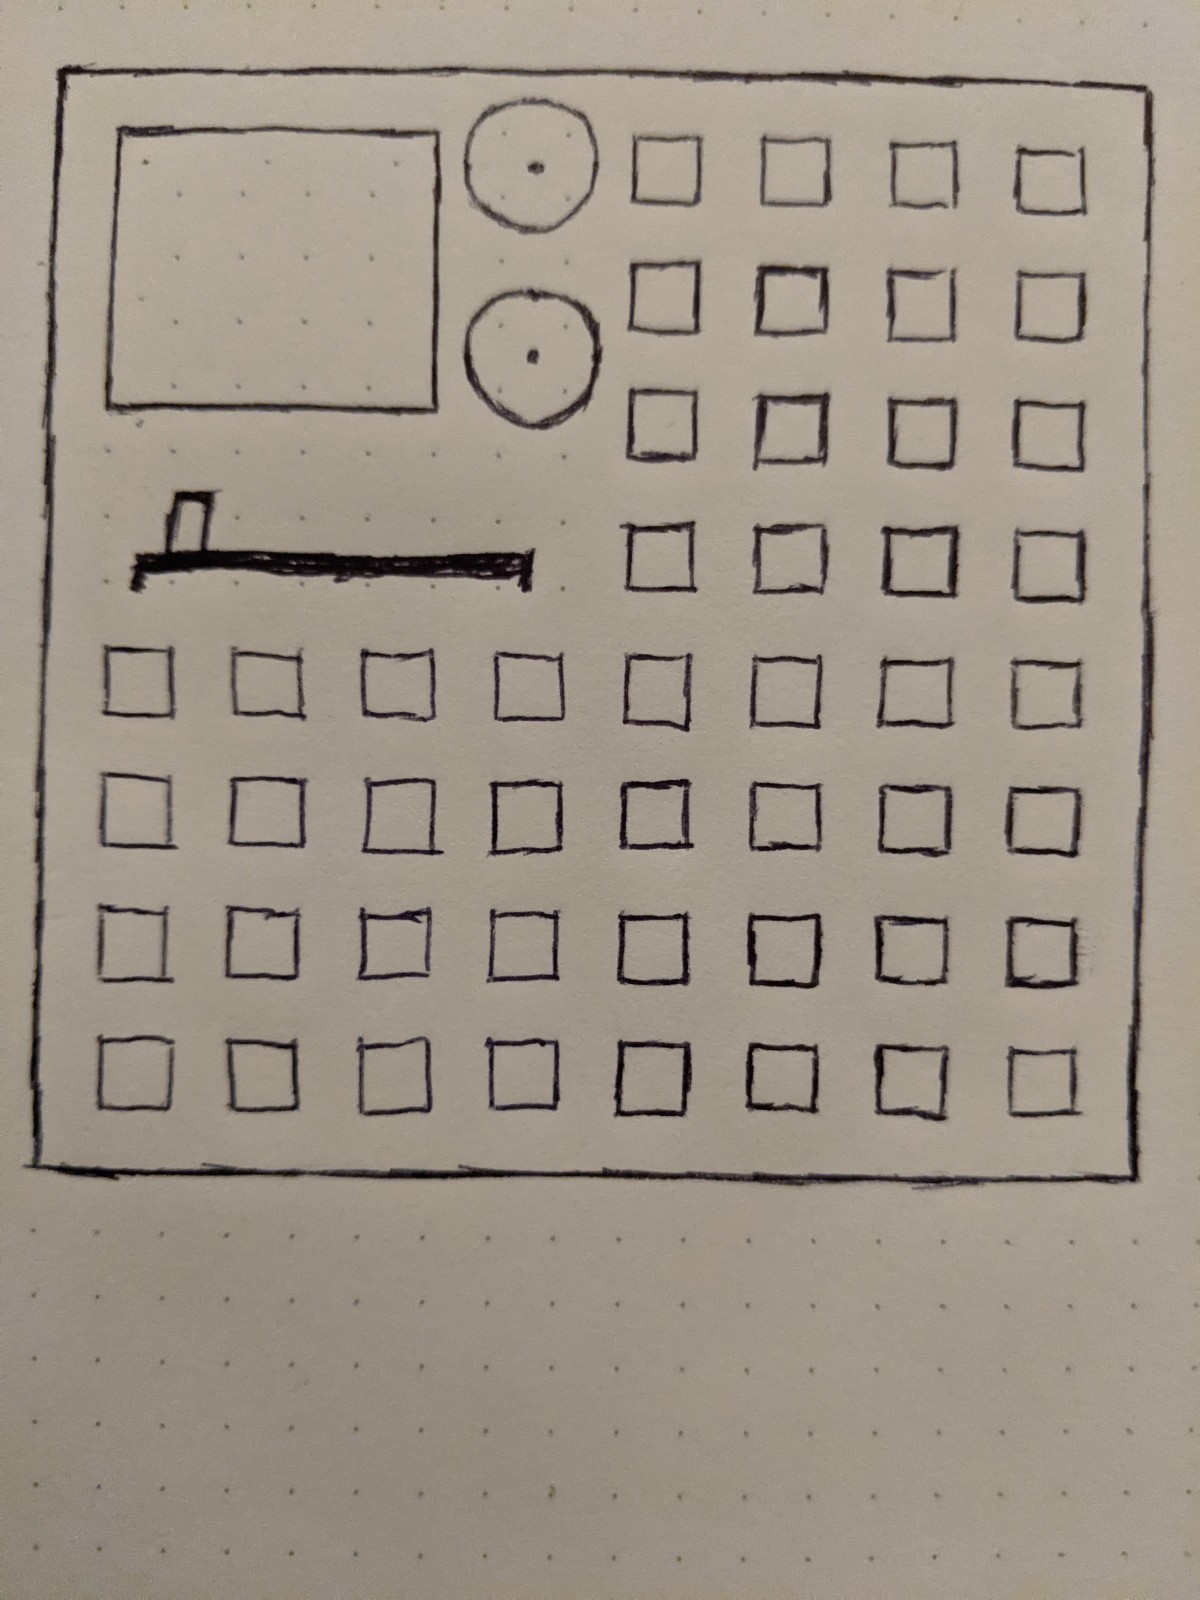
In April I did a lot of research and ideation, and I may publish more of my notes at some point. But for now, I'll just include some pictures of what we actually accomplished in April. Mischa took my sketch and printed it into reality.
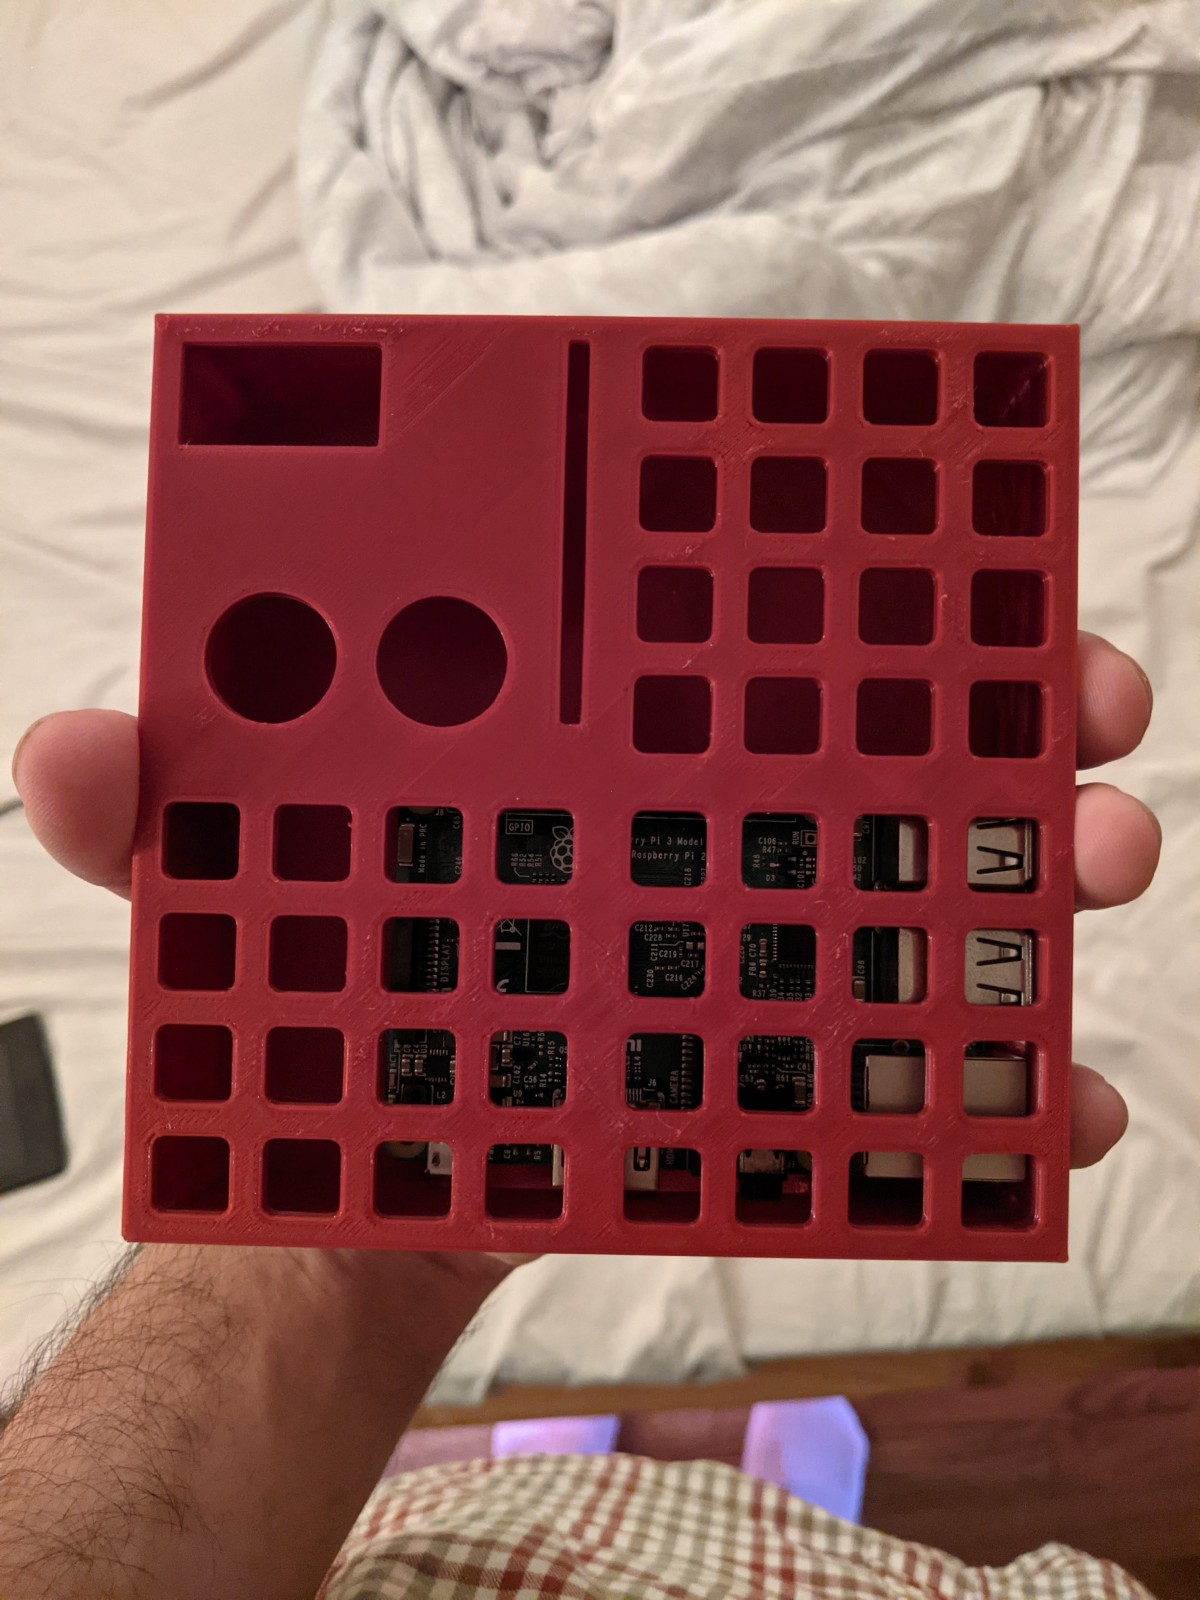
After that, we met up to try to actually get components working
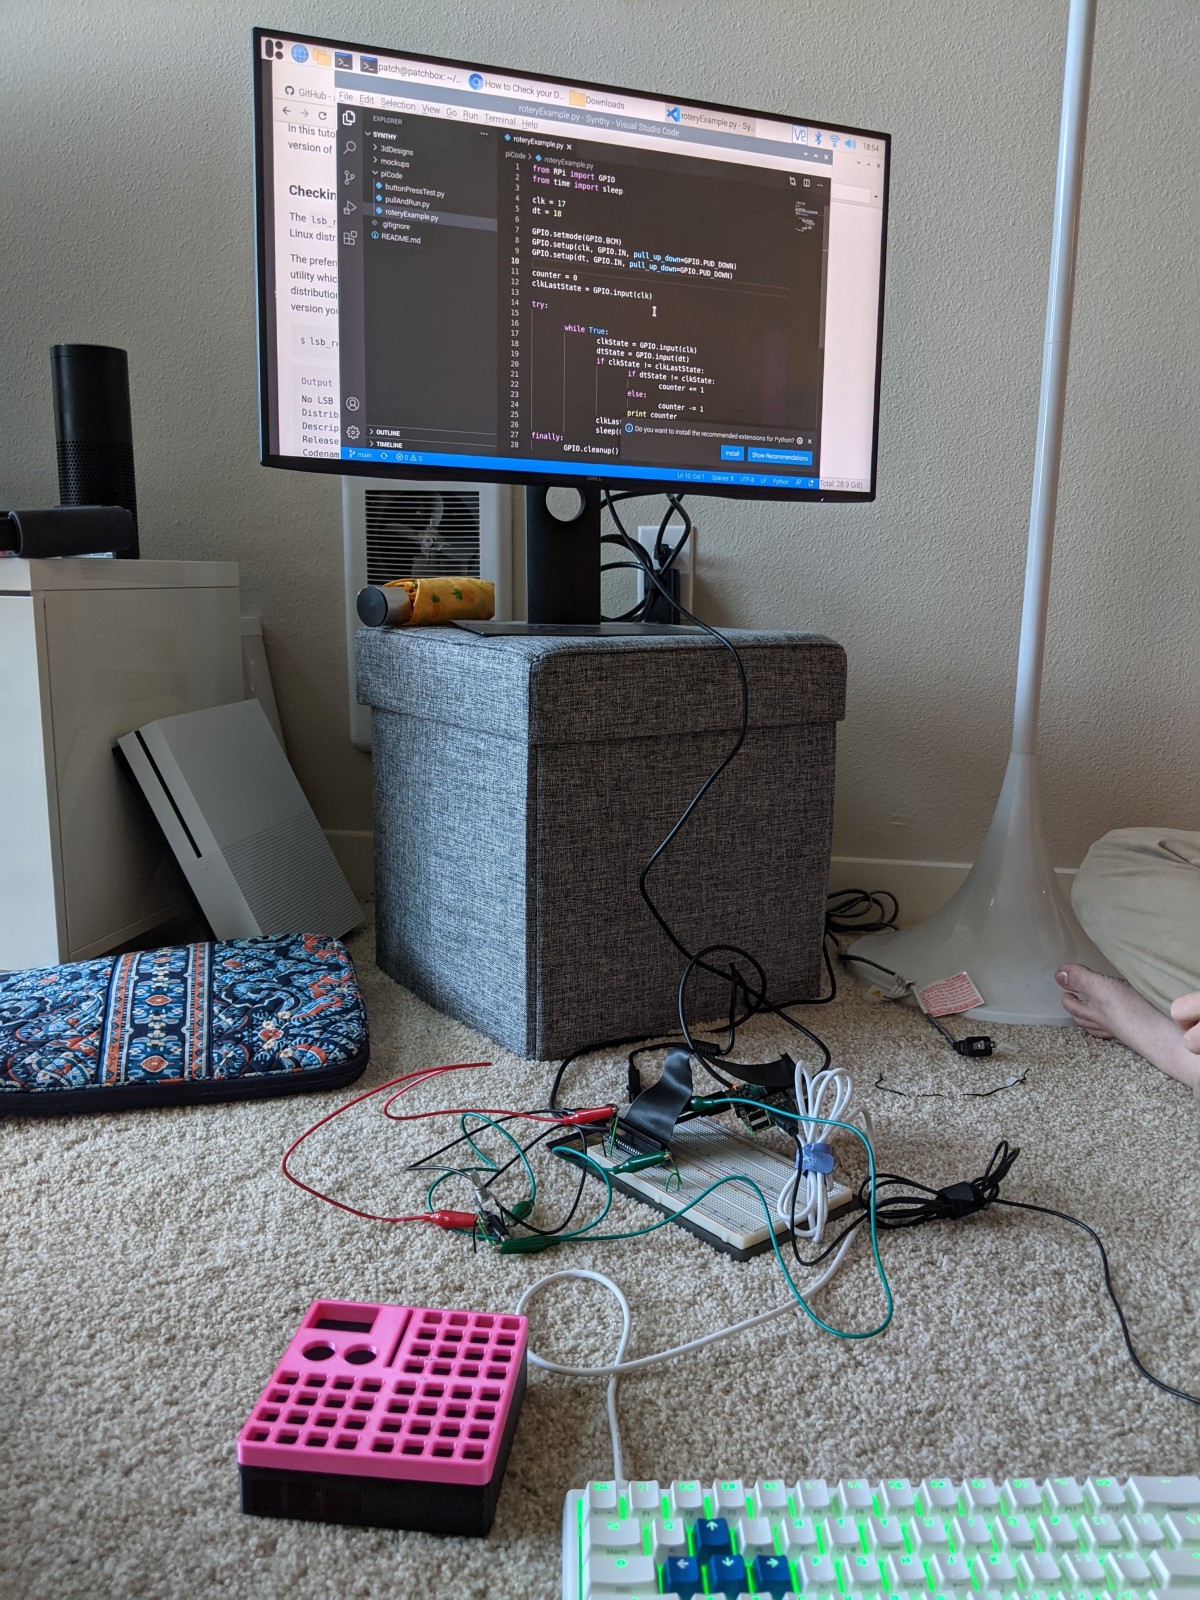
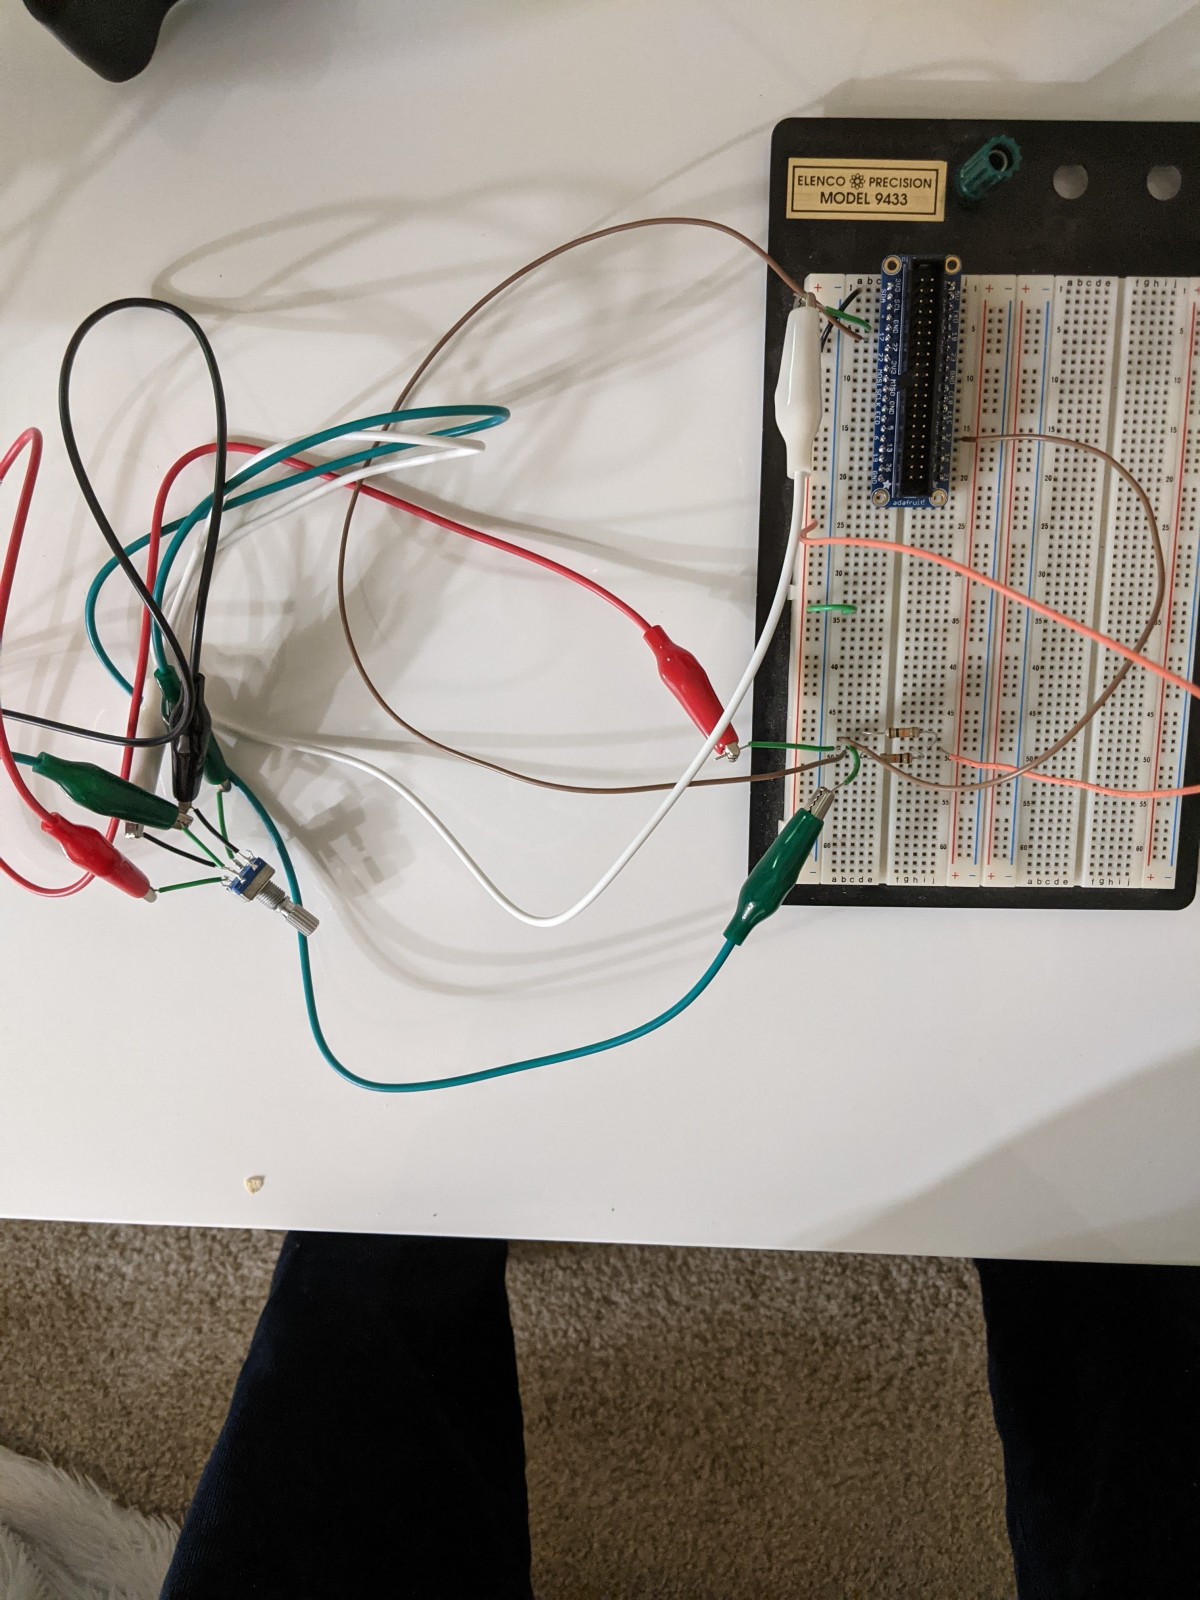
eventually getting a breadboarded encoder,
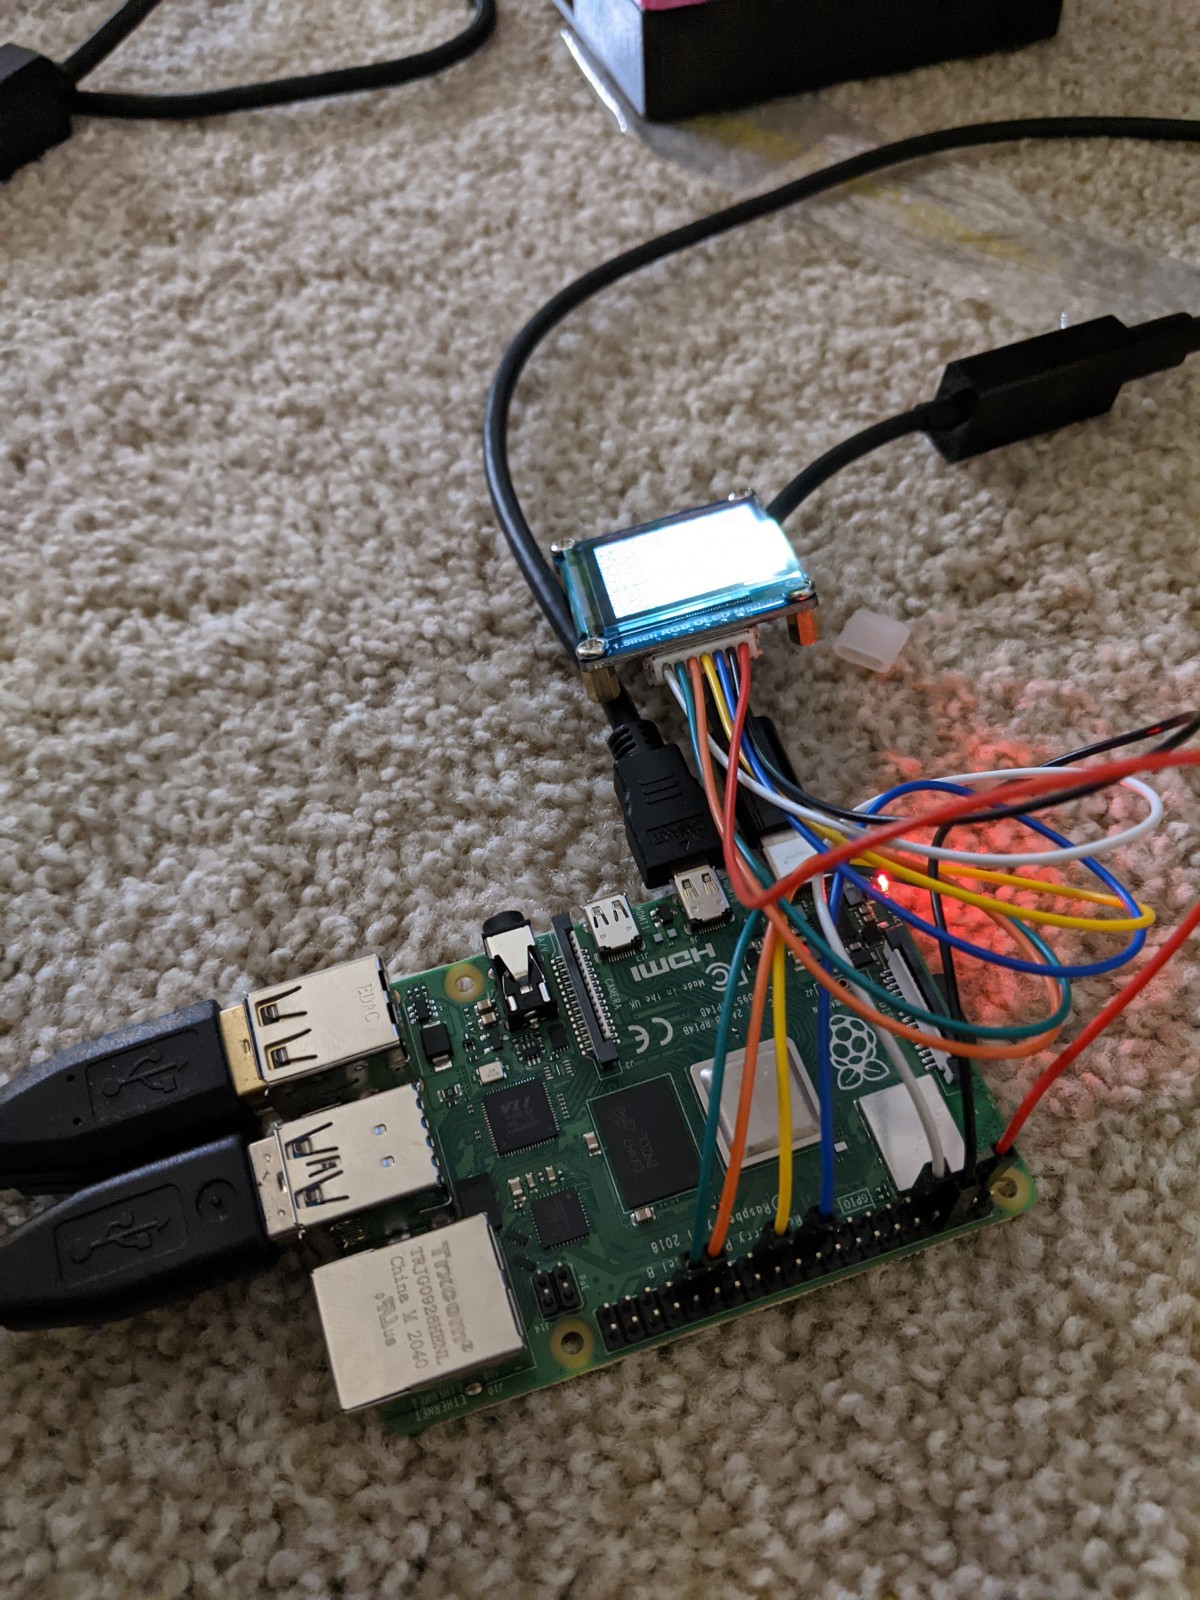
screen,
and adc (analog-to-digital converter) to work.
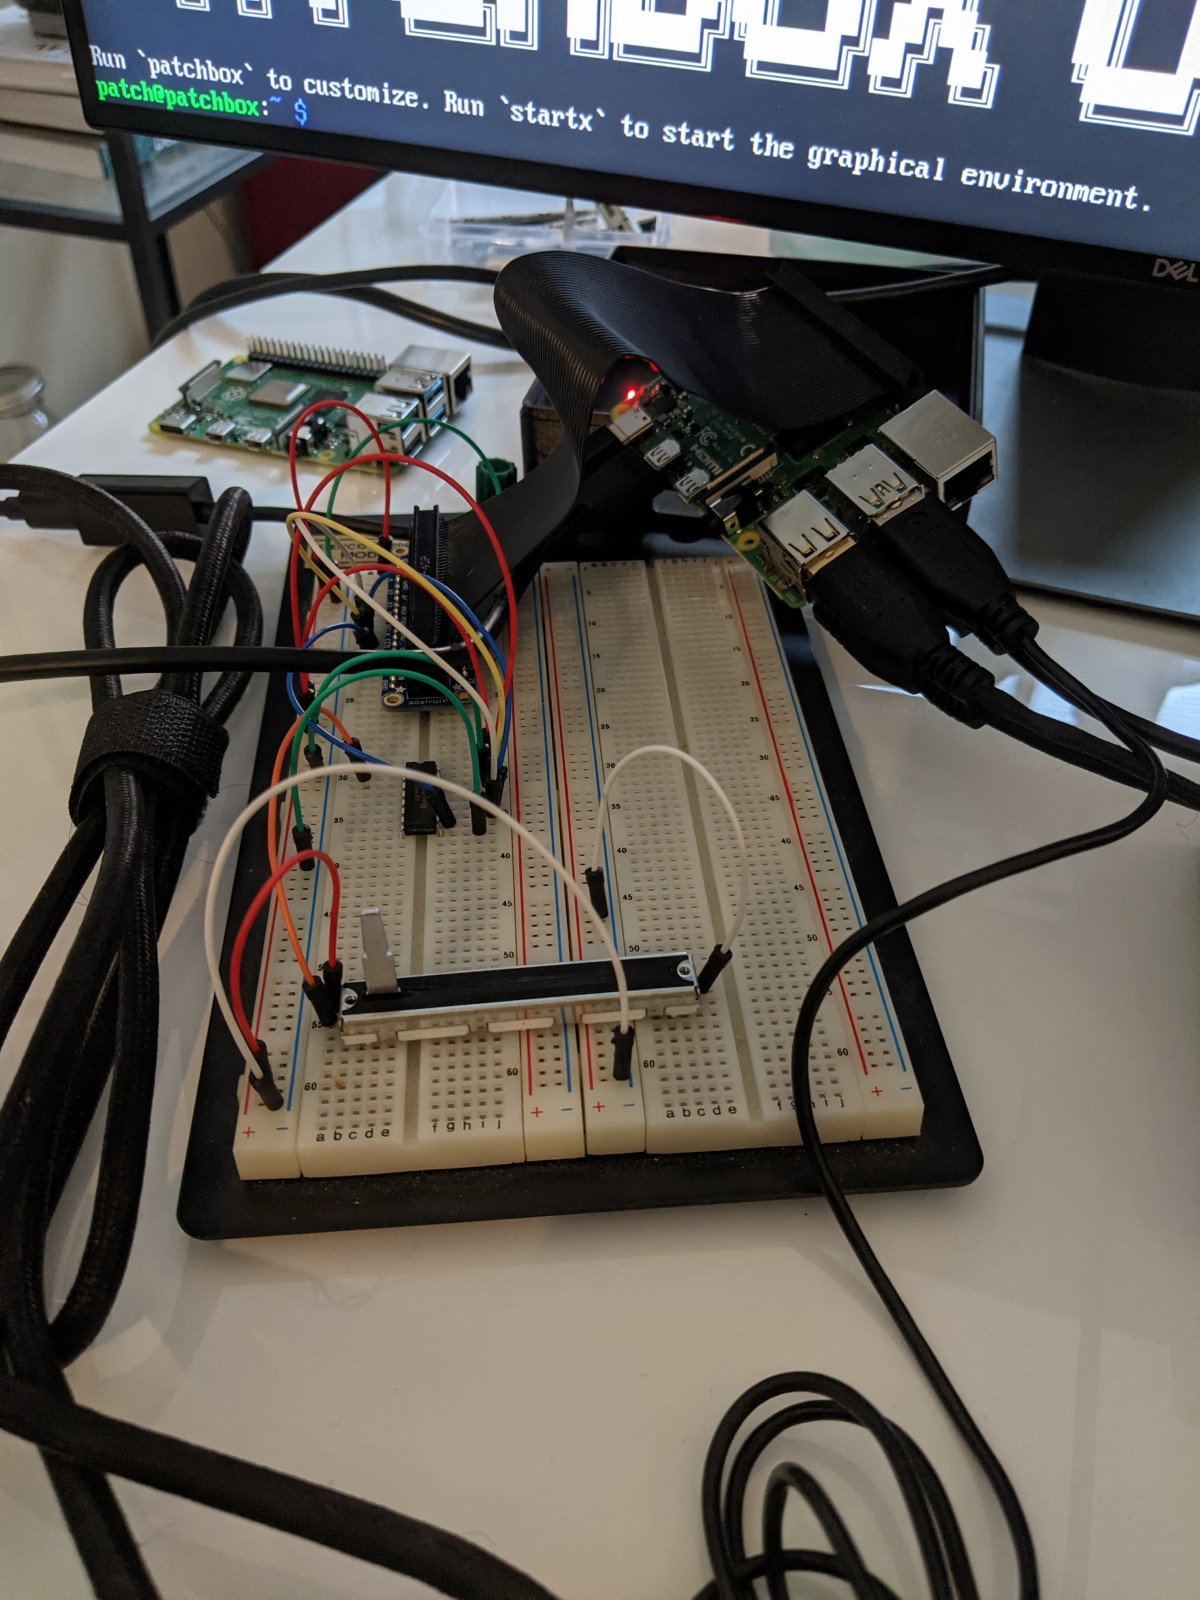
April was our first venture into this project and our first hands-on time with this sorta hardware for this project. A very exciting time for our work, and a whirlwind of obsolete time spent (given the 1 or 2 months of bonus insight I now have). Keep up with the may and june updates to see how the project (ASE v0) continues to shape into a more fleshed out instrument project!
6 Apr 2021
I started indoor bouldering sometime around 2016 with friends at Virginia Tech. I continued with that a bit in 2017 and 2018 while I was in New York and Blacksburg. Back before the pandemic hit, I was trying to get consistent about going to Stone Gardens after work at least once a week.
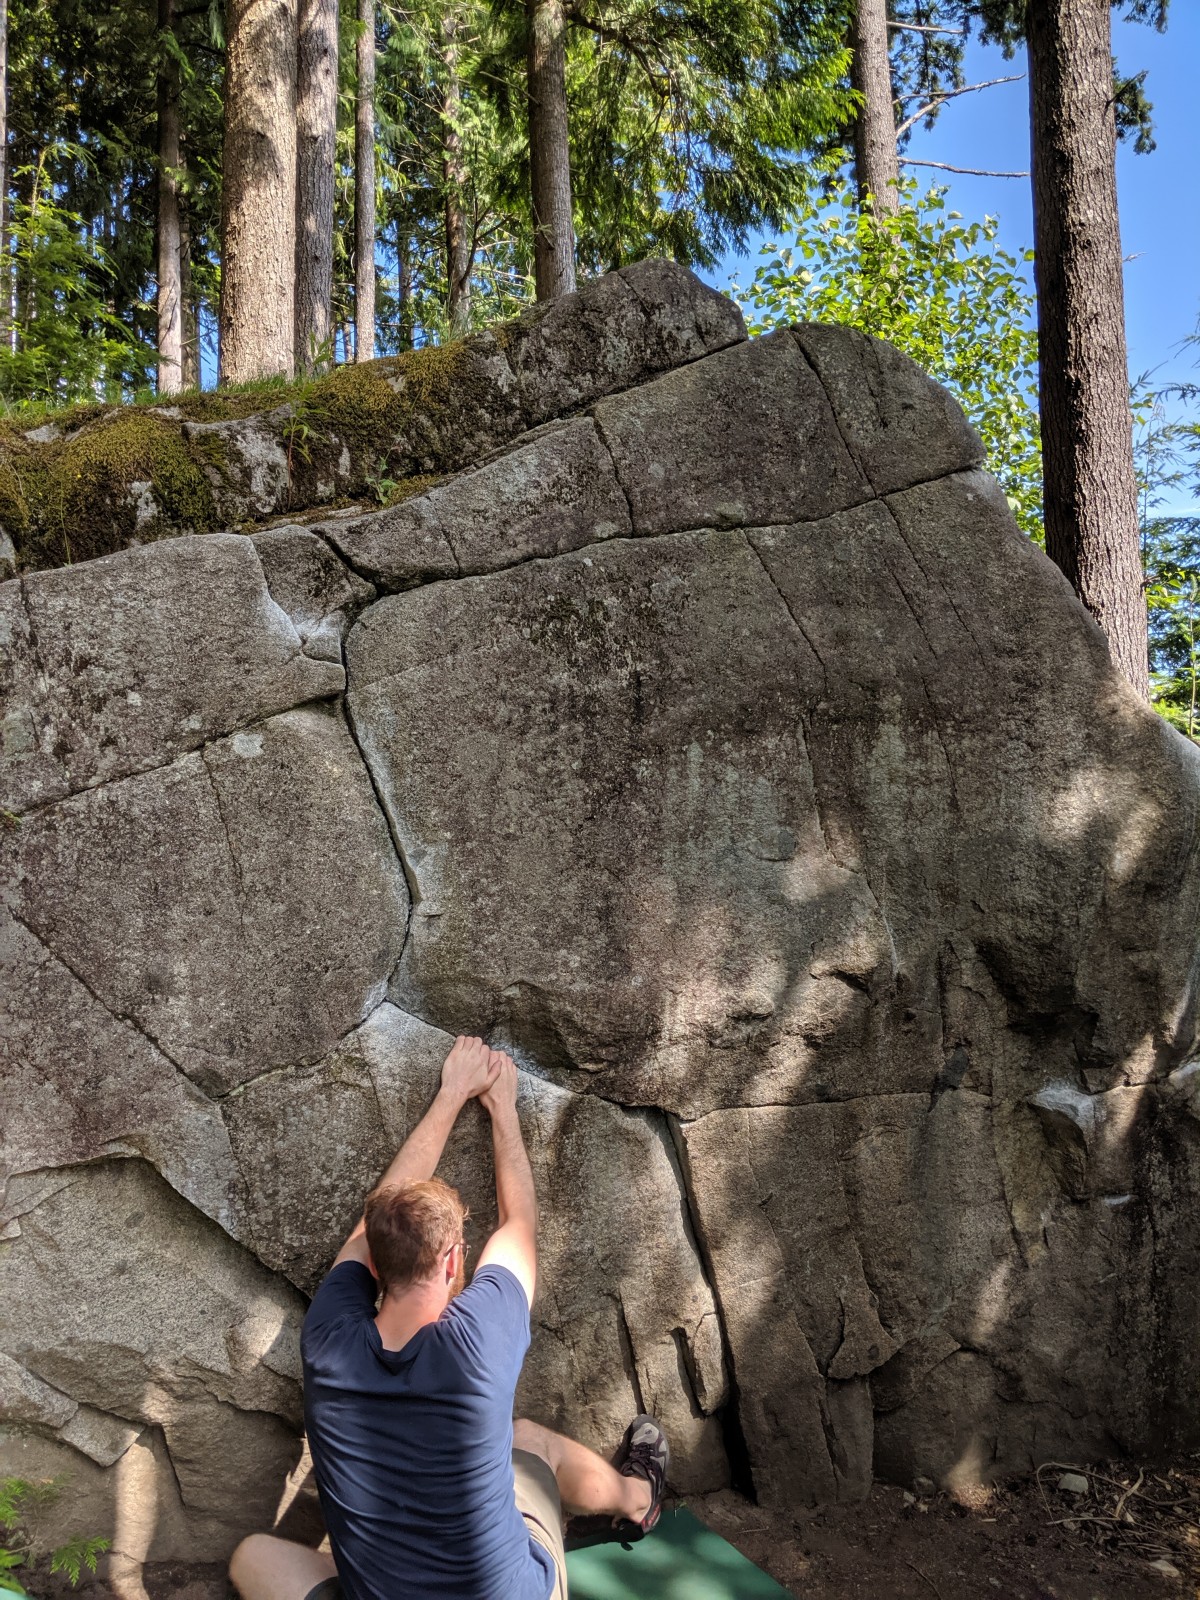
In the last couple years I've also made an effort to go outdoor climbing (although external motivation was a key factor there for sure). Back in the summer of 2019, my bud Brian got me to go with him to Gold Bar when he visited town
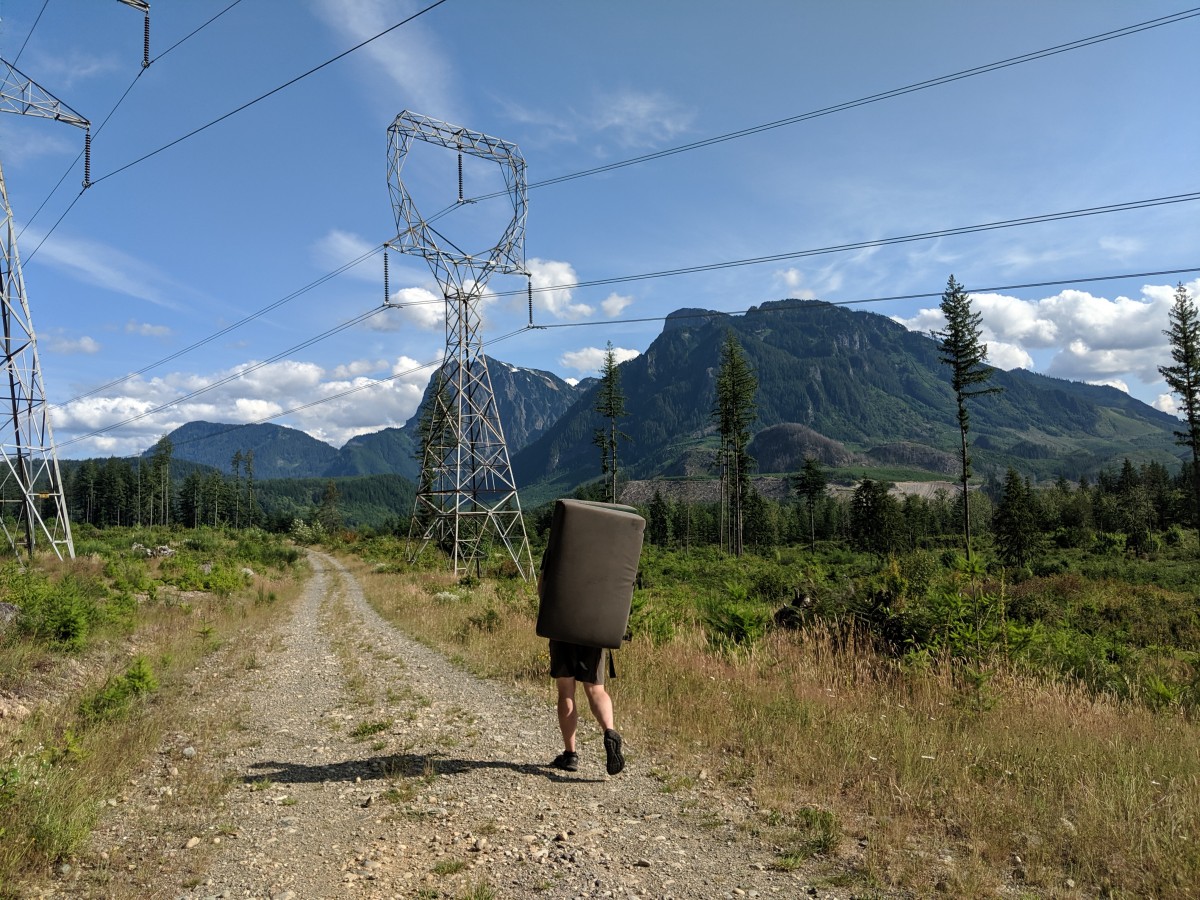
These climbs were difficult. Here's Brian trying to show me how to get off of the ground
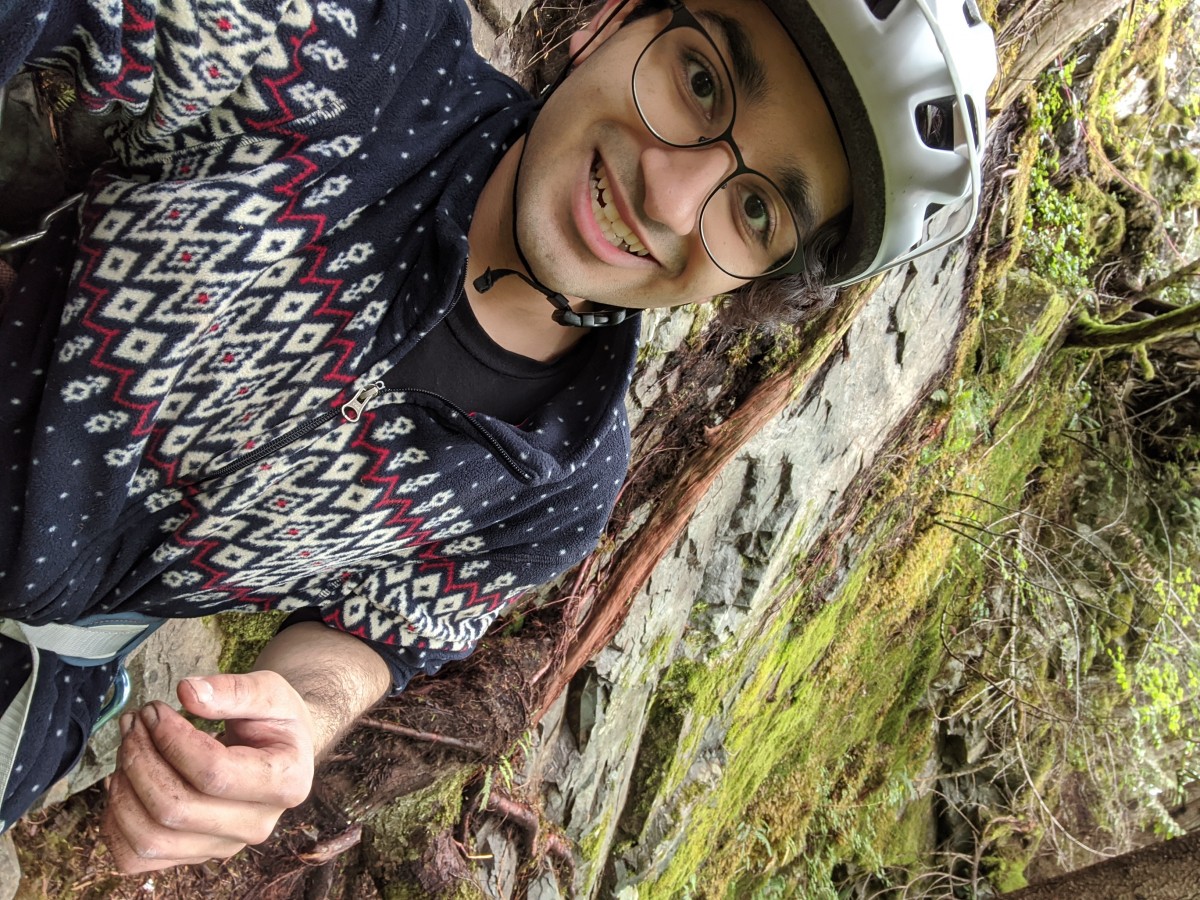
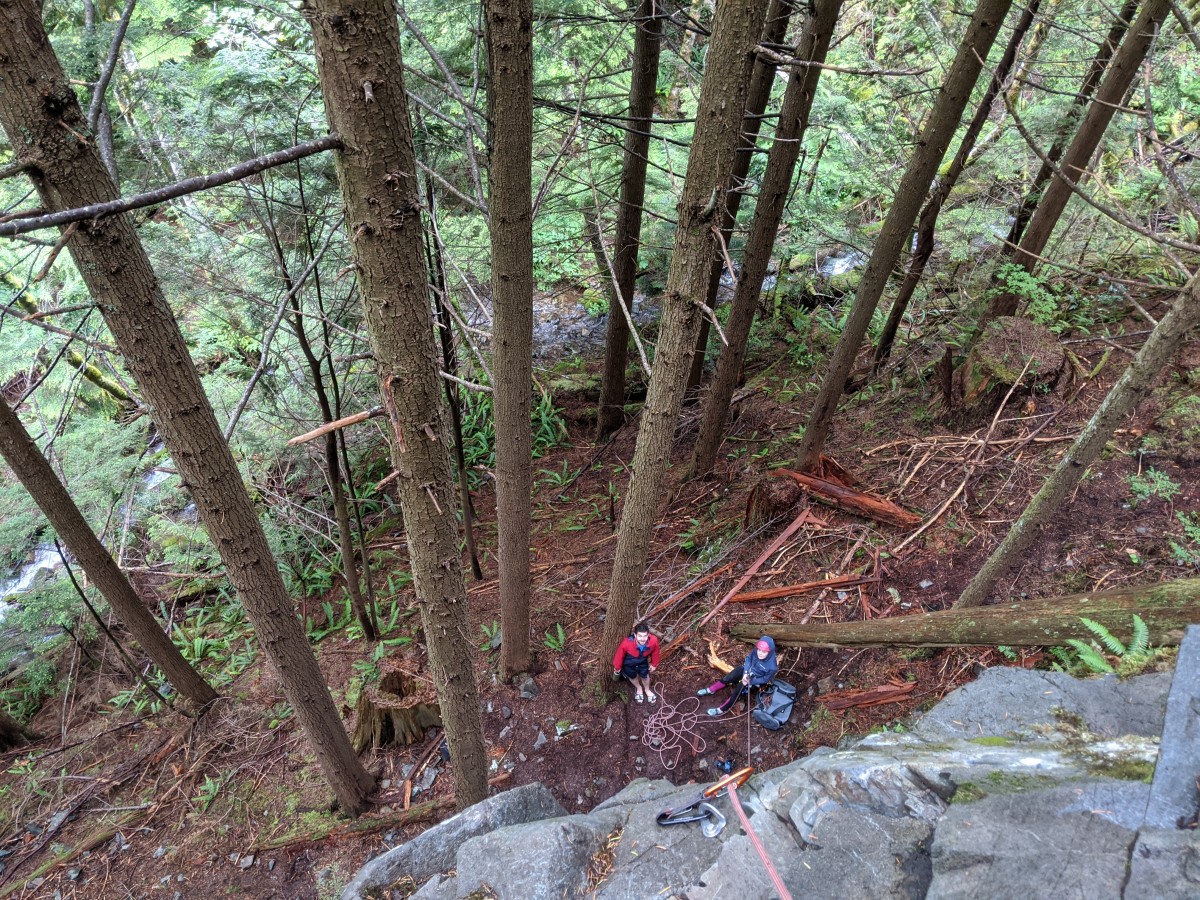
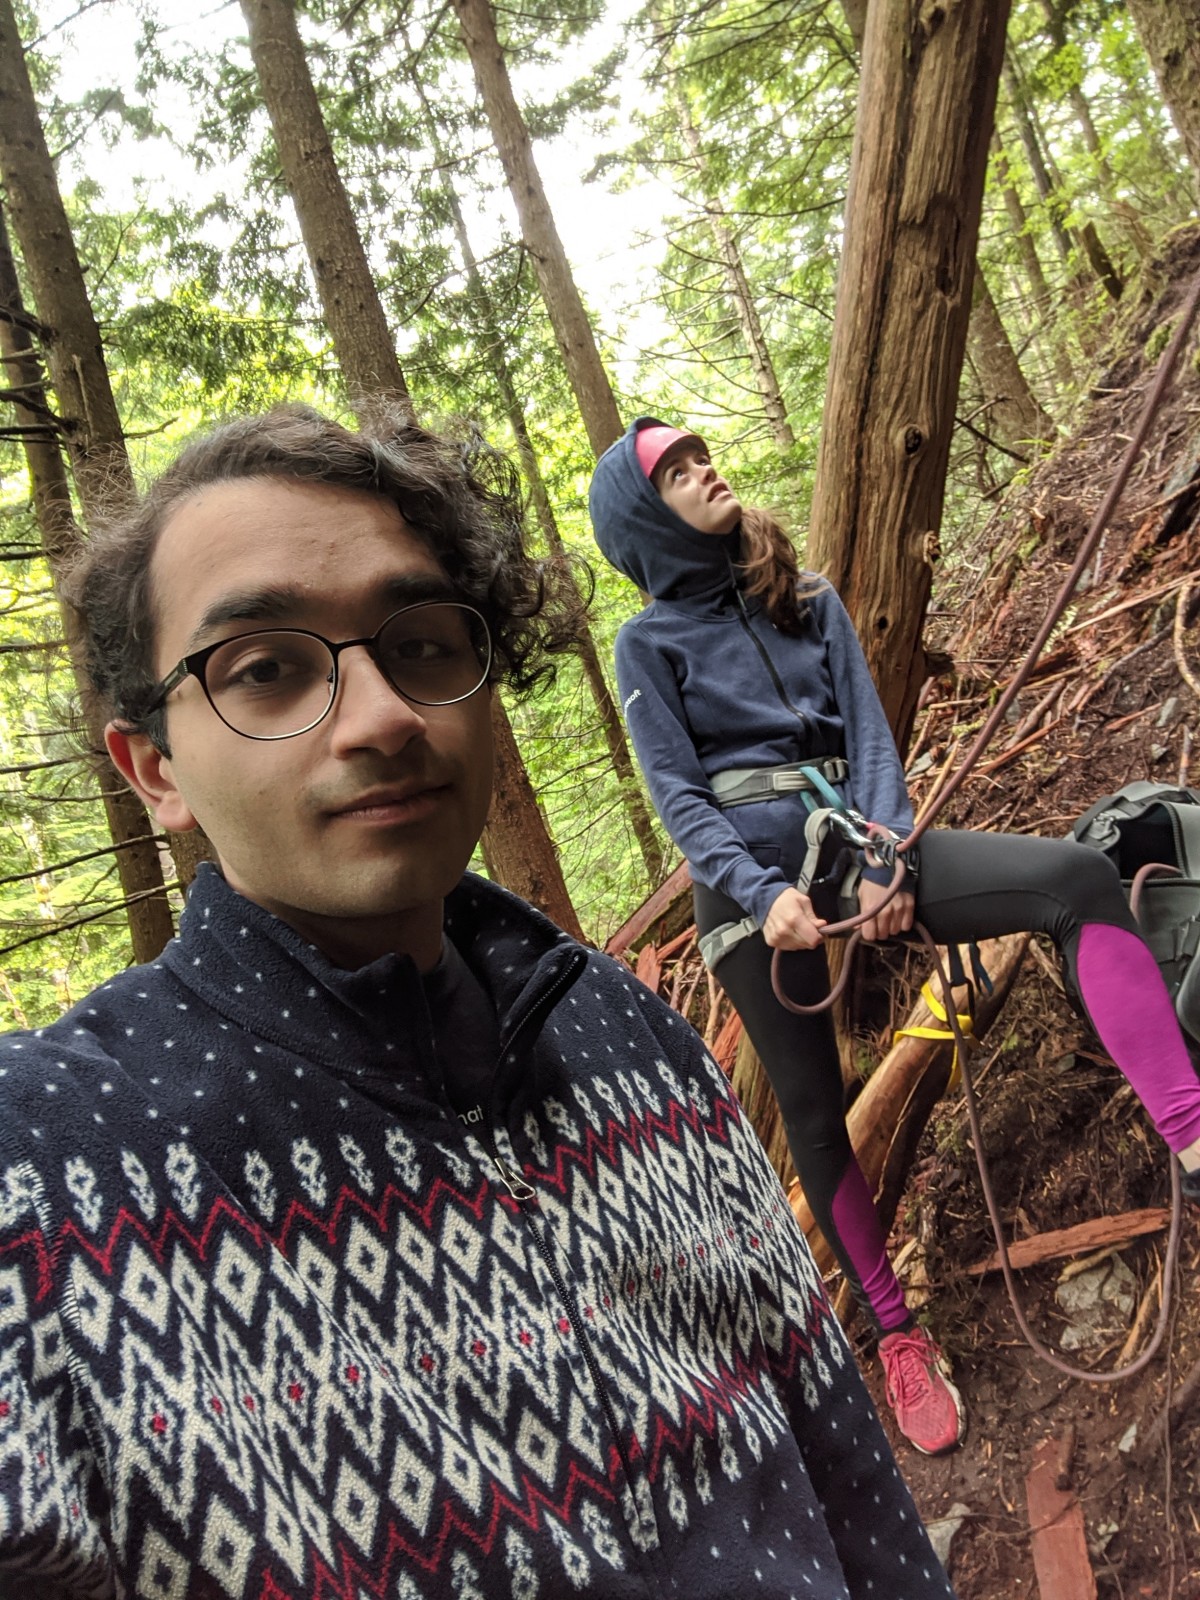
The next climbing experience I've got photographed is one of the first post-covid interactions I had with people I knew. Before moving in with them later in the year, I started hanging out with my friends Peter and Ariana and we went climbing near Dirty Harry's Balcony.
Here's me up on a climb
looking down at Peter and Ariana
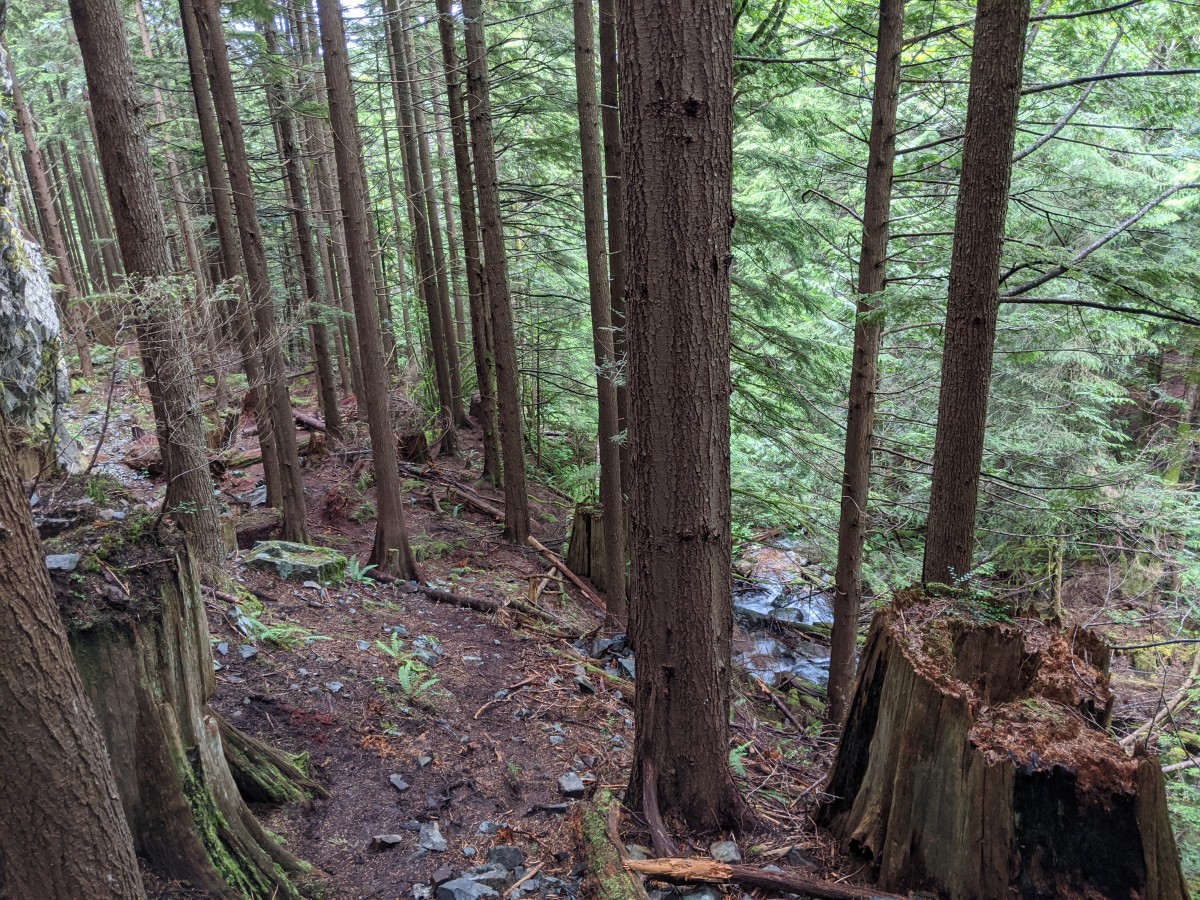
and all the trees around.
and here's Ariana belaying Peter so he could set up a climb
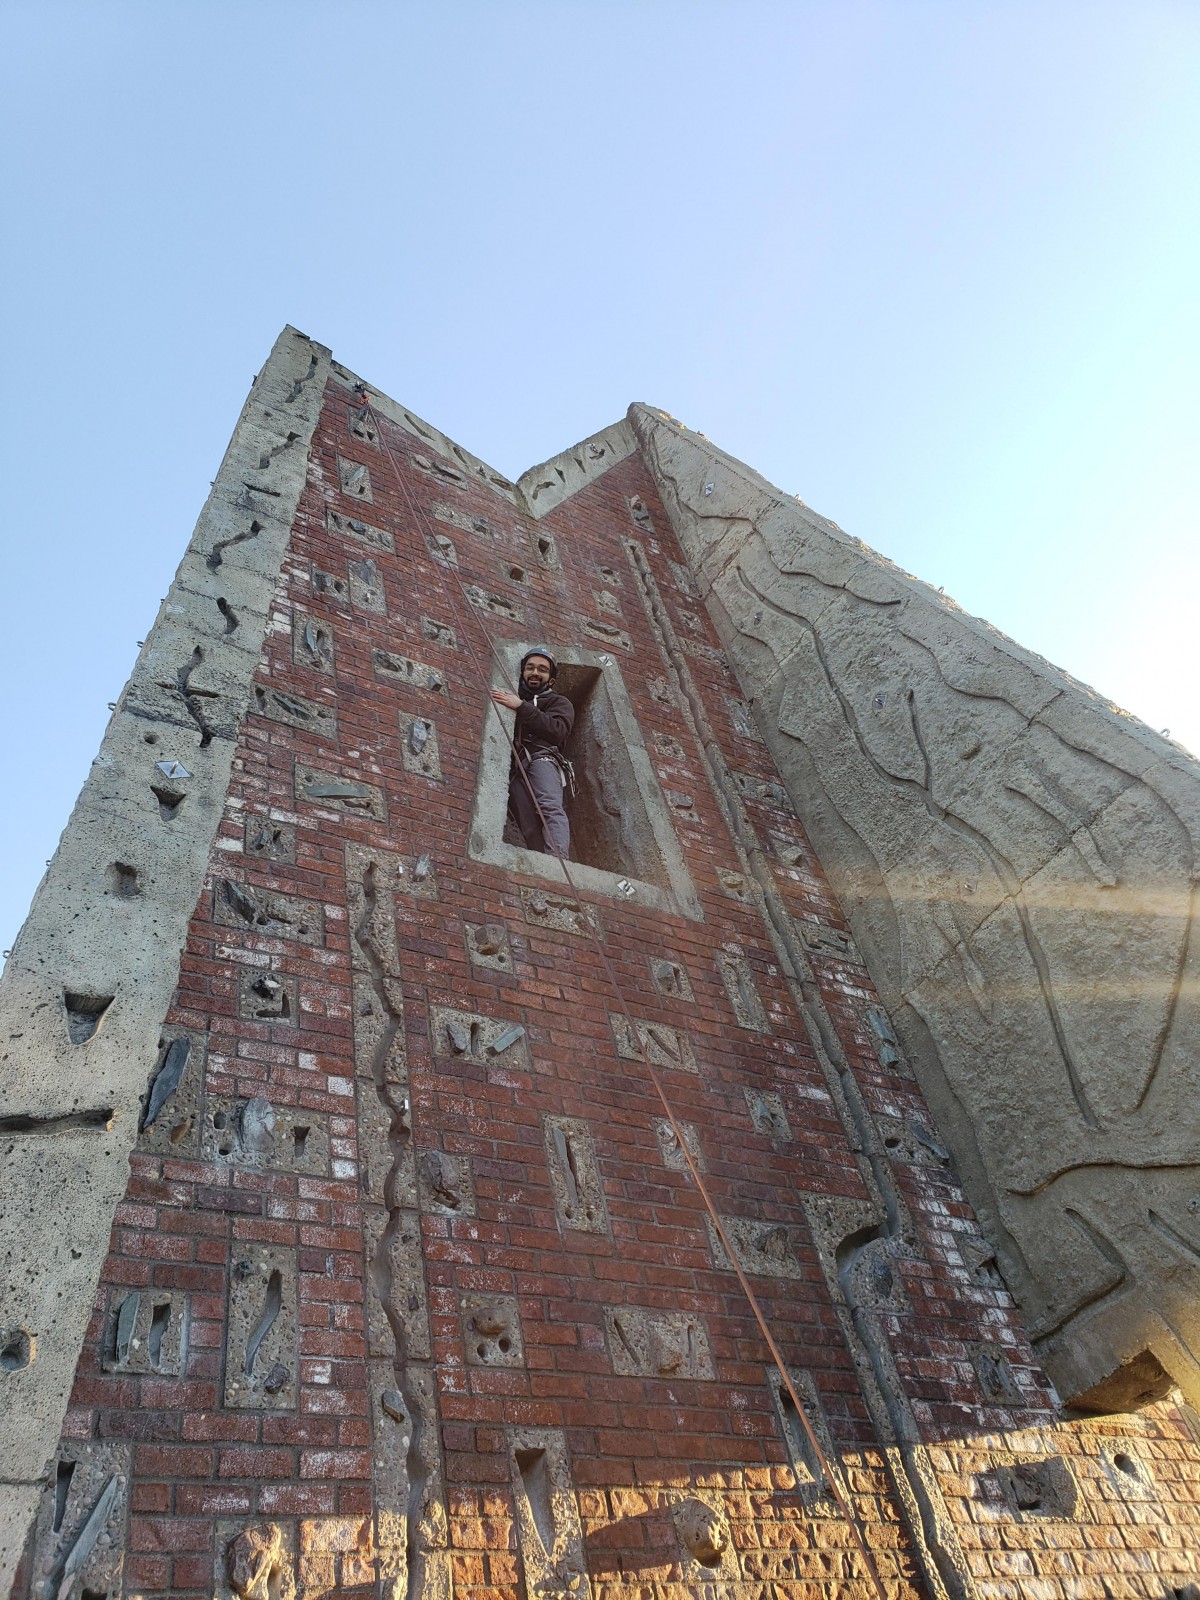
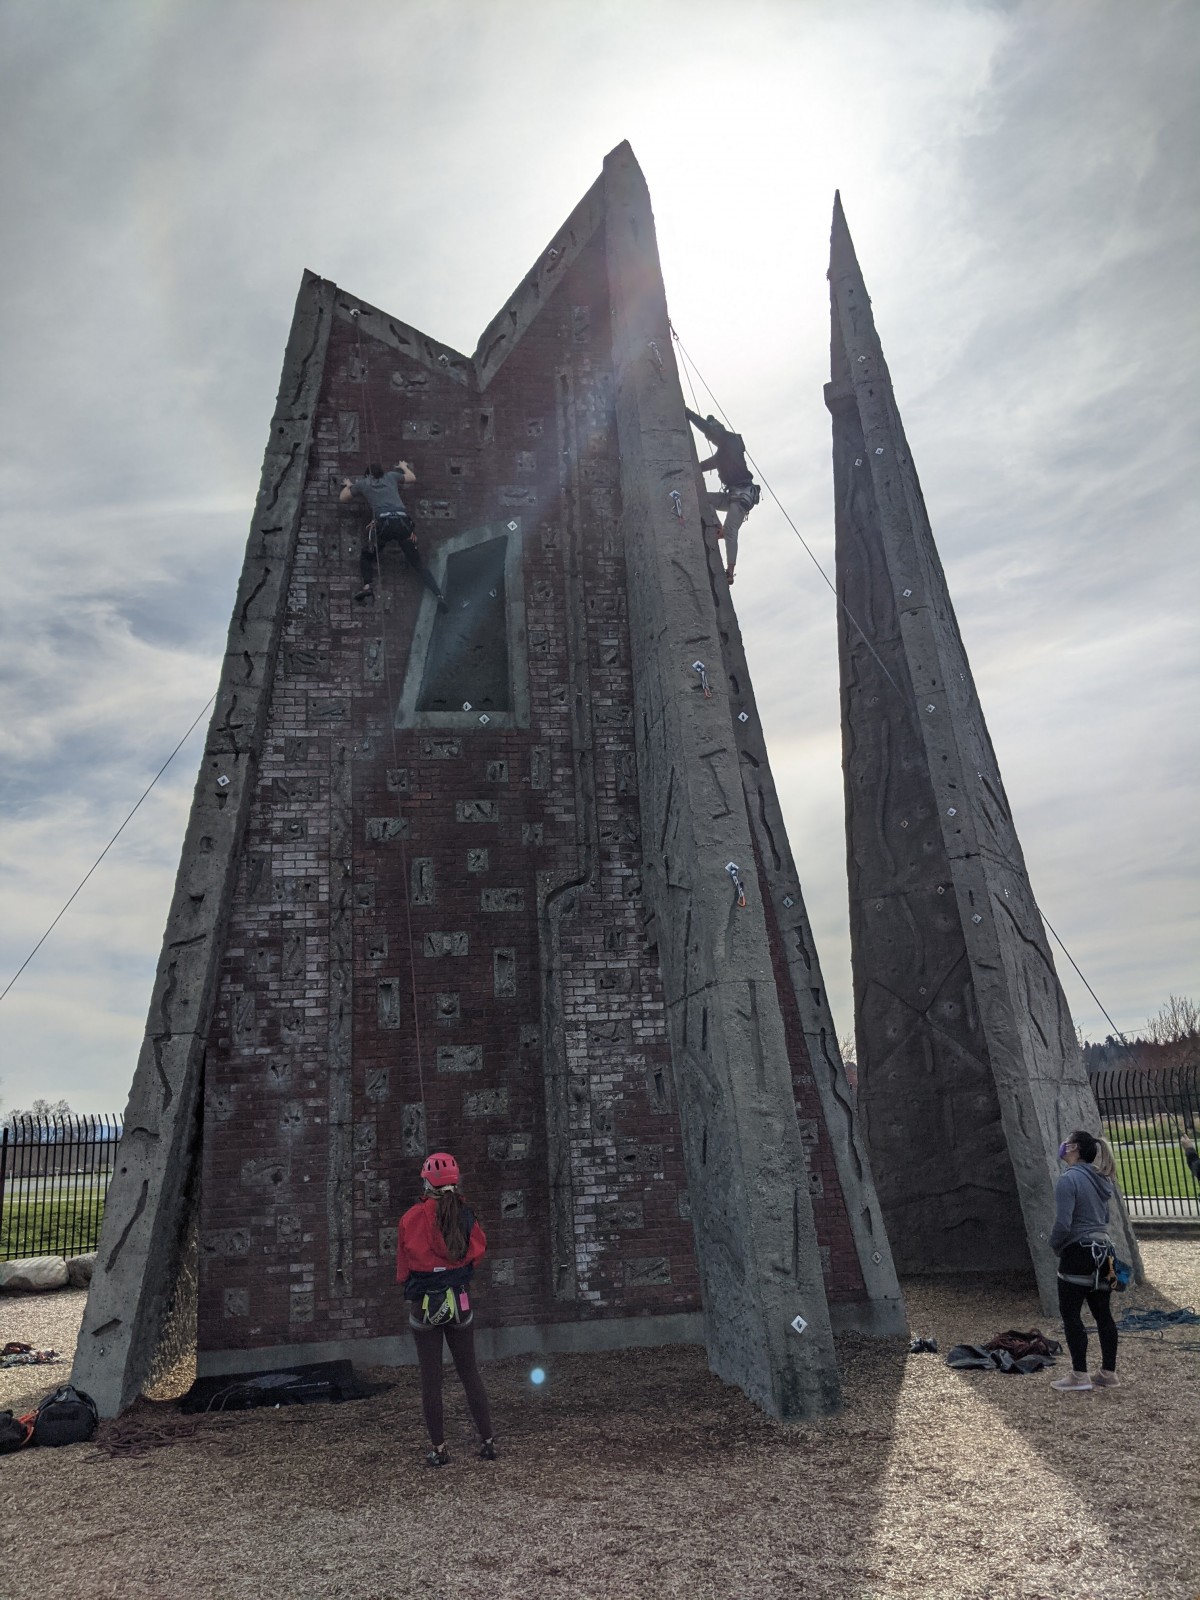
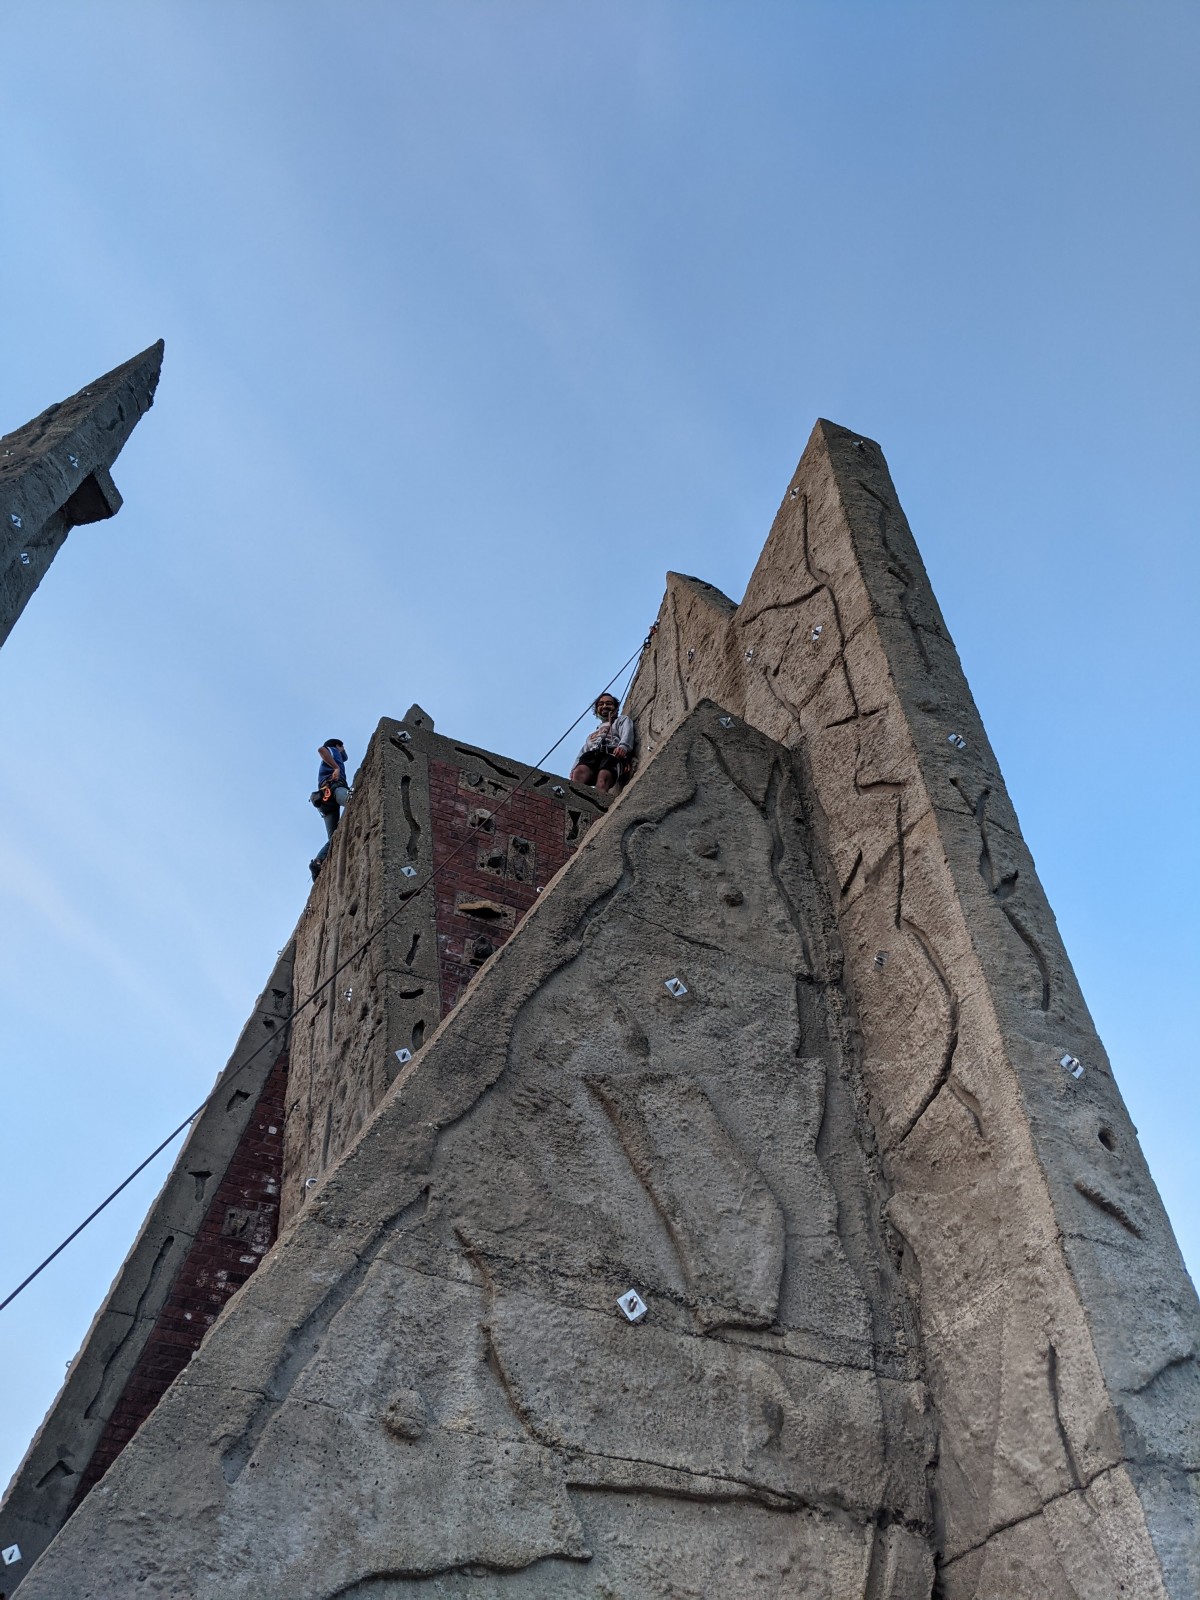
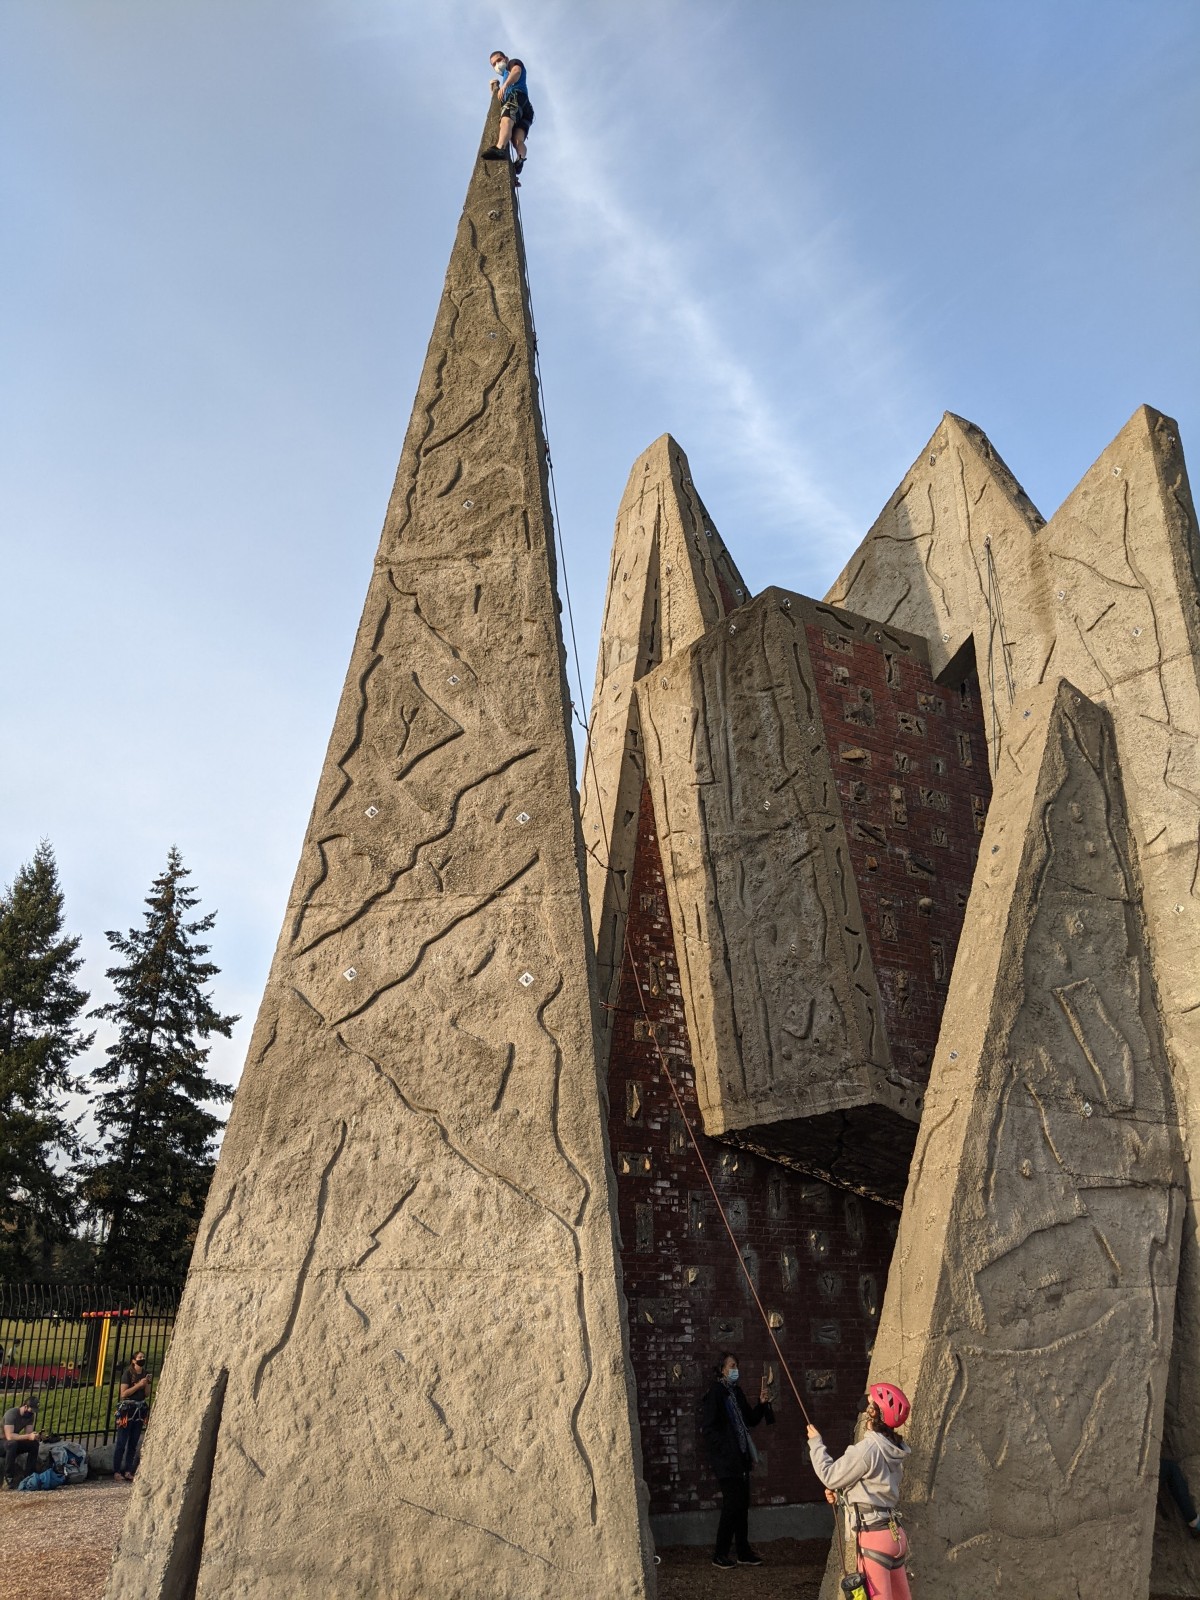
We moved into Kirkland in October so the weather wasn't great for climbing outdoors for a bit, but I got ample opportunity to visit Marymoor Park's climbing wall from March through June. Here are some photos from March and April
Here's me sitting in a cubby getting a shot of Peter below
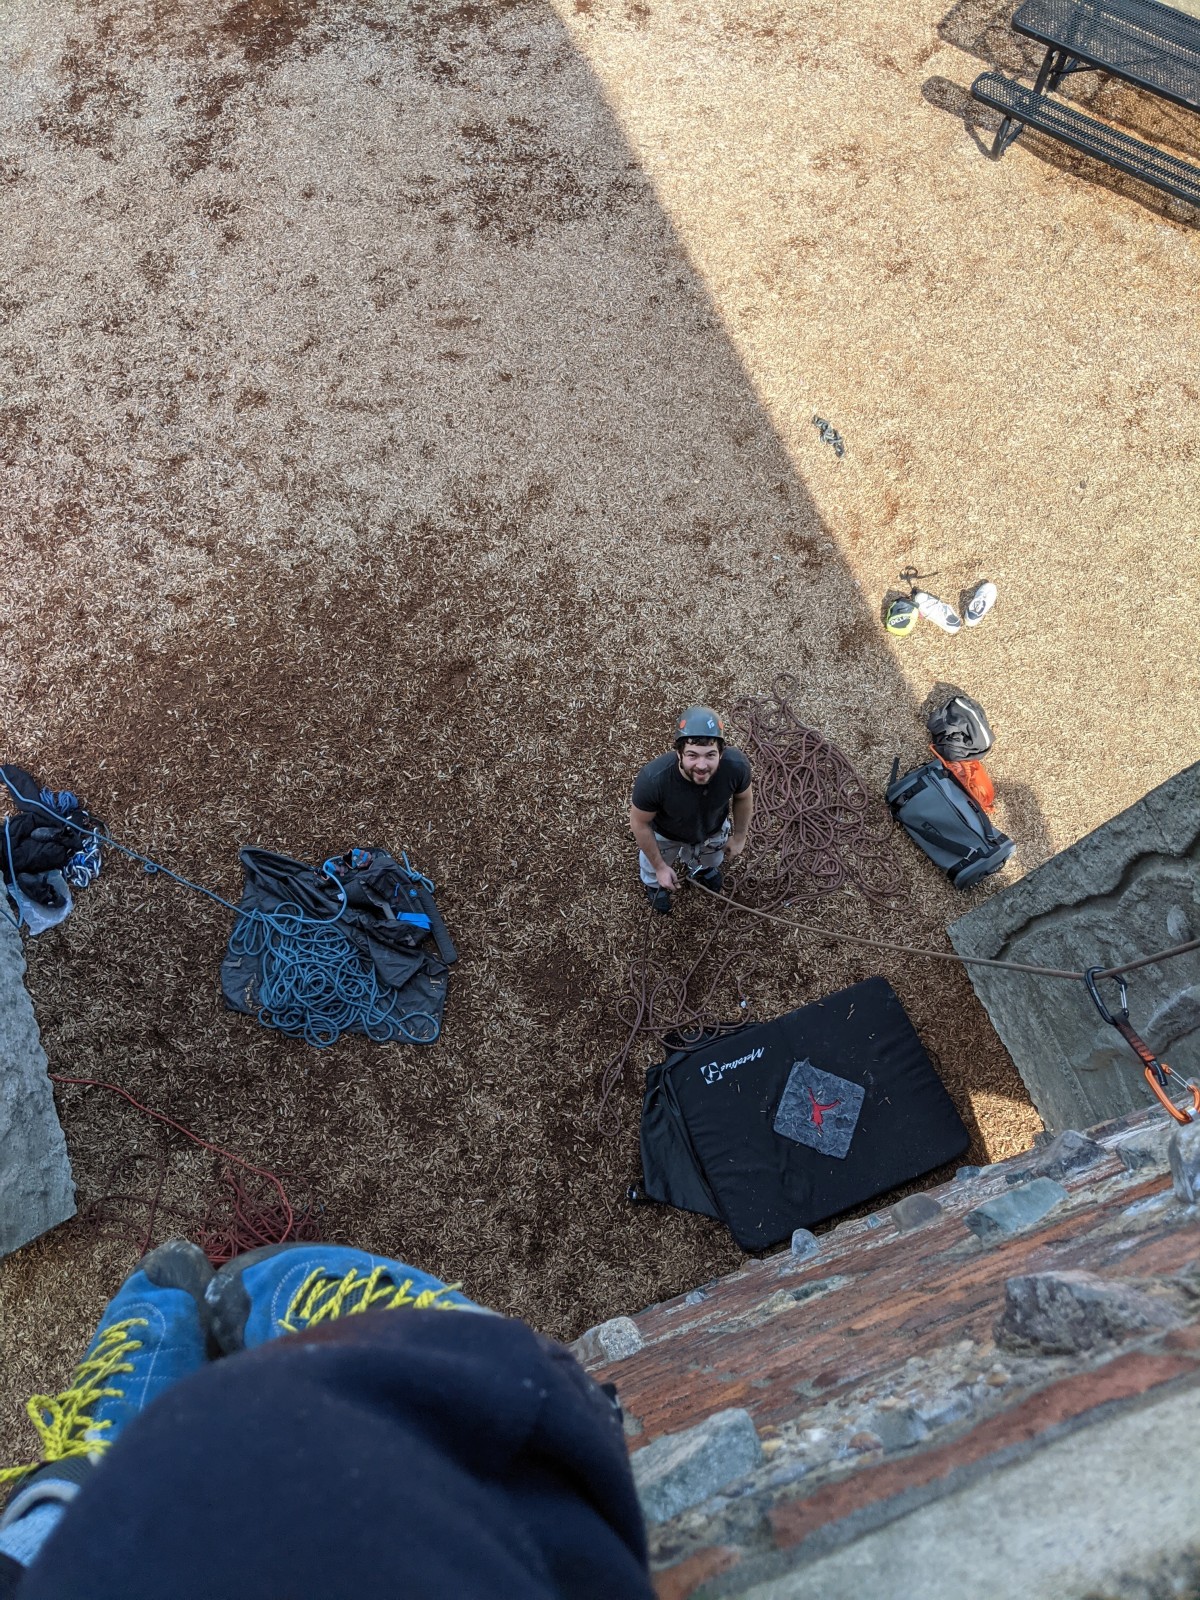
(sorta the opposite photograph of this)
Here's another I got of Ariana belaying Christy,
one of me at the top of the wall,
and one of Peter at the top of the spire!
I've thrown this picture into another post before (skies) but it's a cool shot so here it is again
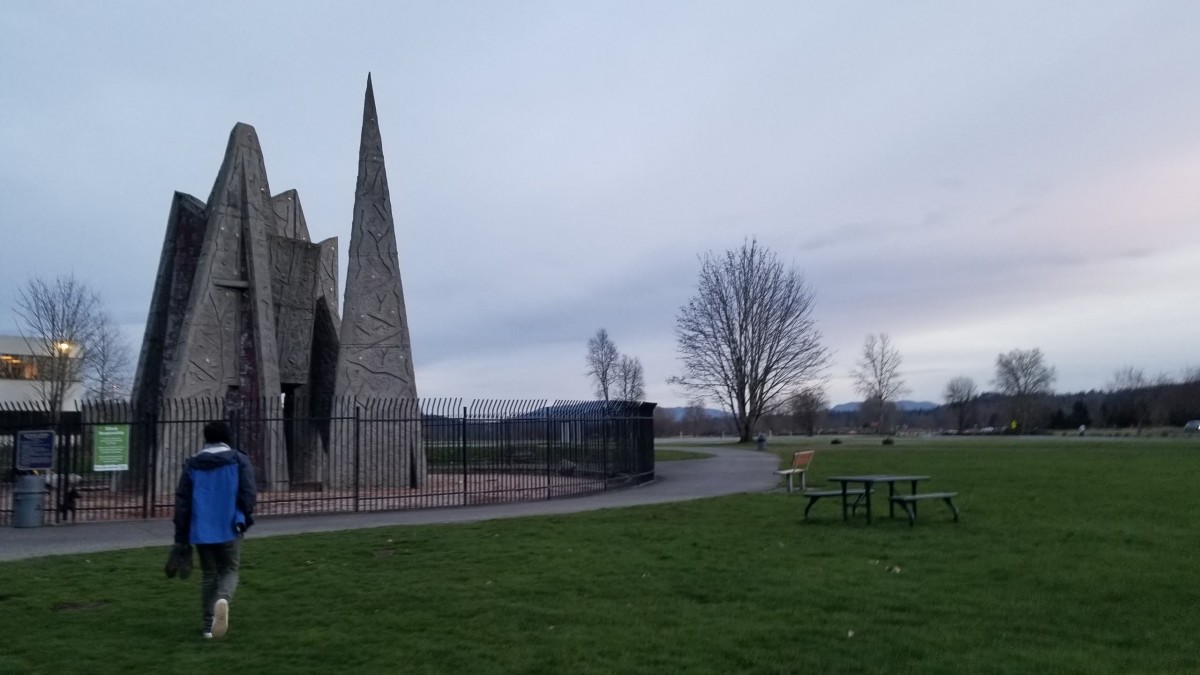
(credit to christy for her great photography)


